
Trio STEALTH-9 Camera Replacement
![[deleted]](https://assets.cdn.ifixit.com/static/images/avatars/User/ifixit/avatar-12.thumbnail)
[deleted] and one other contributor
Last updated on Jun 19, 2015
Views: 562
View statistics:
- Past 24 Hours:
- 2
- Past 7 Days:
- 14
- Past 30 Days:
- 86
- All Time:
- 562
Comments: 0
No one has left comments on this guide. Will you be first?
Go to guide commentsCompleted: 0 1
No one has marked this guide "completed." Will you be the first?
1 person has marked this guide "completed." It's you — great job!
Favorites: 0 1
No one has favorited (and subscribed to) this guide. Will you be the first?
1 person has favorited (and subscribed to) this guide — and that's you!
Introduction
Go to step 1 ↓This guide should not be too difficult, as there isn't really a need to use any soldering/desoldering tools to take apart anything. You will have to still be careful about some of the cables within the device though.
What you need
Tools


-
-
-
Take one of the plastic opening tools and wedge it in the middle of the tablet, starting on the USB Port side.
-
Holding the tool in place, take one of the 6 plastic opening picks and slide it across the opening you made with the opening tool.
-
-
-
Continue going around the tablet sides with the plastic pick, being sure that you are maintaining the openings you made with either your hand or the opening tool.
-
-
-
-
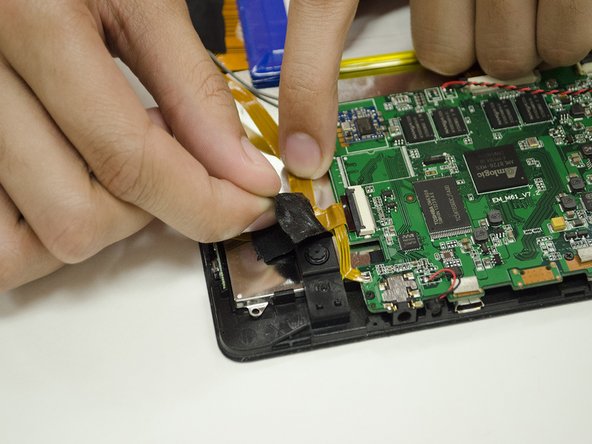
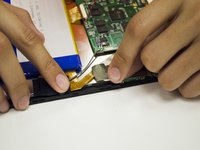
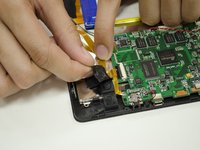
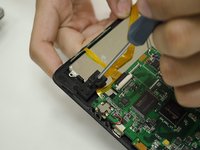
Slowly remove the two pieces of electrical tape holding down the Camera ribbon cable.
-
-
-
-
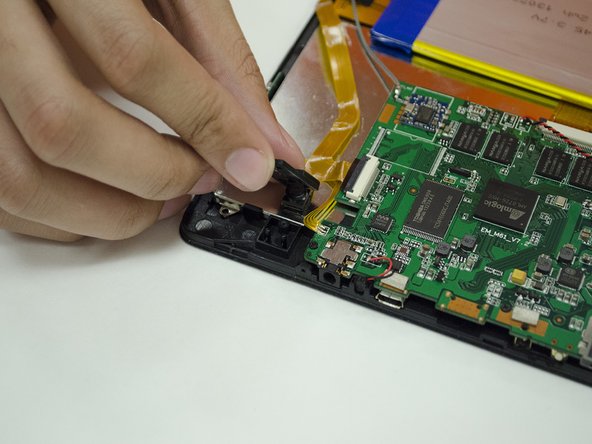
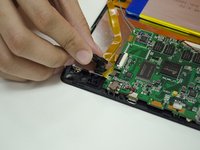
Remove the #00 Screw holding down the Camera mount, then remove the Camera mount.
-
-
-
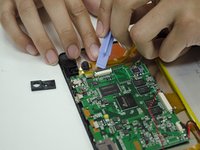
Detach the Camera's ribbon cable from the Motherboard using your fingernail or a plastic opening tool.
-
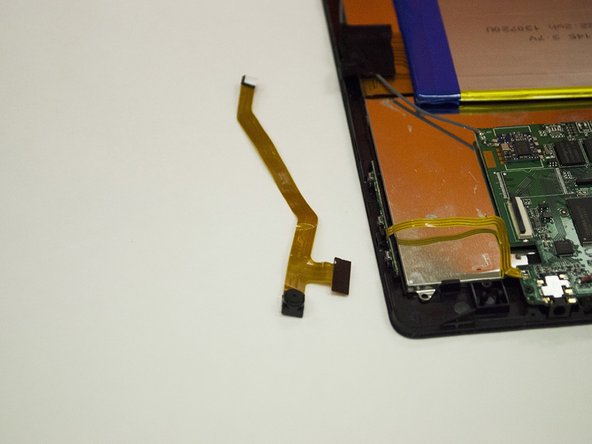
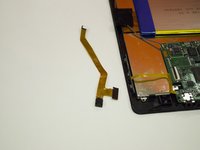
Remove the camera from the frame and replace as needed.
-
-

 Ask FixBot




To reassemble your device, follow these instructions in reverse order.

