Toy Windmill Repair

What you need

  1. Toy Windmill Repair, Toy Windmill Repair: step 1, image 1 of 1
    • Use the 120 grit sandpaper to remove any rough edges on both the base unit and any parts which need to be connected to it.

  2. Toy Windmill Repair: step 2, image 1 of 1
    • Use the rough sandpaper on parts that need to be connected to the primary unit as this will result in greater surface contact.

  3. Toy Windmill Repair: step 3, image 1 of 2 Toy Windmill Repair: step 3, image 2 of 2
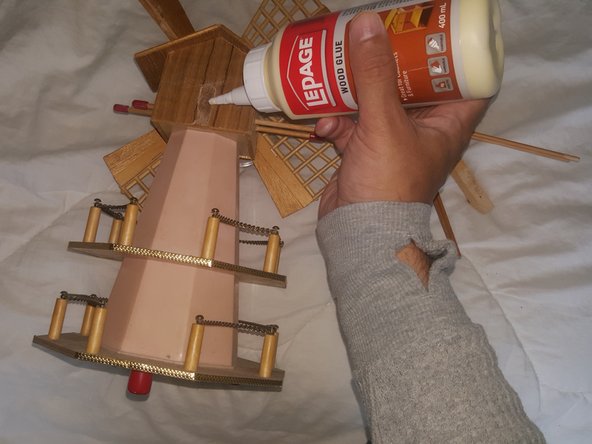
    • Apply a small amount of wood glue to each end.

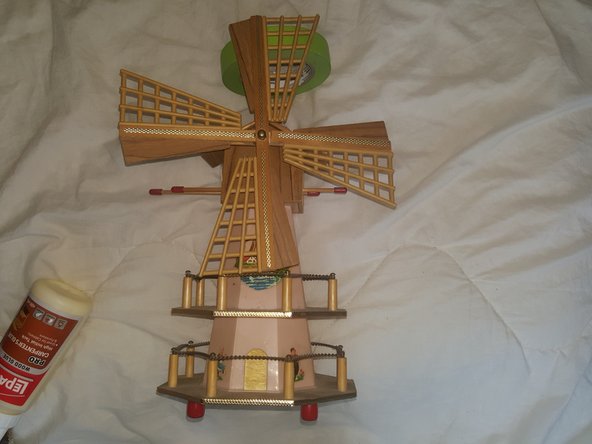
    • Connect the two pieces and apply a small amount of masking tape to hold them in place.

  4. Toy Windmill Repair: step 4, image 1 of 1
    • Once all the pieces have been connected and the glue has cured, use the fine sandpaper to smooth out the connected pieces.

  5. Toy Windmill Repair: step 5, image 1 of 1
    • Using the fill stick crayon, blend in the connected pieces.

    • This will require the reader to be creative.

  6. Toy Windmill Repair: step 6, image 1 of 2 Toy Windmill Repair: step 6, image 2 of 2
    • Apply a small amount of wood glue to each end of the windmill.

    • Connect the two pieces and apply a small amount of masking tape to hold the two ends in place.

Conclusion

To reassemble your device, follow these instructions in order.

Karim Ladha

Member since: 06/27/21

133 Reputation

1 Guide authored

0 Comments

Add Comment

View Statistics:

Past 24 Hours: 3

Past 7 Days: 8

Past 30 Days: 10

All Time: 285