
Toshiba A1304T Keypad Replacement

What you need

  1. Toshiba A1304T Keypad Replacement, Back panel: step 1, image 1 of 1
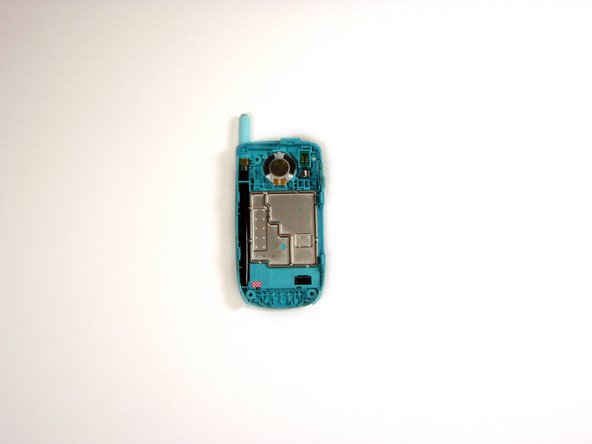
    • Using a thumb-tack, push-pin, or similar pin, remove the four plastic stoppers located on the back panel.

  2. Toshiba A1304T Keypad Replacement: step 2, image 1 of 1
    • With the T8 Torx Security Bit Screwdriver, remove the four screws in the designated locations.

    • The T8 Torx Security Bit Screwdriver can be substituted with a small flathead screwdriver. Screw removal may be slightly more difficult however.

  3. Toshiba A1304T Keypad Replacement: step 3, image 1 of 2 Toshiba A1304T Keypad Replacement: step 3, image 2 of 2
    • If needed, use the flathead screwdriver to gently pry the panel from the phone.

    • Using your fingers, lift the panel from the device.

  4. Toshiba A1304T Keypad Replacement, Keypad: step 4, image 1 of 3 Toshiba A1304T Keypad Replacement, Keypad: step 4, image 2 of 3 Toshiba A1304T Keypad Replacement, Keypad: step 4, image 3 of 3
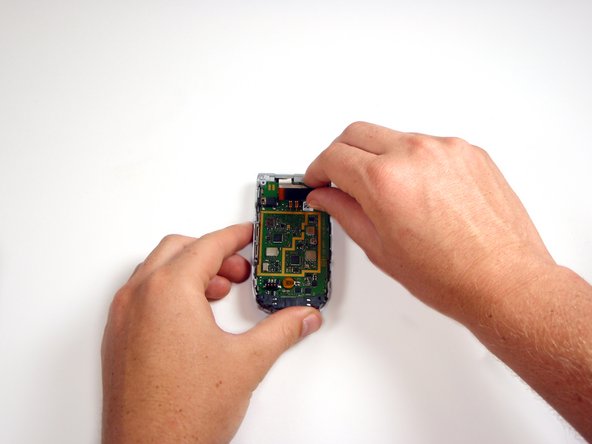
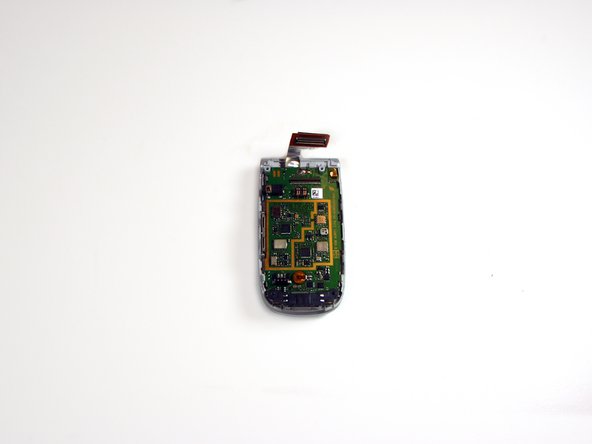
    • Use your fingers to detach the ribbon wire located on the top of the logic board, as shown.
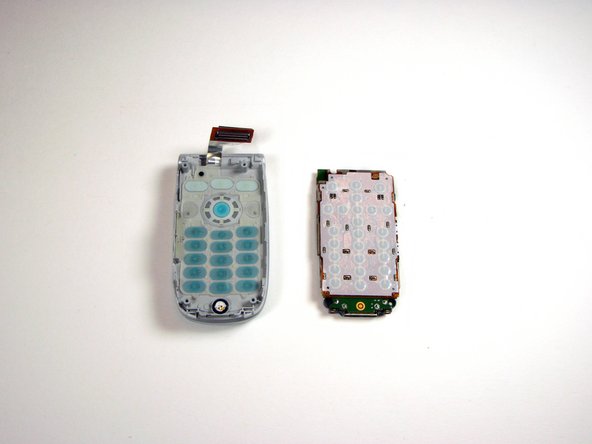
  5. Toshiba A1304T Keypad Replacement: step 5, image 1 of 2 Toshiba A1304T Keypad Replacement: step 5, image 2 of 2
    • Use a flathead screwdriver to gently pry the logic board and keypad from the device.

  6. Toshiba A1304T Keypad Replacement: step 6, image 1 of 2 Toshiba A1304T Keypad Replacement: step 6, image 2 of 2
    • Peel the keypad from the logic board using your thumb.

Conclusion

To reassemble your device, follow these instructions in reverse order.

Christopher

Member since: 04/22/10

90 Reputation

8 Guides authored

Team

Cal Poly, Team 16-6, Maness Spring 2010 Member of Cal Poly, Team 16-6, Maness Spring 2010

CPSU-MANESS-S10S16G6

4 Members

16 Guides authored

0 Comments

Add Comment

View Statistics:

Past 24 Hours: 0

Past 7 Days: 1

Past 30 Days: 2

All Time: 1,663