Top button Compartment

What you need

  1. Top button Compartment, Top button Compartment: step 1, image 1 of 3 Top button Compartment, Top button Compartment: step 1, image 2 of 3 Top button Compartment, Top button Compartment: step 1, image 3 of 3
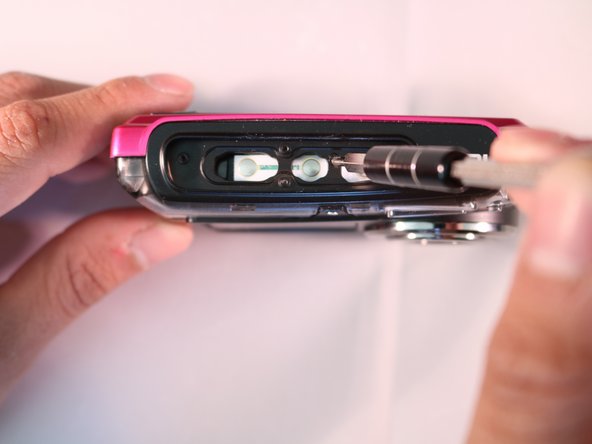
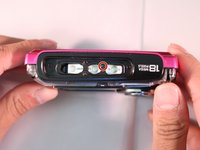
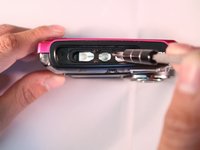
    • Insert the flat end of wide metal spudger into the seam of the plastic buffer surrounding the buttons and pry it open.

  2. Top button Compartment: step 2, image 1 of 3 Top button Compartment: step 2, image 2 of 3 Top button Compartment: step 2, image 3 of 3
    • Use A #00 Phillips head screwdriver and turn counterclockwise to remove the four indicated screws.

    • Set the screws aside.

  3. Top button Compartment: step 3, image 1 of 2 Top button Compartment: step 3, image 2 of 2
    • Apply pressure and turn counterclockwise to remove the indicated 2.5 mm screw.

Conclusion

To reassemble your device, follow these instructions in reverse order.

Joseph DoctorPinkney

Member since: 03/07/16

216 Reputation

2 Guides authored

Team

Marist, Team 1-3, Laflen Spring 2016 Member of Marist, Team 1-3, Laflen Spring 2016

MARS-LAFLEN-S16S1G3

2 Members

5 Guides authored

0 Comments

Add Comment

View Statistics:

Past 24 Hours: 0

Past 7 Days: 4

Past 30 Days: 5

All Time: 318