Tools Best Practices

Richard and 3 other contributors
Last updated on Nov 14, 2024
Views: 15K
View statistics:
- Past 24 Hours:
- 11
- Past 7 Days:
- 77
- Past 30 Days:
- 290
- All Time:
- 15,036
Comments: 2
2 guide comments.
Go to guide commentsCompleted: 98 99
98 people have marked this guide "completed." Will you be next?
99 people have marked this guide "completed." Including you — great job!
Favorites: 27 28
27 people have favorited (and subscribed to) this guide. Will you be next?
28 people have favorited (and subscribed to) this guide — including you!
Introduction
Go to step 1 ↓There are thousands of devices on the market and a plethora of specialized tools for their repair. Figuring out which tool to safely use for the job can be difficult, so we’re here to help.
We’ll walk you through some of the more commonly used tools and explain their most practical—or impractical—uses. Repair connects people and things, but we don't want to connect electricity to your body. Your safety is our priority!
What you need
Tools
-
-
-
-
-
-
Spudger4.9
-


-
-
-
The metal spudger is a fantastic tool, but it's also a tool of much debate. Here at iFixit, we tend to call on the metal spudger only when we need a member of the brute squad.
-
Remove extra-stubborn plastic/metal casings, or scrape away tough adhesive.
-
Depress or lift stubborn release tabs.
-
The metal spudger is not electrostatic discharge (ESD) safe. Irresponsible use may result in electrical shock or permanent injury.
-
Poor use may permanently damage your device.
-
Do not use this tool on exposed or fragile internal components, batteries, or glass screens.
 Ask FixBot
-
-
-
The plastic opening tool comes in a few different styles, and is your go-to tool for removing screens and separating cases. It has a very thin non-destructive edge that gets in between small cracks easily.
-
Lift zero insertion force (ZIF) tabs and disconnect cable connectors.
-
Pry open tightly sealed device cases.
-
Remove digitizers and glass screens.
-
Lift, cut, or remove tape, adhesive, and/or thermal paste.
-
-
Tool used on this step:Heavy-Duty Spudger$4.99
-
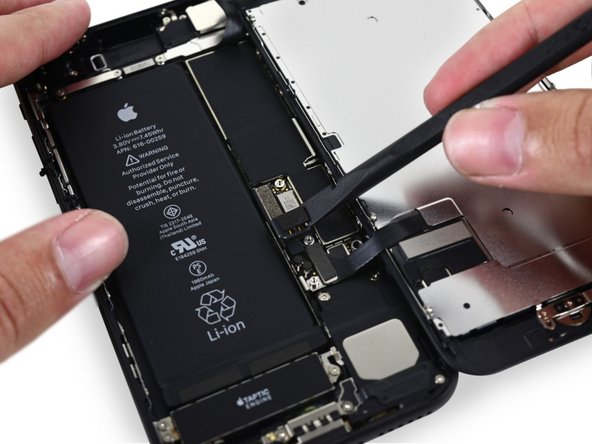
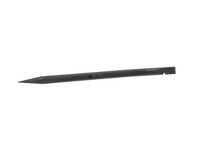
Your friendly neighborhood nylon spudger can do amazing things. With antistatic pointed and blunt tips, it’s a great all-around tool to use on internal components.
-
Disconnect cable connectors.
-
Pry components free.
-
Aid in soldering.
-
Remove thermal paste, adhesive, or tape.
-
-
Tool used on this step:Tweezers$4.99
-
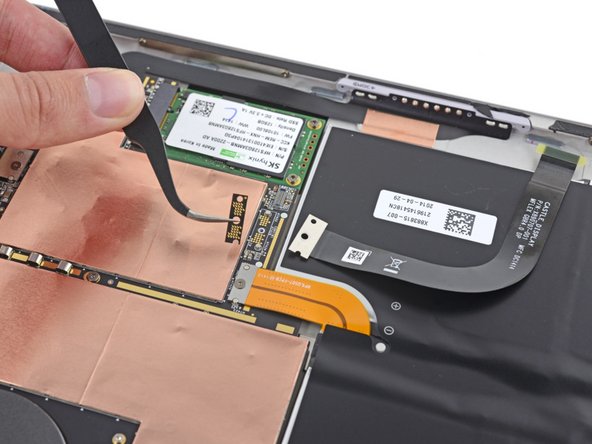
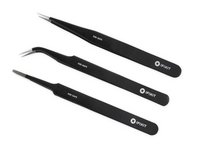
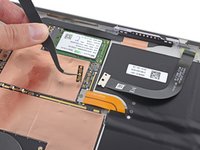
With blunt or curved tip options, the ESD safe tweezers are a tricksy little tool. They're especially helpful if you have thick, hobbitsy, fingers.
-
Remove loose screws or small components that are difficult to access.
-
Gently remove ribbon cables.
-
Peel heated panels after applying heat.
-
-
-
-
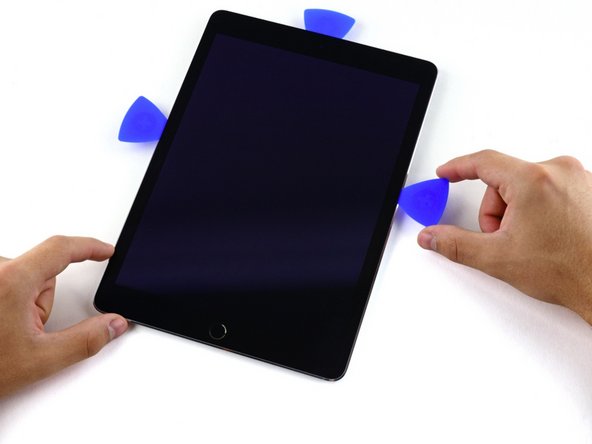
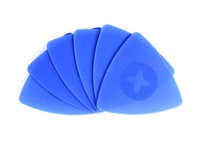
Opening picks are an industry favorite for maintaining a separation between screens and cases, or for breaking up long sections of adhesive. Feel free to explore your options.
-
Cut adhesive strips that secure screens.
-
Use as a placeholder to prevent large screens from receding back into the frame.
-
Scrape or remove adhesive or tape.
-
Apply or remove thermal paste.
-
-
-
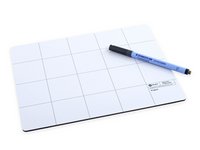
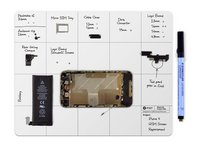
This handy mat can be your best friend during a replacement. Be sure to take advantage of the dry erase surface and keep track of your screws and steps along the way! You won't regret it.
-
-







Cancel: I did not complete this guide.
98 other people completed this guide.