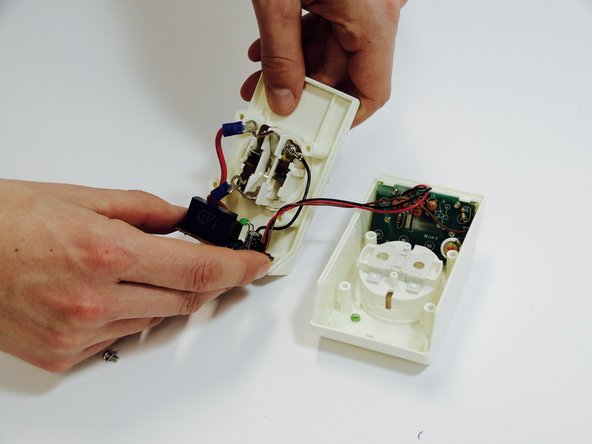
Timer Switch Relay Replacement

What you need

  1. Timer Switch Relay Replacement, Relay: step 1, image 1 of 2 Timer Switch Relay Replacement, Relay: step 1, image 2 of 2
    • Locate the screw holes.

  2. Timer Switch Relay Replacement: step 2, image 1 of 2 Timer Switch Relay Replacement: step 2, image 2 of 2
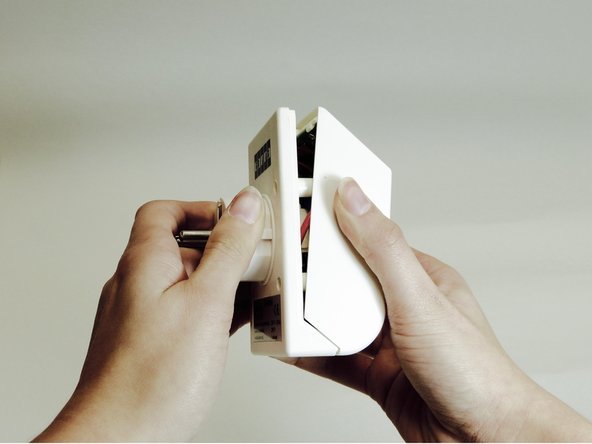
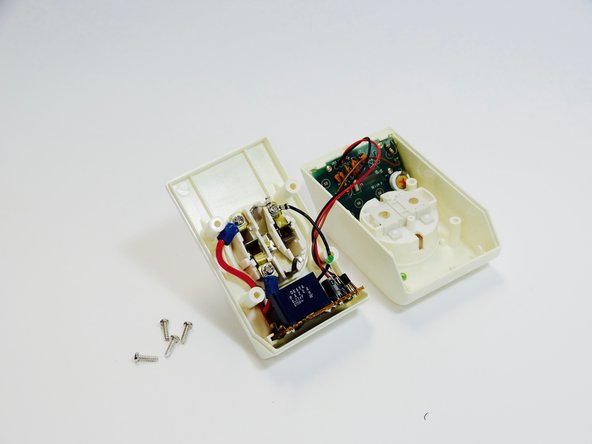
    • Use the #1 Phillips head screwdriver to remove the screws. This may cost some prying effort.

  3. Timer Switch Relay Replacement: step 3, image 1 of 2 Timer Switch Relay Replacement: step 3, image 2 of 2
    • Open the case by pulling the back case from the front case.

  4. Timer Switch Relay Replacement: step 4, image 1 of 3 Timer Switch Relay Replacement: step 4, image 2 of 3 Timer Switch Relay Replacement: step 4, image 3 of 3
    • Use the #1 Phillips head screwdriver to remove the screws on the inside.

  5. Timer Switch Relay Replacement: step 5, image 1 of 3 Timer Switch Relay Replacement: step 5, image 2 of 3 Timer Switch Relay Replacement: step 5, image 3 of 3
    • Pull the PCB (printed circuit board) from the case.

  6. Timer Switch Relay Replacement: step 6, image 1 of 3 Timer Switch Relay Replacement: step 6, image 2 of 3 Timer Switch Relay Replacement: step 6, image 3 of 3
    • Locate the relay.

    • Locate where the relay is connected to the PCB.

  7. Timer Switch Relay Replacement: step 7, image 1 of 3 Timer Switch Relay Replacement: step 7, image 2 of 3 Timer Switch Relay Replacement: step 7, image 3 of 3
    Tool used on this step:
    Desoldering Pump
    $3.99
    Buy
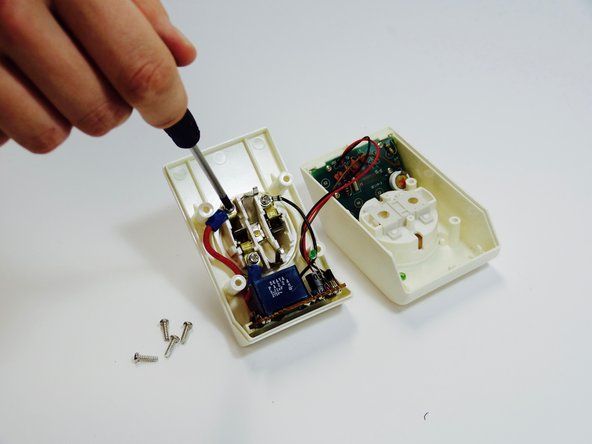
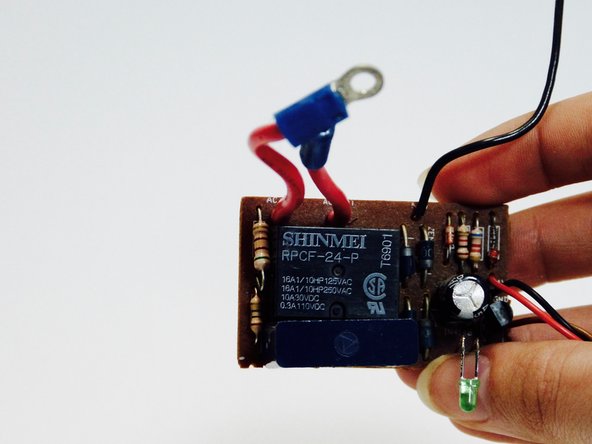
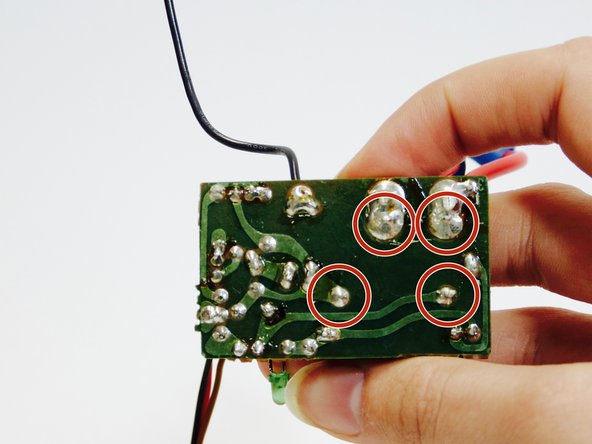
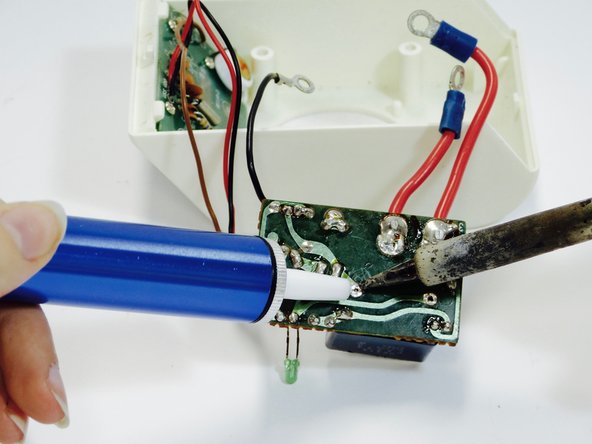
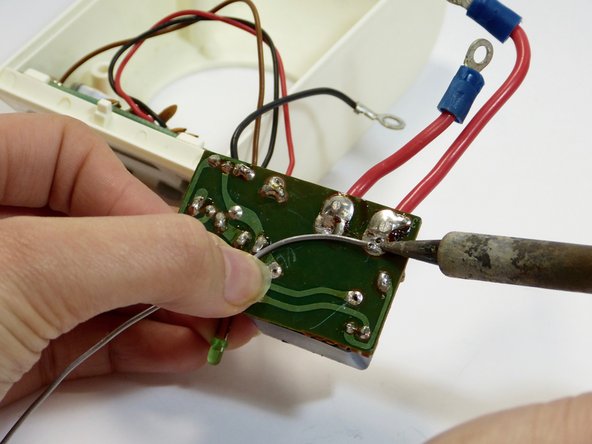
    • Melt the solder with the soldering iron.

    • Don't burn yourself by touching the hot soldering iron tip.

    • Use the desoldering pump to suck up the old solder.

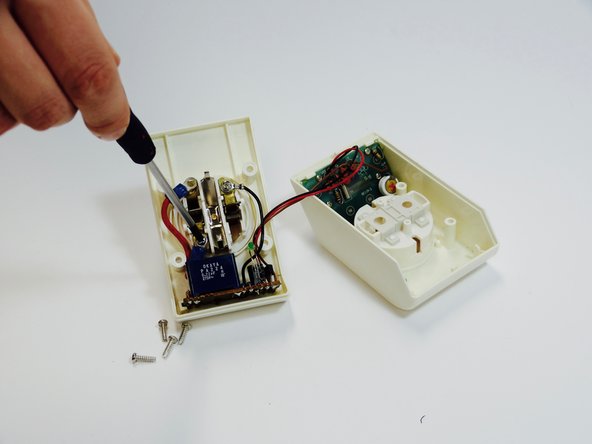
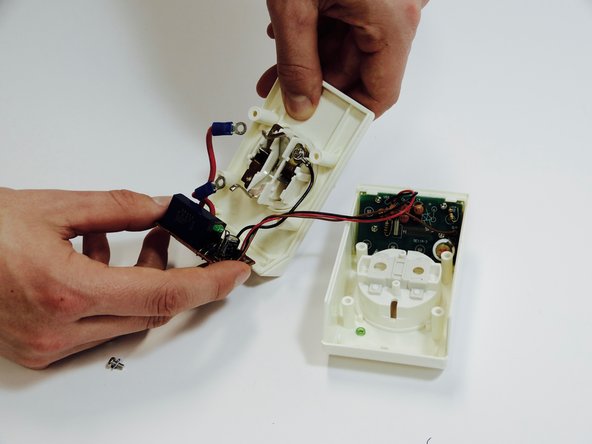
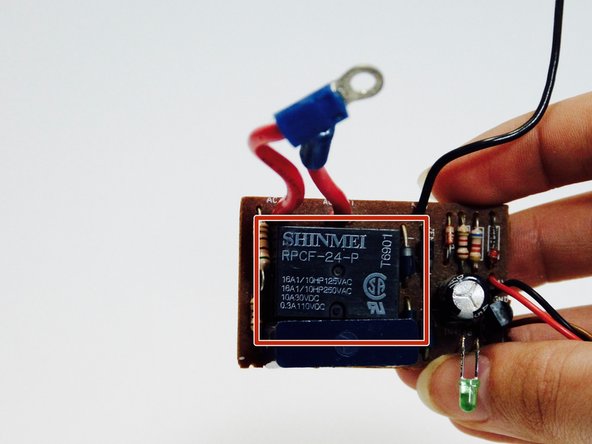
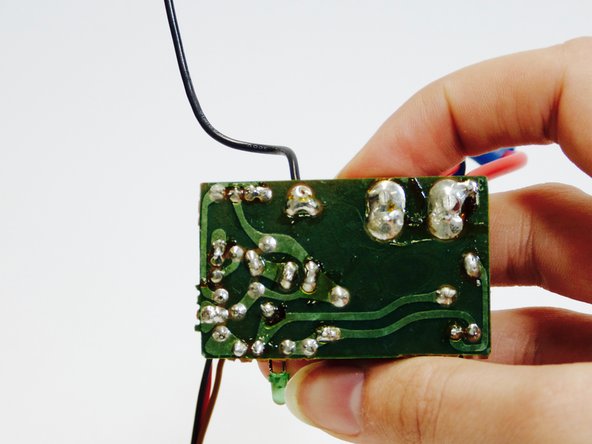
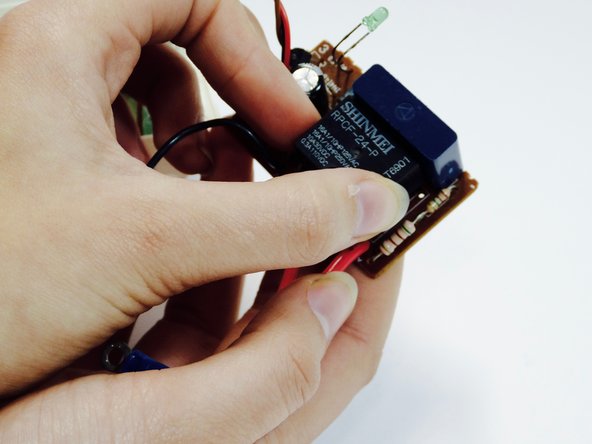
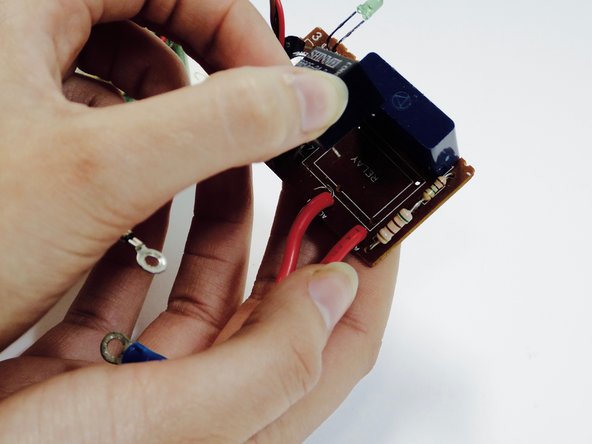
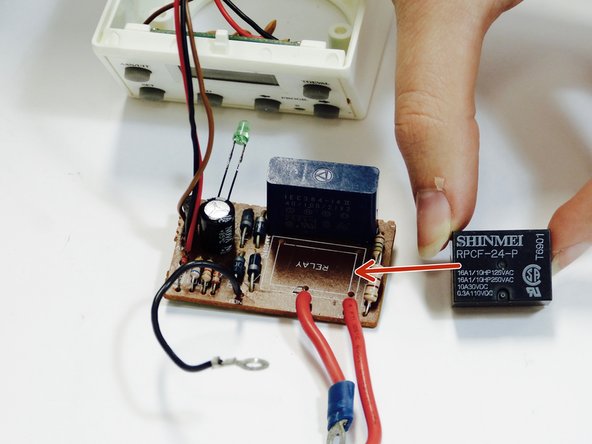
    • Pull the relay from the PCB.

  8. Timer Switch Relay Replacement: step 8, image 1 of 2 Timer Switch Relay Replacement: step 8, image 2 of 2
    • Put a new relay at the same place as the old relay.

    • Use new solder and the soldering iron to connect the new relay to the PCB.

    • Don't burn yourself by touching the hot soldering iron tip.

Conclusion

To reassemble your device, follow these instructions in reverse order.

One other person completed this guide.

One Comment

Very nice instruction, also for maintaining gardening equipment as a robotic lawnmower.

theodevries - Reply

Add Comment

View Statistics:

Past 24 Hours: 0

Past 7 Days: 0

Past 30 Days: 2

All Time: 771