
Tigerbox 1203 USB-C Port Repair

Xaver Meyer (savemyphone.de) and one other contributor
Last updated on Mar 14, 2026
Views: 2.4K
View statistics:
- Past 24 Hours:
- 9
- Past 7 Days:
- 64
- Past 30 Days:
- 282
- All Time:
- 2,378
Comments: 0
No one has left comments on this guide. Will you be first?
Go to guide commentsCompleted: 1 2
1 person has marked this guide "completed." Will you be next?
2 people have marked this guide "completed." Including you — great job!
Favorites: 1 2
1 person has favorited (and subscribed to) this guide. Will you be next?
2 people have favorited (and subscribed to) this guide — including you!
Community-Contributed Guide
An awesome member of our community made this guide. It was not created by iFixit staff.
Introduction
Go to step 1 ↓These instructions explain how to replace a faulty USB-C port on the Tigermedia Tigerbox with a new one.
What you need
Parts
Tools


-
-
-
We start at the bottom of the Tigerbox and loosen the five Phillips-head screws using a suitable PH00 screwdriver
 Ask FixBot
-
-
-
Next, remove the cover and unscrew the remaining Phillips-head screws
-
-
-
Once this is done, we carefully use tweezers to remove the connector cable for the bottom panel and slowly lift the dock connector out of the housing. Another connector cable becomes visible
-
-
-
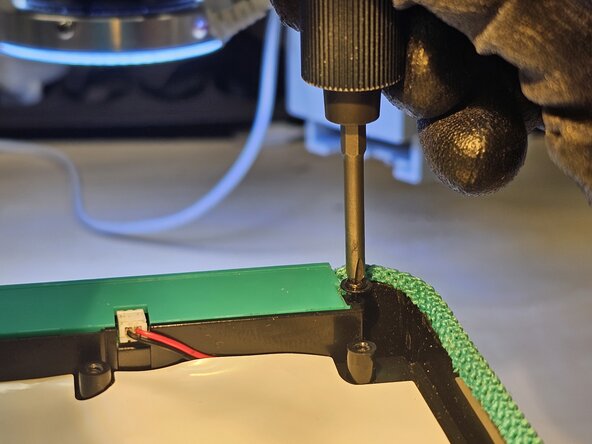
Once this connector has been removed, the dock connector is exposed, and you must remove two more screws from the dock connector before you can access the connector board.
-
-
-
Now remove the two screws and take out the circuit board along with the charging port.
-
-
-
Let's now turn our attention to the USB-C port. Thei can be purchased on eBay for around 5 EUR, for example. The port should be heated with a heat gun to loosen it. A temperature of approximately 320° C and a higher airflow setting are recommended
-
-
-
-
Once the defective USB-C port has been removed, clean the contact surfaces and apply fresh solder and flux. Then solder the new port in place.
-
-
-
With the new port in place, you can begin reassembling all the parts.
-
-
-
Once everything is back lin place, you have a repaired Tigerbox! Congratulations!
-
-




Follow the steps in reverse order to reassemble your device.
Cancel: I did not complete this guide.
One other person completed this guide.
Special thanks to these translators:
100%

oldturkey03 is helping us fix the world! Want to contribute?
Start translating ›

