ThinkPad Yoga 12 SSD Replacement

What you need

  1. ThinkPad Yoga 12 SSD Replacement, Screws: step 1, image 1 of 3 ThinkPad Yoga 12 SSD Replacement, Screws: step 1, image 2 of 3 ThinkPad Yoga 12 SSD Replacement, Screws: step 1, image 3 of 3
    • Remove the ten Phillips screws using a Philips 00 screwdriver

  2. ThinkPad Yoga 12 SSD Replacement, Prying: step 2, image 1 of 2 ThinkPad Yoga 12 SSD Replacement, Prying: step 2, image 2 of 2
    • Pry up the case carefully using a spudger.

    • Make sure to not push the spudger in too far, as this could result in internal damage

  3. ThinkPad Yoga 12 SSD Replacement, Lift off cover: step 3, image 1 of 1
    • Lift off the cover, and you're done!

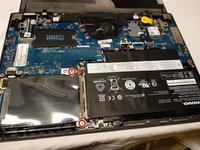
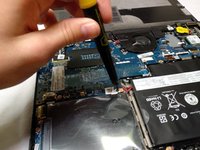
  4. ThinkPad Yoga 12 SSD Replacement, Remove SSD from the laptop: step 4, image 1 of 2 ThinkPad Yoga 12 SSD Replacement, Remove SSD from the laptop: step 4, image 2 of 2
    • Carefully remove two Phillips screws with a Phillips 0 screwdriver

    • Static sensitive components!

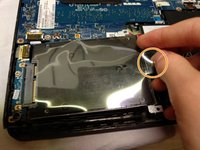
  5. ThinkPad Yoga 12 SSD Replacement: step 5, image 1 of 2 ThinkPad Yoga 12 SSD Replacement: step 5, image 2 of 2
    • Gently grab the plastic tab. Lift and pull the SSD assembly out of the computer

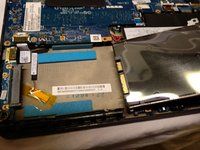
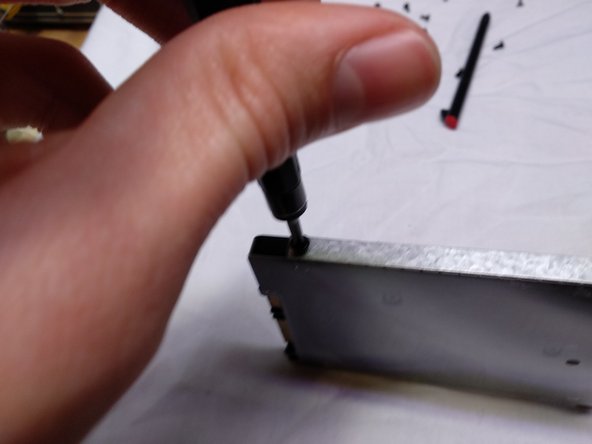
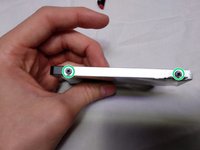
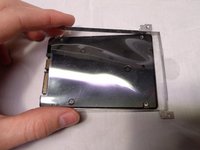
  6. ThinkPad Yoga 12 SSD Replacement, Remove enclosure: step 6, image 1 of 2 ThinkPad Yoga 12 SSD Replacement, Remove enclosure: step 6, image 2 of 2
    • Remove the 4 identical Phillips screws with a Phillips 00 screw driver (they are on both sides).

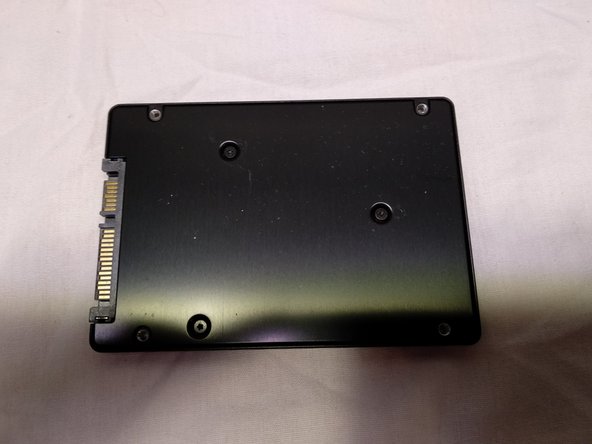
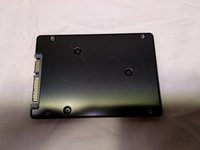
  7. ThinkPad Yoga 12 SSD Replacement, Done!: step 7, image 1 of 2 ThinkPad Yoga 12 SSD Replacement, Done!: step 7, image 2 of 2
    • Carefully remove the SSD enclosure.

    • Note: The SSD enclosure is made of thin metal. It can be easily deformed. Be careful when removing from the SSD.

Conclusion

To reassemble your device, follow these instructions in reverse order.

6 other people completed this guide.

[deleted]

Member since: 03/18/18

1,324 Reputation

3 Guides authored

One Comment

Almost perfect instructions. I do recommend removing the active pen first. Also it's a good idea to remind people that the active pen holder is screwed to the case cover from the inside and will come out as part of the cover.

Dani Deitch - Reply

Add Comment

View Statistics:

Past 24 Hours: 0

Past 7 Days: 1

Past 30 Days: 19

All Time: 4,865