Introduction
Als je een apparaat met een SCART-uitgang moet aansluiten op een ander apparaat met een 3-pins RCA-ingang, is deze adapterkabel onmisbaar. Zoals met elke kabel, is het echter belangrijk om ervoor te zorgen dat deze goed werkt om verbindingsproblemen of problemen met de beeldkwaliteit te voorkomen.
In deze handleiding laten we je stap voor stap zien hoe je een SCART-naar-RCA-adapterkabel kunt testen op continuïteit om er zeker van te zijn dat deze perfect werkt.
-
-
Connect the black wire to the COM terminal of the multimeter and the red wire to the V Ω terminal corresponding to the Voltage (V), the resistance (Ω).
-
-
-
-
Set the multimeter to the sound symbol signifying the continuity test and you should see a sound symbol appear on the screen
-
-
-
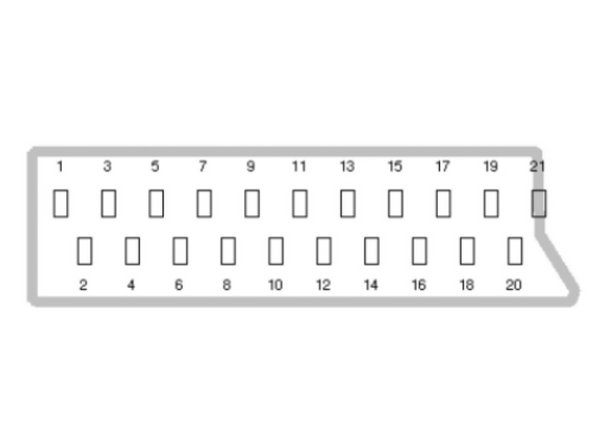
1. Multimeter rings = pin chosen by the two terminals matched
-
2. Multimeter does not ring = change the terminal on the scart plug and if none rings then the cable is damaged
-
You can now know which pins correspond to which signal
-


Volg de instructies in omgekeerde volgorde om het apparaat weer in elkaar te zetten.
Volg de instructies in omgekeerde volgorde om het apparaat weer in elkaar te zetten.
Special thanks to these translators:
100%


These translators are helping us fix the world! Want to contribute?
Start translating ›
