Free Shipping on Domestic Orders $75+

Teddy Ruxpin Arm Button Replacement

What you need

    1. Teddy Ruxpin Arm Button Replacement, Battery: step 1, image 1 of 2 Teddy Ruxpin Arm Button Replacement, Battery: step 1, image 2 of 2
      • Remove the vest covering the back of the bear.

      • Orient the bear with his back facing upwards and unscrew the single Phillips #2 screw.

      • Captured screws will stay in place, no need to worry about losing this one!

      Ask FixBot

      Add Comment

    2. Teddy Ruxpin Arm Button Replacement: step 2, image 1 of 1
      • Pull the tab outward to remove the protective plate for the batteries.

      Ask FixBot

      Add Comment

    3. Teddy Ruxpin Arm Button Replacement: step 3, image 1 of 1
      • Remove all four AA batteries by pushing the positive end down and pulling the battery out toward yourself.

      Ask FixBot

      Add Comment

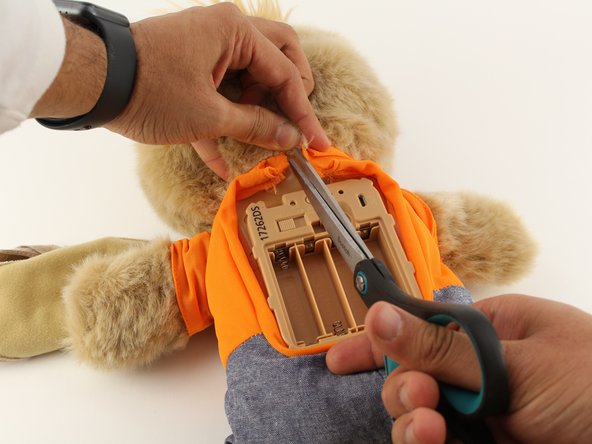
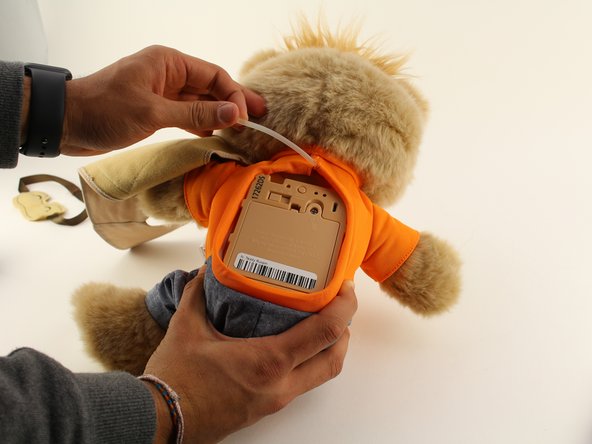
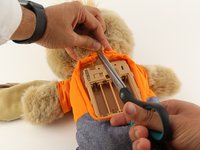
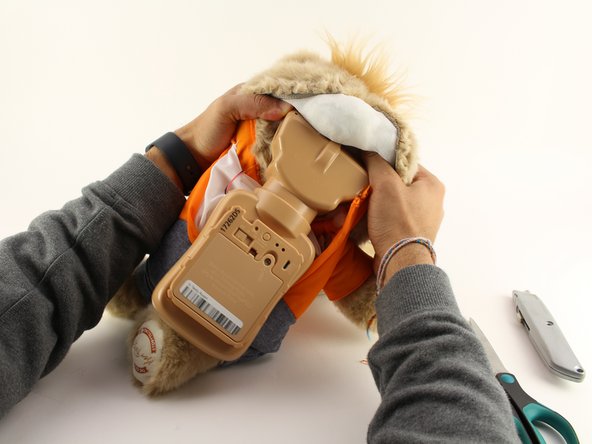
    1. Teddy Ruxpin Arm Button Replacement, Arms: step 4, image 1 of 3 Teddy Ruxpin Arm Button Replacement, Arms: step 4, image 2 of 3 Teddy Ruxpin Arm Button Replacement, Arms: step 4, image 3 of 3
      • Cut the orange shirt and zip tie.

      • Remove the zip tie.

      Ask FixBot

      Add Comment

    2. Teddy Ruxpin Arm Button Replacement: step 5, image 1 of 1
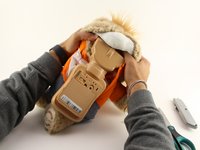
      • Cut across the back seam of the head of the bear along the arrow.

      • This damages the bear's exterior and will require resewing.

      Ask FixBot

      Add Comment

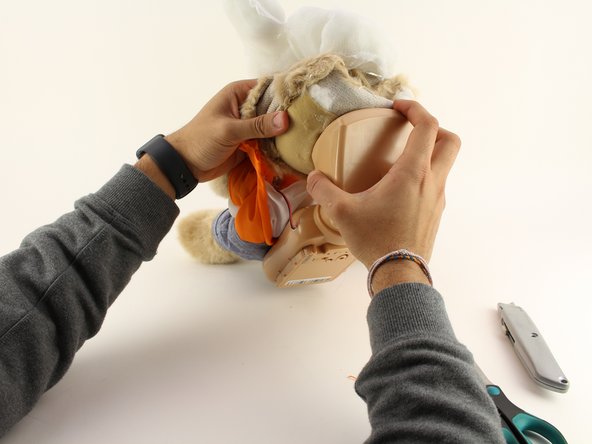
    3. Teddy Ruxpin Arm Button Replacement: step 6, image 1 of 3 Teddy Ruxpin Arm Button Replacement: step 6, image 2 of 3 Teddy Ruxpin Arm Button Replacement: step 6, image 3 of 3
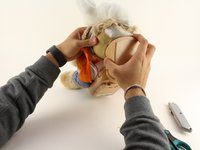
      • Remove the interior of the doll.

      • Peel the outer layer around the head of the bear and forcefully pry off the face of the bear from the outside layer of the bear.

      • This will be difficult and require significant force, but do not fear about breaking the doll at this stage.

      Ask FixBot

      Add Comment

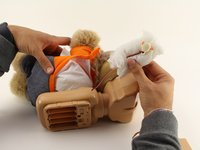
    4. Teddy Ruxpin Arm Button Replacement: step 7, image 1 of 2 Teddy Ruxpin Arm Button Replacement: step 7, image 2 of 2
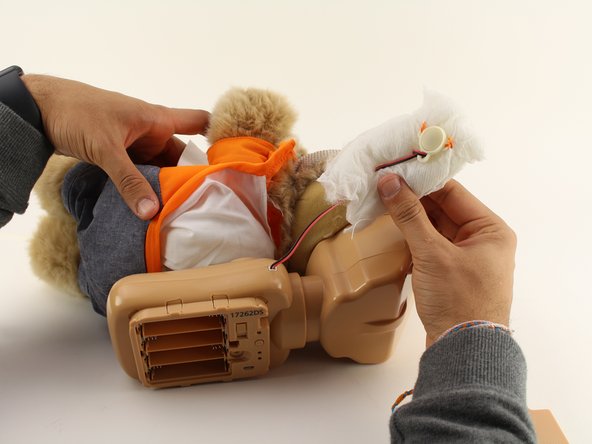
      • Extract each arm button.

      • Pull on the stuffing of the bear and not the wire to remove the arm button.

      Ask FixBot

      Add Comment

    5. Teddy Ruxpin Arm Button Replacement: step 8, image 1 of 2 Teddy Ruxpin Arm Button Replacement: step 8, image 2 of 2
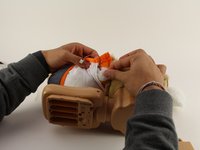
      • Pull off the rest of the outside layer of the bear.

      Ask FixBot

      Add Comment

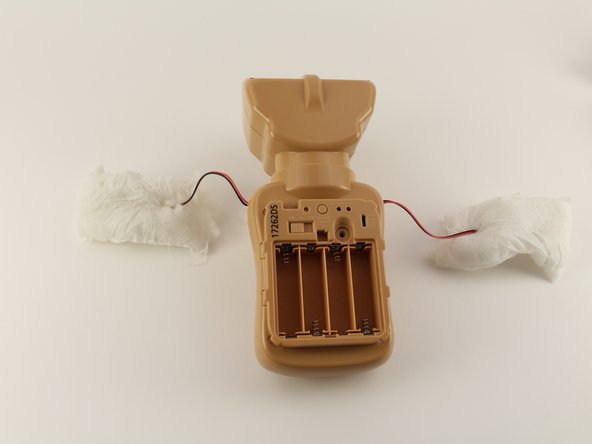
    6. Teddy Ruxpin Arm Button Replacement: step 9, image 1 of 1
      • Unplug the arms from the main body.

      Ask FixBot

      Add Comment

Conclusion

To reassemble your device, follow these instructions in reverse order.

Cancel: I did not complete this guide.

4 other people completed this guide.

Lauren

Member since: 01/23/20

226 Reputation

2 Guides authored

Team

Cal Poly, Team S18-G5, White Winter 2020 Member of Cal Poly, Team S18-G5, White Winter 2020

CPSU-WHITE-W20S18G5

4 Members

77 Guides authored

4 Guide Comments

All you need are screwdrivers? The most important part is left out! New buttons? Where, how?

embalmerjules - Reply Share

And how do you replace it?! This just says how to take out old buttons!

Summer-Lynn Morente - Reply Share

So has anyone figured out how to replace the button?

knrobinson83 - Reply Share

The plastic part of the button is what broke in my daughter's Teddy Ruxpin. She had a similar toy with a button in its hand that she no longer played with, so I took the plastic button part out of the old toy and fit it onto Teddy Ruxpin. I used the same wires and threaded them through the plastic button, then resoldered the wires to the small board in the button. Works perfectly now.

Eliza Zollicoffer - Reply Share

Add Comment

View Statistics:

Past 24 Hours: 0

Past 7 Days: 6

Past 30 Days: 25

All Time: 1,531