This translation was generated by a machine and has not been reviewed by a person yet. Speak this language? Review it.
-
-
-
Normally, when we perform a teardown of a device where we need to remove knobs to continue with the disassembly phase (as is the case with this guitar pedal), we can try to pull them off by hand so as not to damage them or the casing.
-
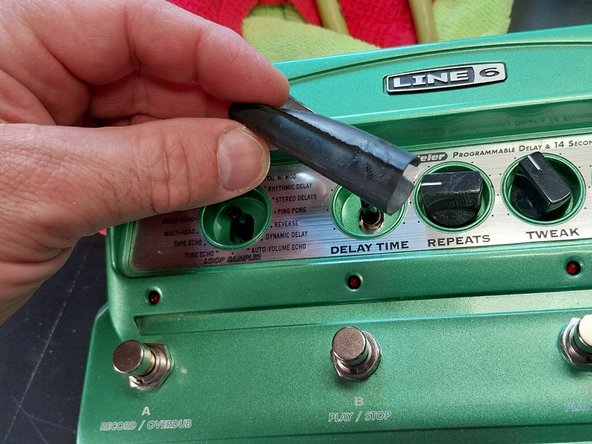
If this is not possible because the knobs are in a recessed or deep position in the casing (as in the photo example), we can try to remove them by holding them with pliers, but there is a high risk of scratching or deforming them. Holding them with a piece of cloth is sometimes not the solution, as it slips and the pliers slide off.
-
A disassembly solution that works very well is to use a piece of rubber. For example, a piece of bicycle inner tube is very high-quality rubber that has many uses in DIY; if we wash it beforehand with water and dish soap, it has even greater grip once dried.
 Ask FixBot
-
-
-
-
Press down on the button and, using flat-nose pliers or universal pliers, carefully pull the button off.
-
I hope this DIY method is useful for future device teardowns.
-
-




Cancel: I did not complete this guide.
One other person completed this guide.

