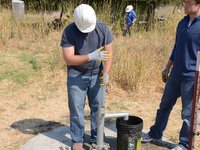
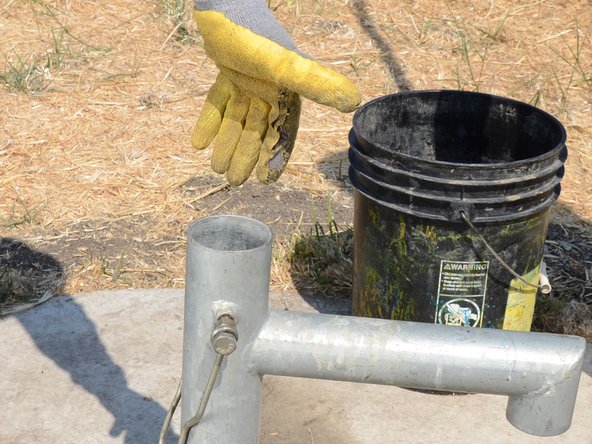
15% Off Selected iFixit Tools — Limited Time
Free Shipping on Domestic Orders $75+

Tara Foot Valve Replacement

What you need

  1. Tara Foot Valve Replacement, Handle: step 1, image 1 of 1
    • Before performing any repairs, perform a water test on the pump by raising and lowering the handle a full 40 strokes. A properly performing pump will yield greater than 10 liters.

    • Use a Tara tool to loosen the jam nuts on either side of the pump.

    • The bolts do not need to be loosened or removed, only the nuts need to be loosened.

    Ask FixBot

    Add Comment

  2. Tara Foot Valve Replacement: step 2, image 1 of 3 Tara Foot Valve Replacement: step 2, image 2 of 3 Tara Foot Valve Replacement: step 2, image 3 of 3
    • Unscrew the lock bolts about half an inch.

    • The bolts do not need to be removed from the base.

    Ask FixBot

    Add Comment

  3. Tara Foot Valve Replacement: step 3, image 1 of 2 Tara Foot Valve Replacement: step 3, image 2 of 2
    • Pull the plastic bushing and handle straight up out of the pump.

    • If the bushing doesn't come up, loosen the lock bolts further.

    Ask FixBot

    Add Comment

  4. Tara Foot Valve Replacement: step 4, image 1 of 2 Tara Foot Valve Replacement: step 4, image 2 of 2
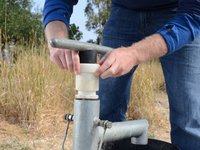
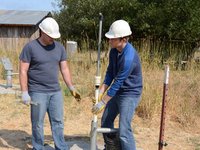
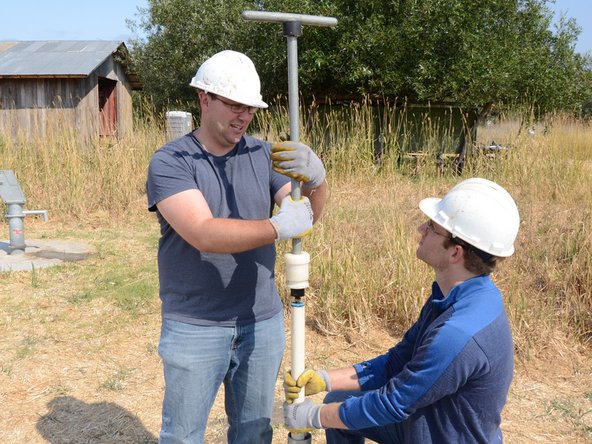
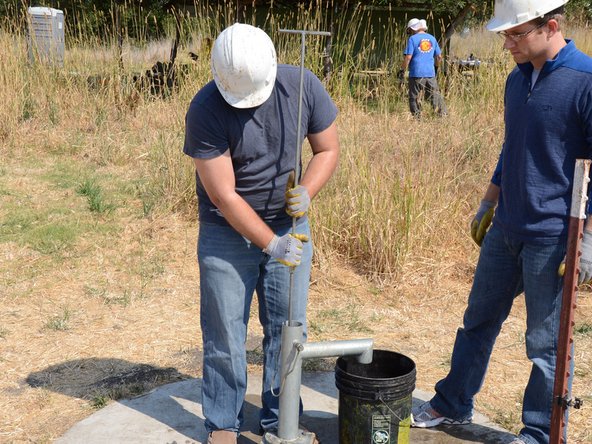
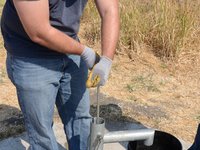
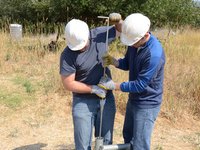
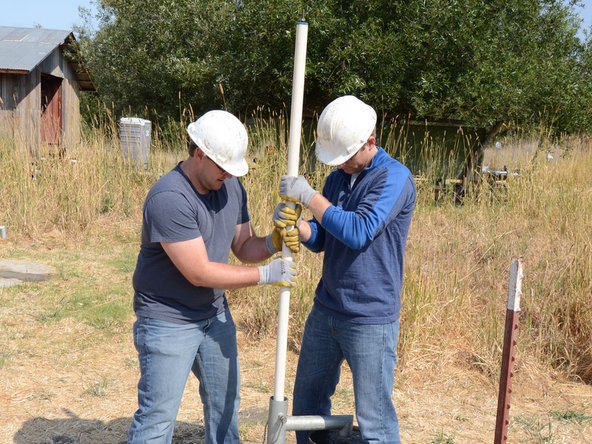
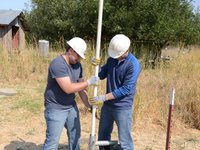
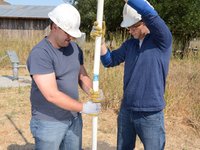
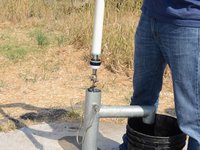
    • Lift up the handle and riser main until the joint between the two is at a comfortable height to work on.

    Ask FixBot

    Add Comment

  5. Tara Foot Valve Replacement: step 5, image 1 of 3 Tara Foot Valve Replacement: step 5, image 2 of 3 Tara Foot Valve Replacement: step 5, image 3 of 3
    • Loosen the jam nut beneath the pump handle using the Tara tool.

    Ask FixBot

    Add Comment

  6. Tara Foot Valve Replacement: step 6, image 1 of 2 Tara Foot Valve Replacement: step 6, image 2 of 2
    • Unscrew the pump handle from the top of the riser main.

    • Make sure someone is tightly holding the lower portion of the riser main to prevent losing it down the well.

    Ask FixBot

    Add Comment

  7. Tara Foot Valve Replacement: step 7, image 1 of 2 Tara Foot Valve Replacement: step 7, image 2 of 2
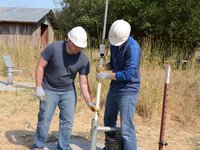
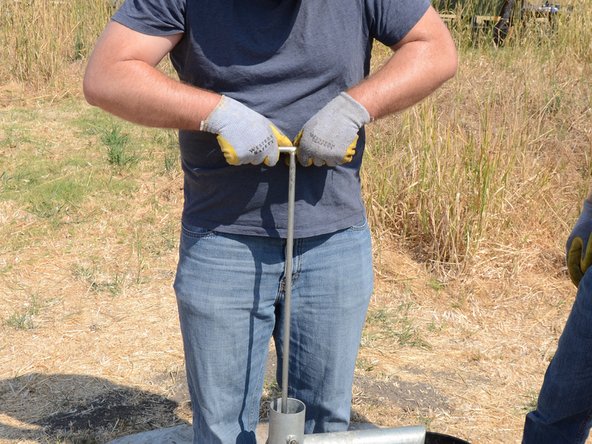
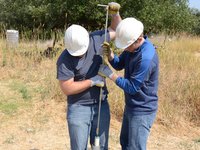
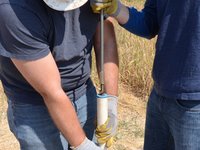
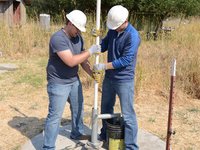
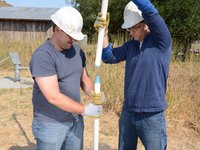
    • Lift and remove the handle from the pump. Store the handle in a sanitary place to prevent contamination.

    Ask FixBot

    Add Comment

  8. Tara Foot Valve Replacement, Pump Rod: step 8, image 1 of 3 Tara Foot Valve Replacement, Pump Rod: step 8, image 2 of 3 Tara Foot Valve Replacement, Pump Rod: step 8, image 3 of 3
    • Screw the T-handle onto the top of the riser main.

    Ask FixBot

    Add Comment

  9. Tara Foot Valve Replacement: step 9, image 1 of 2 Tara Foot Valve Replacement: step 9, image 2 of 2
    • Tighten the jam nut up against the base of the T-handle.

    Ask FixBot

    Add Comment

  10. Tara Foot Valve Replacement: step 10, image 1 of 3 Tara Foot Valve Replacement: step 10, image 2 of 3 Tara Foot Valve Replacement: step 10, image 3 of 3
    • Use the T-handle to push the riser main back down into the well.

    Ask FixBot

    Add Comment

  11. Tara Foot Valve Replacement: step 11, image 1 of 3 Tara Foot Valve Replacement: step 11, image 2 of 3 Tara Foot Valve Replacement: step 11, image 3 of 3
    • Once the riser main hits the bottom, turn the T-handle while pushing down.

    • This will hook the foot valve onto the traveling valve, allowing you to pull the two out of the well together.

    • You should feel some resistance if the foot valve is successfully attached.

    Ask FixBot

    Add Comment

  12. Tara Foot Valve Replacement: step 12, image 1 of 2 Tara Foot Valve Replacement: step 12, image 2 of 2
    • Use the T-handle to pull the riser main straight up out of the well.

    • Take care to pull up slowly to ensure the foot valve does not get released from the hook at the end of the riser main.

    Ask FixBot

    Add Comment

  13. Tara Foot Valve Replacement: step 13, image 1 of 2 Tara Foot Valve Replacement: step 13, image 2 of 2
    • Continue pulling the riser main up from the well.

    • Pull the riser main until the base of the T-handle is at a comfortable height to work on.

    Ask FixBot

    Add Comment

  14. Tara Foot Valve Replacement: step 14, image 1 of 3 Tara Foot Valve Replacement: step 14, image 2 of 3 Tara Foot Valve Replacement: step 14, image 3 of 3
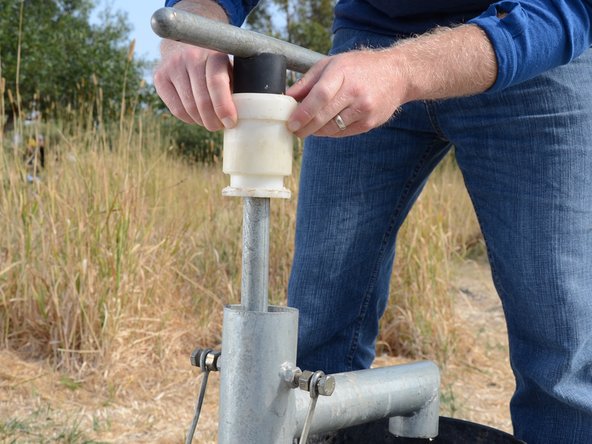
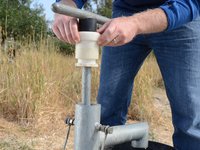
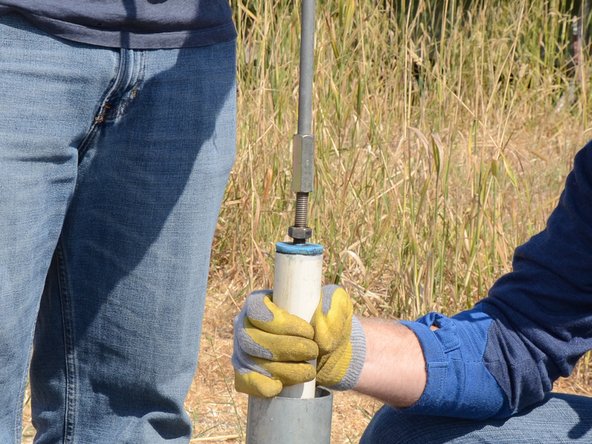
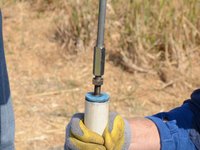
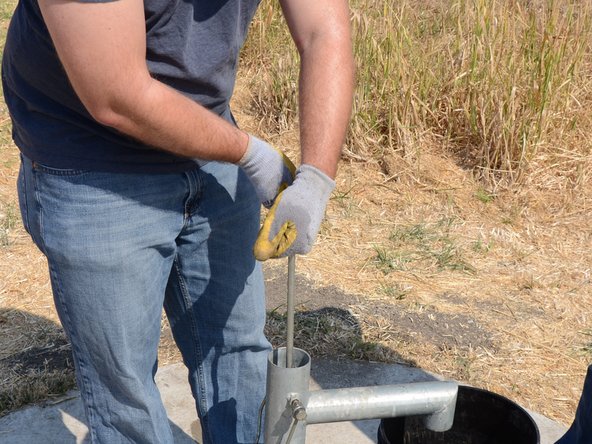
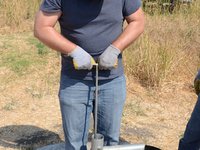
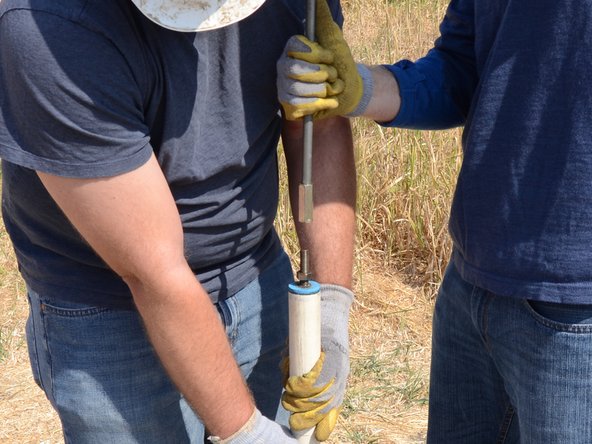
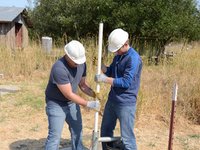
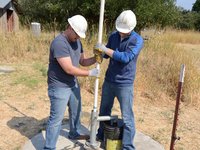
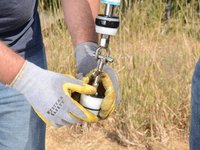
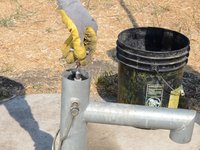
    • Loosen the jam nut from the base of the T-handle.

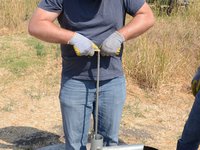
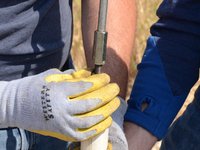
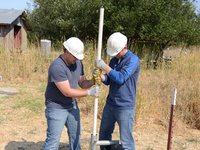
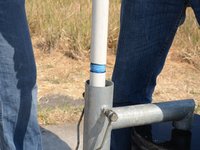
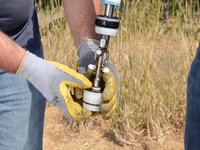
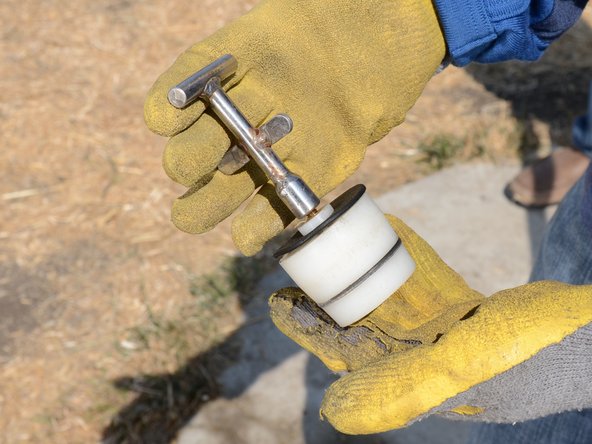
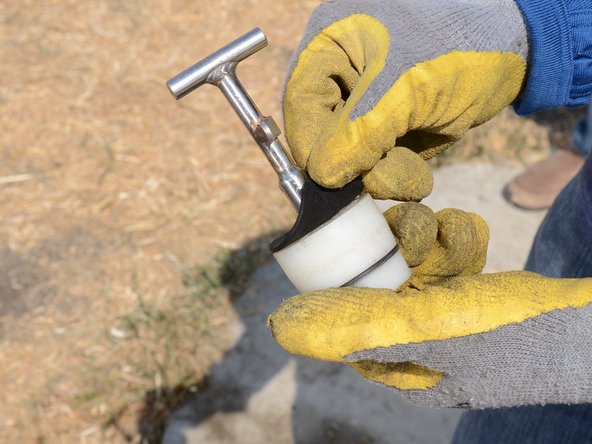
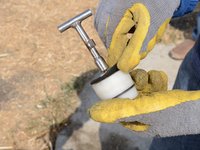
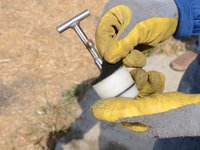
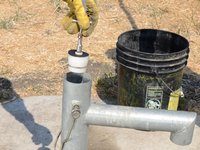
    • Unscrew the T-handle from the top of the riser main.

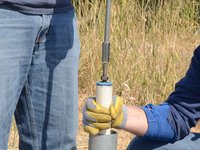
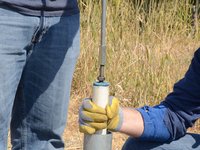
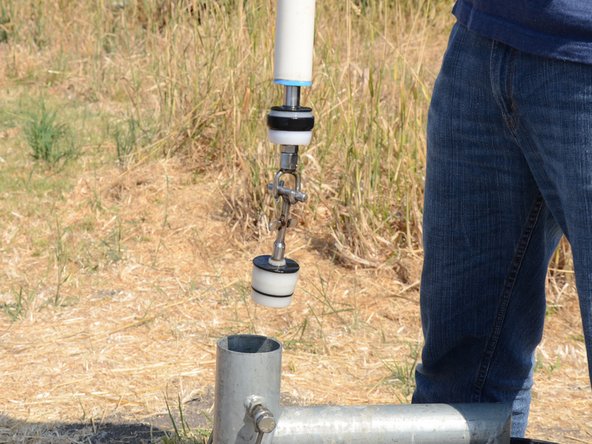
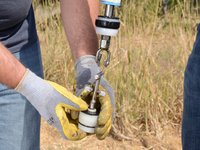
    • Remove the T-handle, making sure to hold the remaining end of the riser main to prevent dropping it down the well.

    Ask FixBot

    Add Comment

  15. Tara Foot Valve Replacement: step 15, image 1 of 3 Tara Foot Valve Replacement: step 15, image 2 of 3 Tara Foot Valve Replacement: step 15, image 3 of 3
    • Continue to pull the riser main out of the well.

    Ask FixBot

    Add Comment

  16. Tara Foot Valve Replacement: step 16, image 1 of 3 Tara Foot Valve Replacement: step 16, image 2 of 3 Tara Foot Valve Replacement: step 16, image 3 of 3
    • Keep pulling until the first joint is exposed.

    • Lift the joint up to a comfortable working height.

    Ask FixBot

    Add Comment

  17. Tara Foot Valve Replacement: step 17, image 1 of 3 Tara Foot Valve Replacement: step 17, image 2 of 3 Tara Foot Valve Replacement: step 17, image 3 of 3
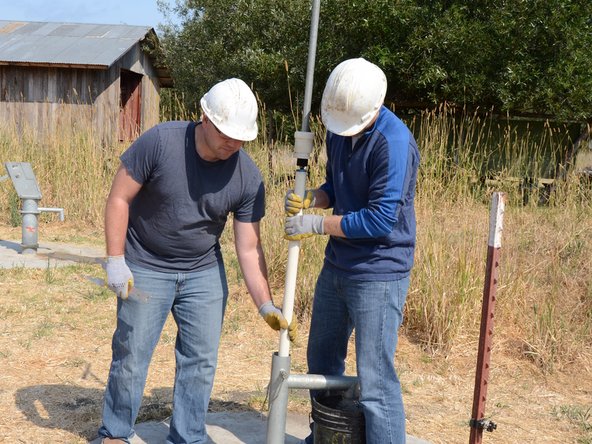
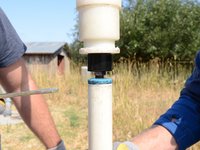
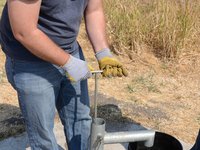
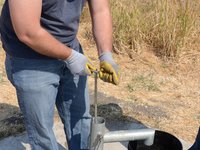
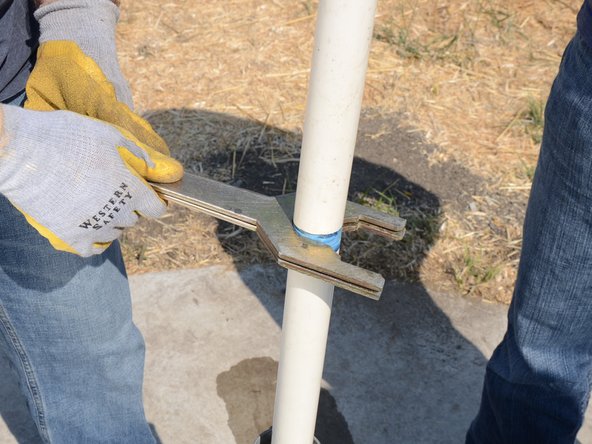
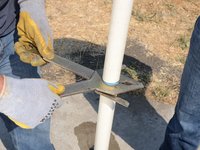
    • Use two wrenches to loosen the top section of riser main from the lower section.

    • Unscrew the top section of the riser main.

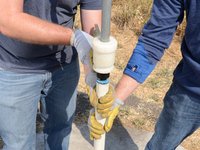
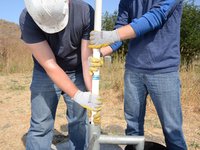
    • Make sure someone is holding the remaining section of the riser main.

    Ask FixBot

    Add Comment

  18. Tara Foot Valve Replacement: step 18, image 1 of 3 Tara Foot Valve Replacement: step 18, image 2 of 3 Tara Foot Valve Replacement: step 18, image 3 of 3
    • Remove the top section of the riser main.

    Ask FixBot

    Add Comment

  19. Tara Foot Valve Replacement: step 19, image 1 of 1
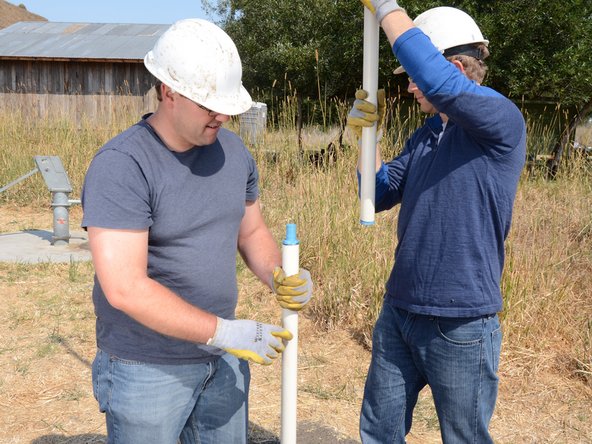
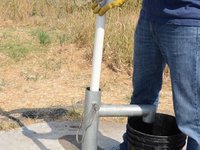
    • Lay the first section of riser main in a sanitary place to prevent contamination.

    • Repeat the previous procedure to remove the remaining sections of the riser main from the well.

    • Lay each new piece in the order it was removed to aid in reassembly.

    Ask FixBot

    Add Comment

  20. Tara Foot Valve Replacement: step 20, image 1 of 3 Tara Foot Valve Replacement: step 20, image 2 of 3 Tara Foot Valve Replacement: step 20, image 3 of 3
    • The last section of riser main will have the traveling valve screwed on to the end, and the foot valve hooked onto the traveling valve.

    • Be careful not to allow the foot valve to release from the hook by pulling slowly on the riser main.

    Ask FixBot

    Add Comment

  21. Tara Foot Valve Replacement: step 21, image 1 of 3 Tara Foot Valve Replacement: step 21, image 2 of 3 Tara Foot Valve Replacement: step 21, image 3 of 3
    • Lift and twist the foot valve to unhook it from the traveling valve.

    Ask FixBot

    Add Comment

  22. Tara Foot Valve Replacement: step 22, image 1 of 1
    • Once the riser main and valves have been removed from the well, place a rag over the top to prevent accidentally dropping anything down the well.

    Ask FixBot

    Add Comment

  23. Tara Foot Valve Replacement, Foot Valve: step 23, image 1 of 3 Tara Foot Valve Replacement, Foot Valve: step 23, image 2 of 3 Tara Foot Valve Replacement, Foot Valve: step 23, image 3 of 3
    • Inspect the foot valve for signs of wear or damage.

    Ask FixBot

    Add Comment

  24. Tara Foot Valve Replacement: step 24, image 1 of 3 Tara Foot Valve Replacement: step 24, image 2 of 3 Tara Foot Valve Replacement: step 24, image 3 of 3
    • When reassembling the pump, drop the foot valve down the well in the proper orientation, and follow the directions in reverse.

    Ask FixBot

    Add Comment

Conclusion

To reassemble your device, follow these instructions in reverse order.

Cancel: I did not complete this guide.

Sam Goldheart

Member since: 10/18/12

477,480 Reputation

538 Guides authored

Team

iFixit Member of iFixit

Staff

122 Members

26,055 Guides authored

0 Guide Comments

Add Comment

View Statistics:

Past 24 Hours: 0

Past 7 Days: 6

Past 30 Days: 33

All Time: 869