Taillight Bulb Replacement on a Volkswagen Jetta (2011 - 2018)

What you need

  1. Taillight Bulb Replacement on a Volkswagen Jetta (2011 - 2018), Taillight Bulb: step 1, image 1 of 1
    • Open the trunk of your vehicle.

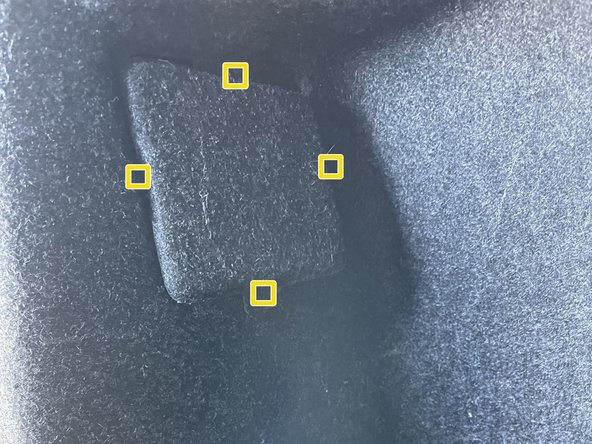
  2. Taillight Bulb Replacement on a Volkswagen Jetta (2011 - 2018): step 2, image 1 of 1
    • Locate the fabric access cover.

    • The fabric access cover is located right behind the the taillight.

  3. Taillight Bulb Replacement on a Volkswagen Jetta (2011 - 2018): step 3, image 1 of 1
    • Gently pull out the access panel.

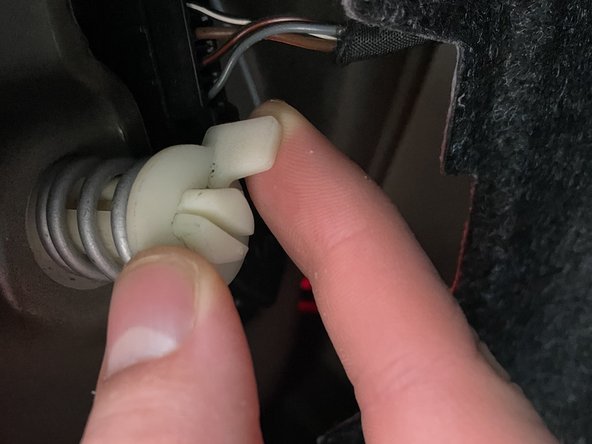
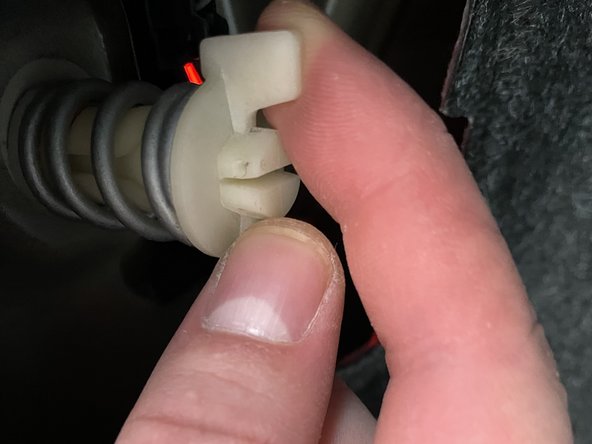
  4. Taillight Bulb Replacement on a Volkswagen Jetta (2011 - 2018): step 4, image 1 of 3 Taillight Bulb Replacement on a Volkswagen Jetta (2011 - 2018): step 4, image 2 of 3 Taillight Bulb Replacement on a Volkswagen Jetta (2011 - 2018): step 4, image 3 of 3
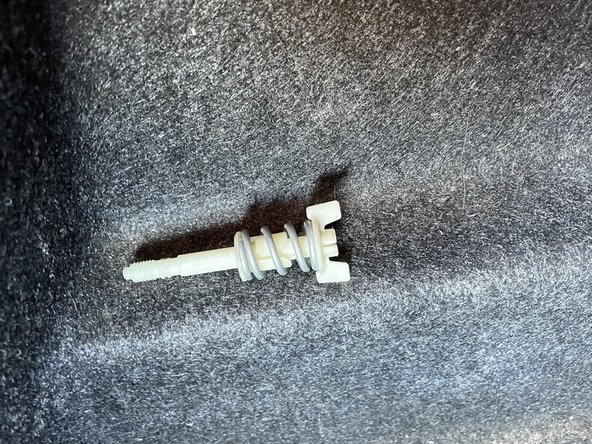
    • Start unscrewing the large plastic screw counter-clockwise.

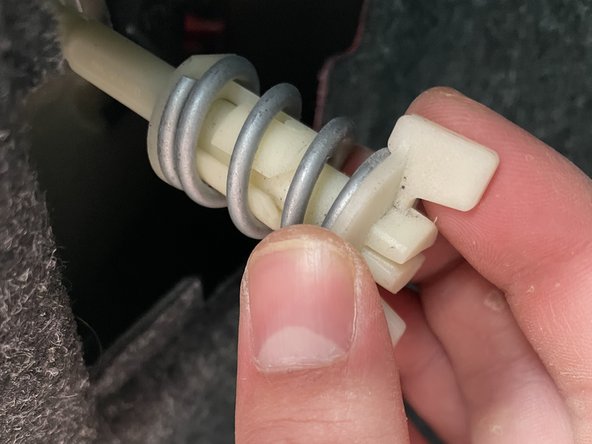
  5. Taillight Bulb Replacement on a Volkswagen Jetta (2011 - 2018): step 5, image 1 of 1
    • Place the screw in a safe spot.

  6. Taillight Bulb Replacement on a Volkswagen Jetta (2011 - 2018): step 6, image 1 of 2 Taillight Bulb Replacement on a Volkswagen Jetta (2011 - 2018): step 6, image 2 of 2
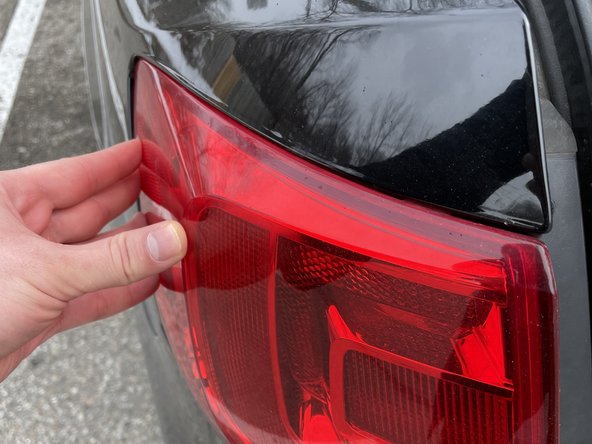
    • Remove the taillight assembly by gently wiggling it out with both hands.

  7. Taillight Bulb Replacement on a Volkswagen Jetta (2011 - 2018): step 7, image 1 of 3 Taillight Bulb Replacement on a Volkswagen Jetta (2011 - 2018): step 7, image 2 of 3 Taillight Bulb Replacement on a Volkswagen Jetta (2011 - 2018): step 7, image 3 of 3
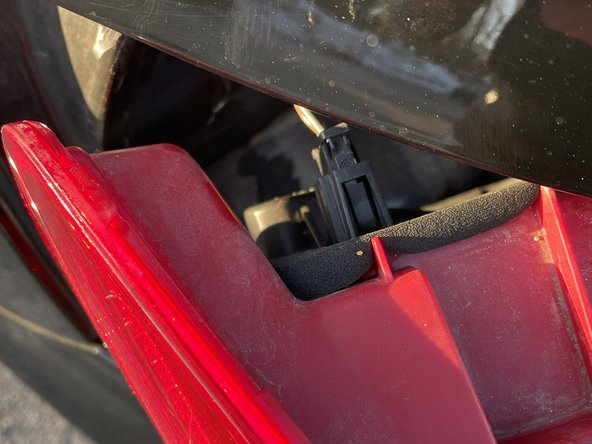
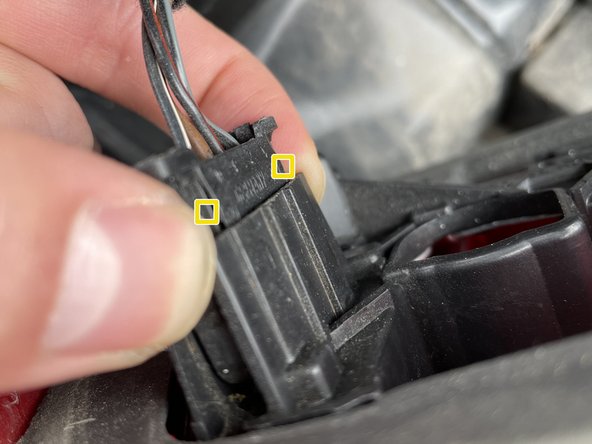
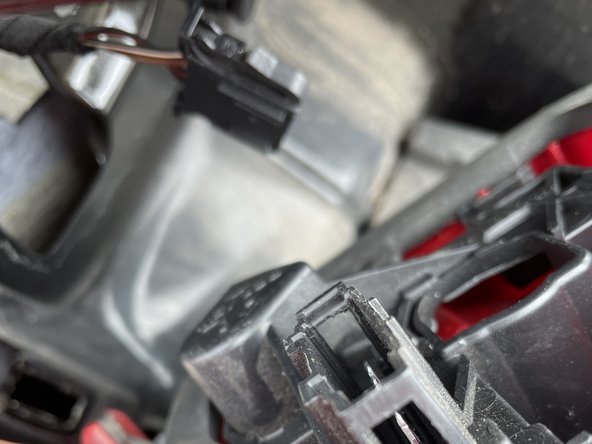
    • Unplug the taillight power plug by pinching both tabs to release the plug.

  8. Taillight Bulb Replacement on a Volkswagen Jetta (2011 - 2018): step 8, image 1 of 1
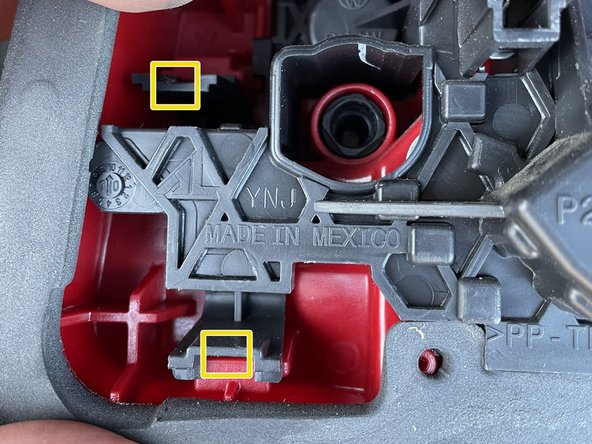
    • Pinch the two release tabs towards each other and lift the bulb bracket out of the tail housing.

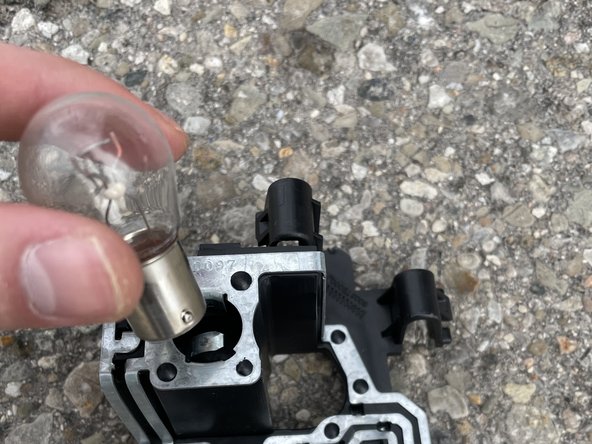
  9. Taillight Bulb Replacement on a Volkswagen Jetta (2011 - 2018): step 9, image 1 of 3 Taillight Bulb Replacement on a Volkswagen Jetta (2011 - 2018): step 9, image 2 of 3 Taillight Bulb Replacement on a Volkswagen Jetta (2011 - 2018): step 9, image 3 of 3
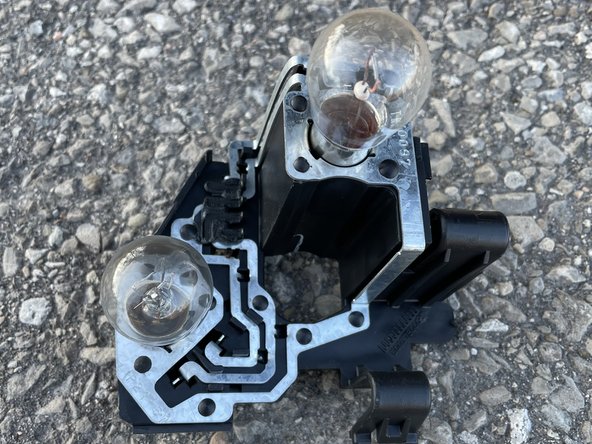
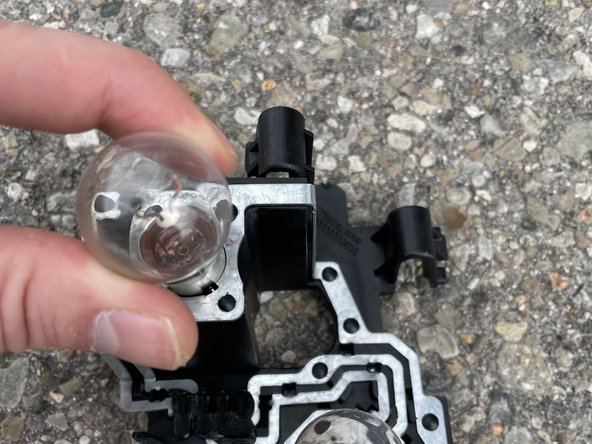
    • Gently turn the bulb counter-clockwise until you can pull it out.

    • Don't squeeze the bulb too hard as it could break.

Conclusion

To reassemble your device, follow these instructions in reverse order.

Krystian Krys

Member since: 01/16/23

169 Reputation

1 Guide authored

0 Comments

Add Comment

View Statistics:

Past 24 Hours: 19

Past 7 Days: 114

Past 30 Days: 547

All Time: 3,689