Introduction
This guide will walk you through how to remove the power port in your Dell Inspiron 15-7548.
What you need
-
-
Remove the six 6 mm screws from the back panel with a Phillips #1 screwdriver.
-
Loosen the four captive screws at the bottom using a Phillips #1 screwdriver.
 Ask FixBot
-
-
-
-
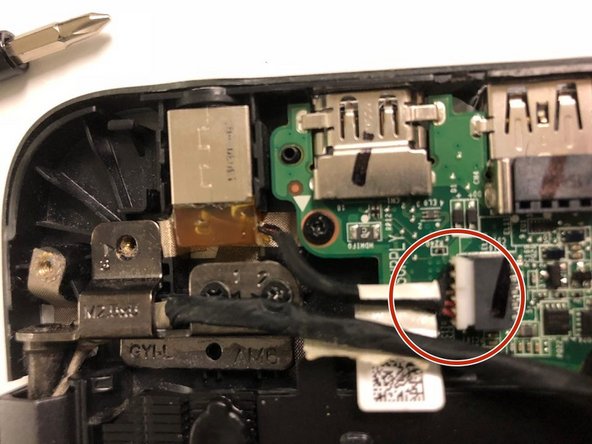
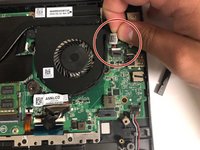
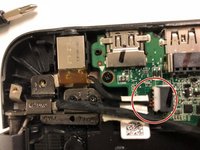
Grab the wires and lightly pull to remove the power port from the motherboard.
-


To reassemble your device, follow these instructions in reverse order.
Cancel: I did not complete this guide.
One other person completed this guide.

Team

University of North Texas, Team S7-G3, Thompson Fall 2018 Member of University of North Texas, Team S7-G3, Thompson Fall 2018
UNT-THOMPSON-F18S7G3
3 Members
5 Guides authored
