Introduction
In this guide, we will show you how to replace a cracked screen. First, you will need to dismantle the tablet. During this step, make sure not to overuse force as this may lead to tearing the wires inside or even breaking the plastic tabs that hold the tablet together. A broken screen will not respond to finger touch signals making this a necessary repair.
What you need
-
-
Gently insert a metal wedge into the crease on the side of the tablet.
-
Use a plastic prying tool to crack the side of the tablet open.
-
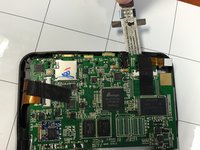
Once you have opened the tablet, use a plastic prying tool in order to remove the speaker in the backside of the tablet. This will enable you to properly separate both sides of the tablet.
 Ask FixBot
-
-
-
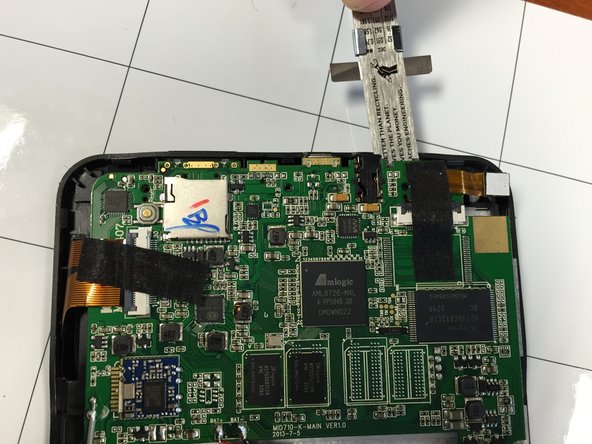
There are ribbon wires on the sides of tablet. You will need to unhook the ribbon wires attached to the screen in order to secure them from tearing. The ribbon wires connect the mother board and the screen.
-
-
-
-
There are 3 Ph 00 screws (4 mm long) that connect the motherboard to the tablet. These screws are indicated in the image by special markers. Once you have located these screws, unscrew them.
-
-
-
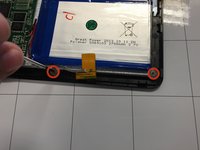
In order to remove the inner screen, you must first unscrew the screws connecting the screen to the tablet using a ph 00 screw driver. The screws are 3mm in length.
-
Next, using a prying tool, gently remove the inner screen.
-


To reassemble your device, follow these instructions in reverse order.
Cancel: I did not complete this guide.
2 other people completed this guide.