Introduction
Use this guide to replace the RAM.
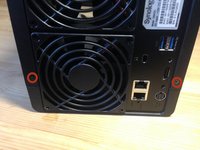
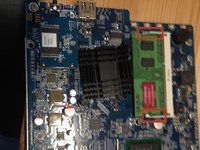
The processor in the DS412+ supports DDR3 800/1066MHz RAM modules
What you need
-
-
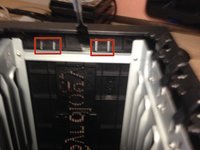
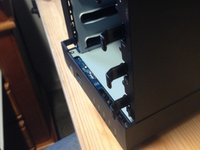
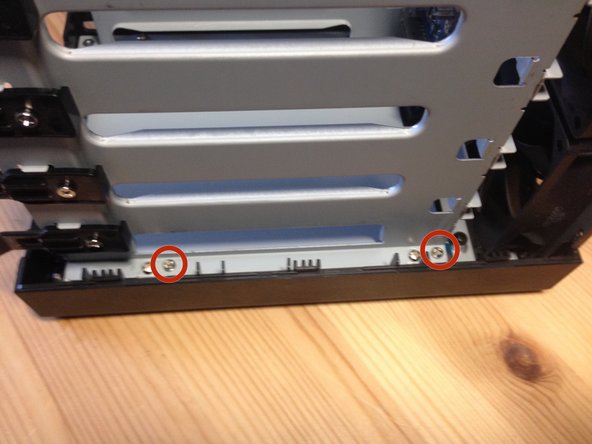
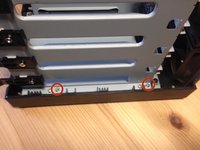
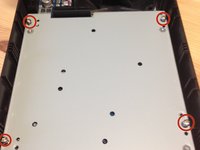
Locate those 2 tabs on the left side inside the device.
-
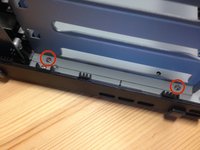
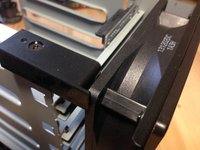
Lift them up off the metal brace
-
-
-
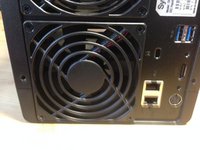
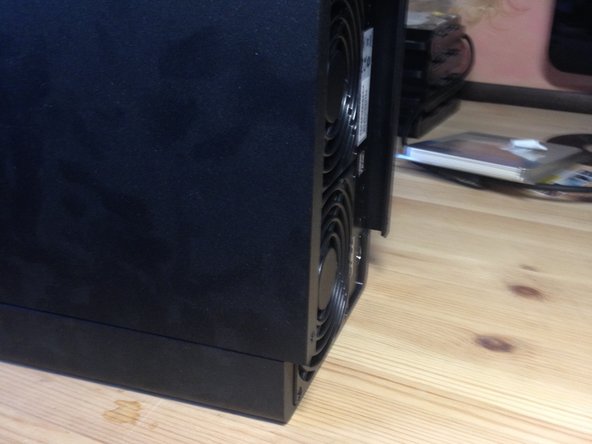
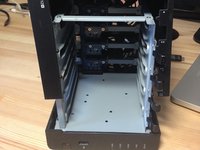
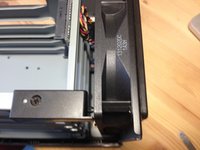
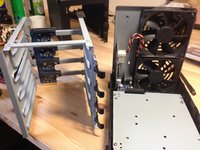
With the NAS on its right side, lift up the enclosure, mind the tabs on the top of the case.
-
-
-
-
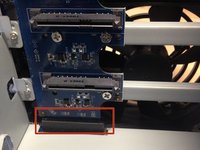
Pull these tabs and remove the ram
-
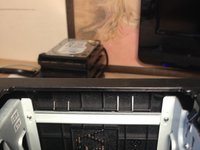
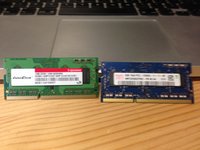
Old and new Ram
-
The old RAM's part number is: M3SN-1GSFCCM7-GA14
-
To reassemble your device, follow these instructions in reverse order.
-


To reassemble your device, follow these instructions in reverse order.
Cancel: I did not complete this guide.
35 other people completed this guide.
19 Guide Comments
Hi is it also possible with a Synology ds216play? Or is the RAM not modular in this Drives?
Thank you for the guide, just to ease it up a bit for everybody following, the best way to pull the two tabs from step 4 was to use small spoon (or anything metal) and use it as a crowbar from the inside (do not try to put force from the outer rim, but really from inside of the Synology itself (against the metal beam the tabs are holding to).
Thank you very much.
did these steps and now my DS412+ won't boot anymore. just the blue power light for a few seconds, no hard drive or fan will turn on.
after putting the old RAM in the slot nothing changed. cannot find any error, how do I find out what's wrong here???