Swiffer WetJet Motor Replacement

What you need

  1. Swiffer WetJet Motor Replacement, Swiffer WetJet Motor Replacement: step 1, image 1 of 3 Swiffer WetJet Motor Replacement, Swiffer WetJet Motor Replacement: step 1, image 2 of 3 Swiffer WetJet Motor Replacement, Swiffer WetJet Motor Replacement: step 1, image 3 of 3
    • Remove the cleaning solution, batteries and the battery container.

    • Use a Phillips #1 screwdriver to remove the screw (1.4x6.0mm) at the bottom of the WetJet.

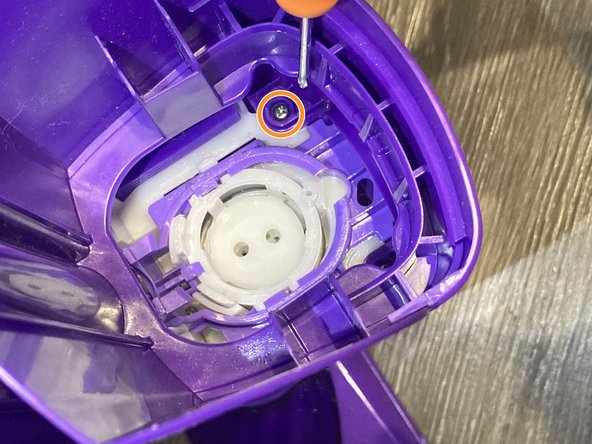
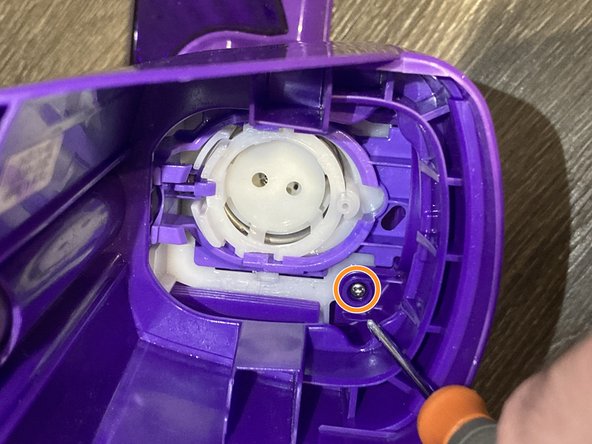
    • Remove two more screws (1.4x5.0mm) in the interior where the cleaning solution is placed.

  2. Swiffer WetJet Motor Replacement: step 2, image 1 of 2 Swiffer WetJet Motor Replacement: step 2, image 2 of 2
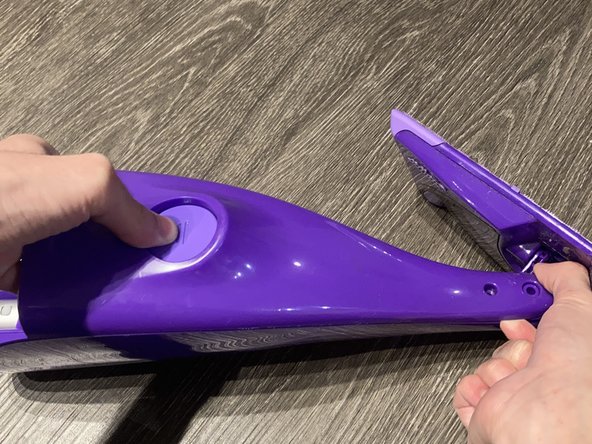
    • Use two hands to remove the cover of the Swiffer by lifting the bottom part with one hand while with the other hand pull the cover from the cleaning solution release button.

  3. Swiffer WetJet Motor Replacement: step 3, image 1 of 1
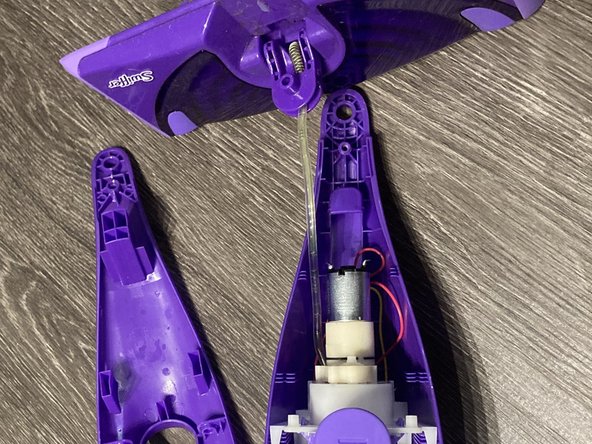
    • Dissasemble the head of the Swiffer WetJet to leave the engine alone and be able to work with it freely.

  4. Swiffer WetJet Motor Replacement: step 4, image 1 of 1
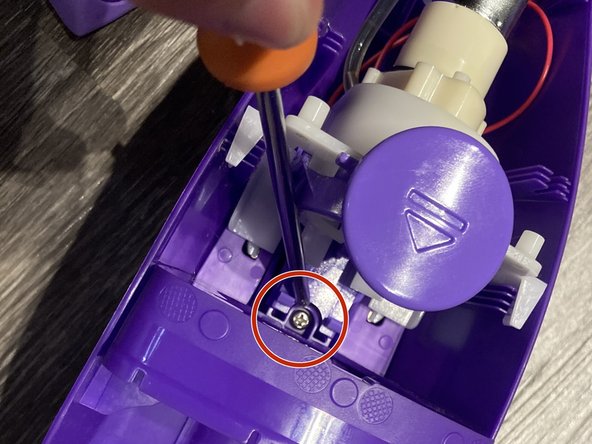
    • Remove the internal screw (1.4x5.0mm) that holds the release cleaning solution button.

  5. Swiffer WetJet Motor Replacement: step 5, image 1 of 1
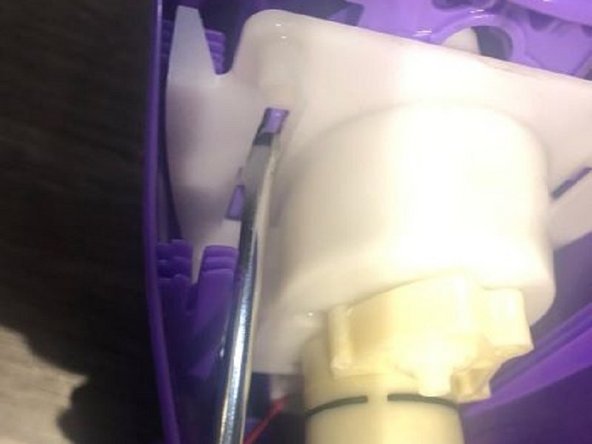
    • With a flathead screwdriver (1/4), deatach the button to release the cleaning solution by lifting it with your hands.

  6. Swiffer WetJet Motor Replacement: step 6, image 1 of 2 Swiffer WetJet Motor Replacement: step 6, image 2 of 2
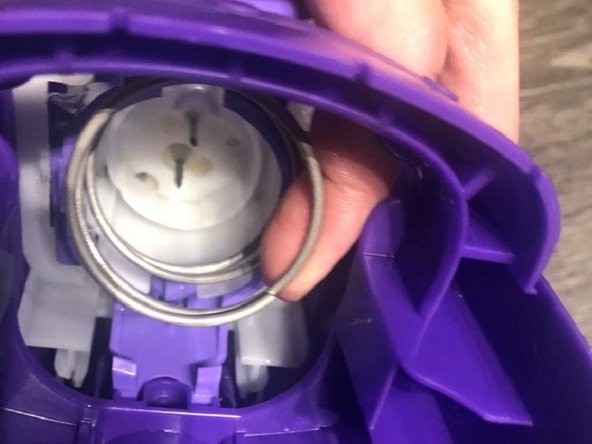
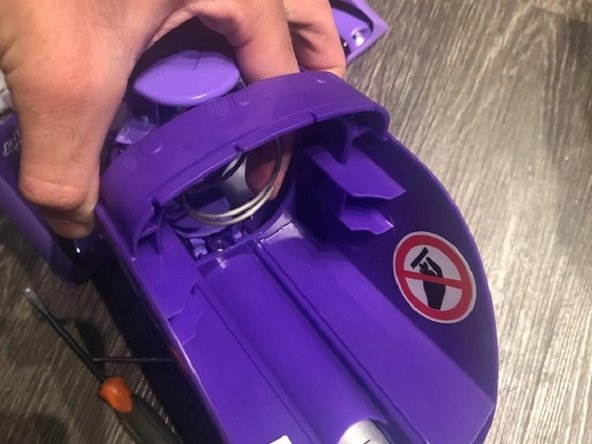
    • Remove the spring of the release button.

  7. Swiffer WetJet Motor Replacement: step 7, image 1 of 1
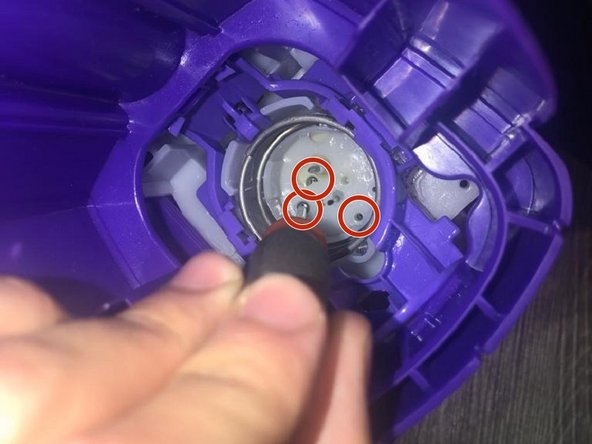
    • Use a Phillips #0 screwdriver to remove the three screws (1.4x6.0mm) that hold the motor compartment.

  8. Swiffer WetJet Motor Replacement: step 8, image 1 of 2 Swiffer WetJet Motor Replacement: step 8, image 2 of 2
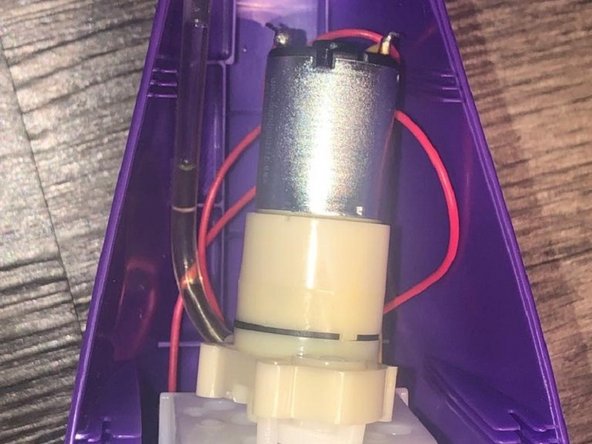
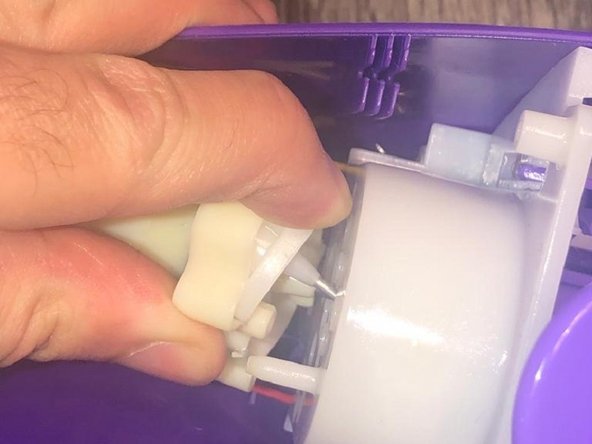
    • Once removed detach the motor.

  9. Swiffer WetJet Motor Replacement: step 9, image 1 of 3 Swiffer WetJet Motor Replacement: step 9, image 2 of 3 Swiffer WetJet Motor Replacement: step 9, image 3 of 3
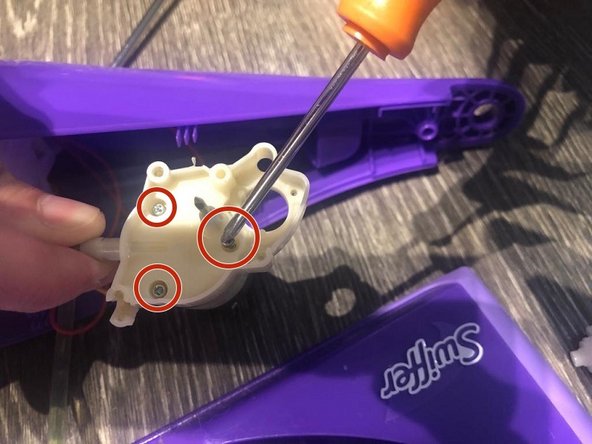
    • Using the same Phillips screwdriver (#0) remove another three screws (1.2x10mm) to release the motor.

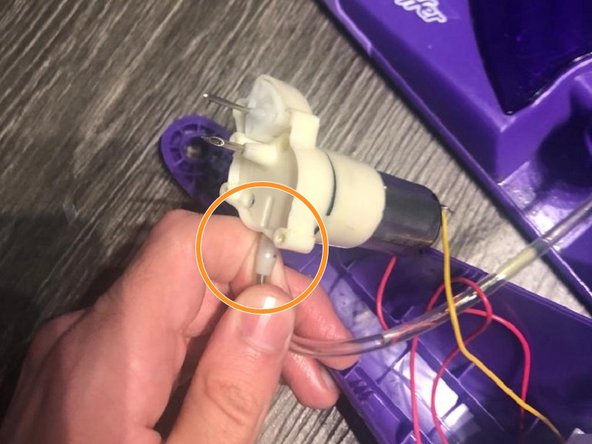
    • Detach the cleaning solution tube.

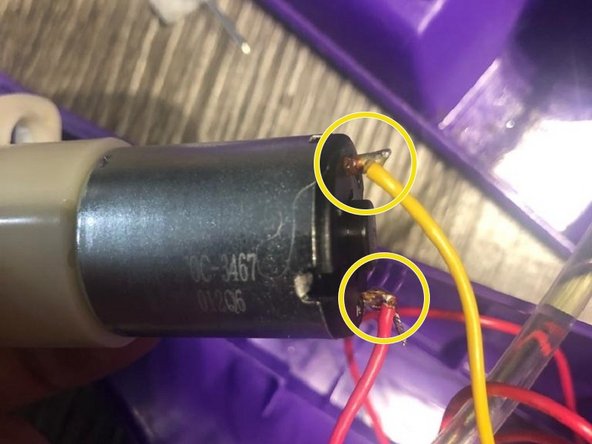
    • Remove the two power cables and the motor will be released.

Conclusion

To reassemble your device, follow these instructions in reverse order.

Jose Barbera Tirado

Member since: 09/21/23

169 Reputation

1 Guide authored

0 Comments

Add Comment

View Statistics:

Past 24 Hours: 2

Past 7 Days: 26

Past 30 Days: 152

All Time: 703