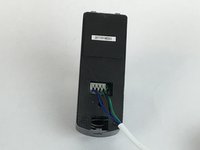
Swann Doorphone Video Intercom Wire Replacement

What you need

  1. Swann Doorphone Video Intercom Wire Replacement, Wire: step 1, image 1 of 3 Swann Doorphone Video Intercom Wire Replacement, Wire: step 1, image 2 of 3 Swann Doorphone Video Intercom Wire Replacement, Wire: step 1, image 3 of 3
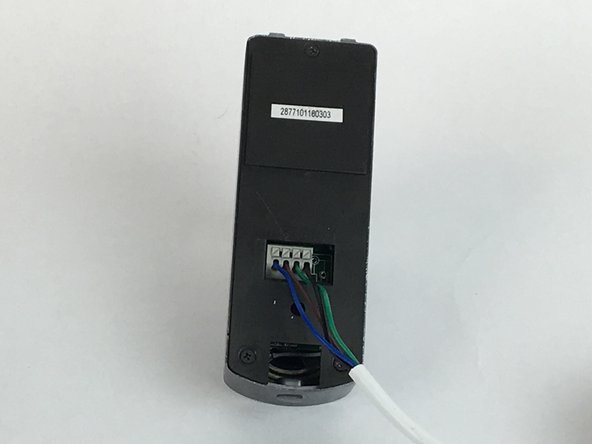
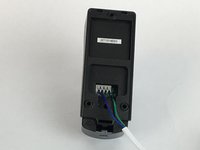
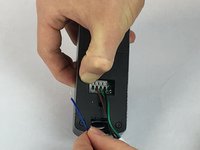
    • Flip the monitor of the Swann Doorphone over so that the underside is facing up.

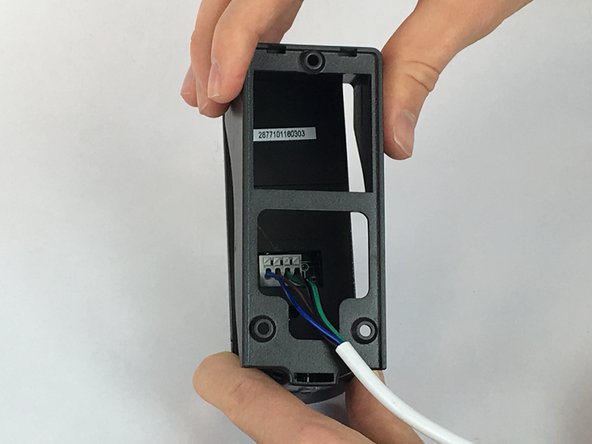
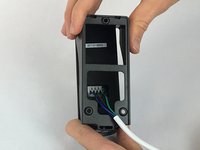
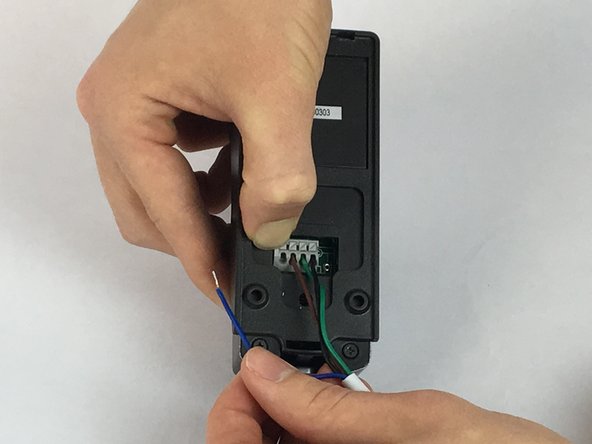
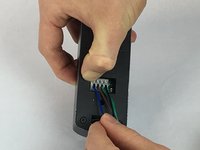
    • Grip the sides of the black rectangular frame where they extend outwards and pull down.

    • After pulling down, pull the frame towards you to remove it from the monitor.

  2. Swann Doorphone Video Intercom Wire Replacement: step 2, image 1 of 3 Swann Doorphone Video Intercom Wire Replacement: step 2, image 2 of 3 Swann Doorphone Video Intercom Wire Replacement: step 2, image 3 of 3
    • Using the JIS #0 screwdriver, unscrew the 2 mm screw in terminal 1 with the blue wire underneath.

    • Pull the blue wire out from beneath the metal plate.

    • Be careful when removing the screw from terminal 1, the metal plate behind the screw is not connected and may fall off.

  3. Swann Doorphone Video Intercom Wire Replacement: step 3, image 1 of 3 Swann Doorphone Video Intercom Wire Replacement: step 3, image 2 of 3 Swann Doorphone Video Intercom Wire Replacement: step 3, image 3 of 3
    • Flip the outdoor camera over so that the underside is facing up.

    • Remove the back cover by grabbing the sides of the camera and pulling towards your body.

  4. Swann Doorphone Video Intercom Wire Replacement: step 4, image 1 of 3 Swann Doorphone Video Intercom Wire Replacement: step 4, image 2 of 3 Swann Doorphone Video Intercom Wire Replacement: step 4, image 3 of 3
    • With the back cover of the outdoor camera off, press the first gray square button with blue wire down.

    • While pressing the gray square button, remove the blue wire from the first opening under the button.

    • Be sure to remove the same color wire for the outdoor camera as was used for the indoor video intercom.

    • In this guide, we are using the blue wire in terminal 1 for the audio. As a recommendation; * Use the blue wire in terminal 1 for the audio wire. * Use the brown wire in terminal 2 for the ground wire. * Use the green wire in terminal 3 for the video wire. * Use the black wire in terminal 4 for the power wire.

Conclusion

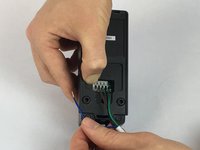
To reassemble your device, follow these instructions in reverse order.

2 other people completed this guide.

Emily Stenke

Member since: 02/14/18

555 Reputation

4 Guides authored

Team

USF Tampa, Team S2-G4, Eyestone Spring 2018 Member of USF Tampa, Team S2-G4, Eyestone Spring 2018

USFT-EYESTONE-S18S2G4

4 Members

5 Guides authored

0 Comments

Add Comment

View Statistics:

Past 24 Hours: 0

Past 7 Days: 1

Past 30 Days: 8

All Time: 1,708