
Surface Studio 2.5" Hard Drive or Fans Replacement

The Raptor and
Last updated on Jan 10, 2024
Views: 21K
View statistics:
- Past 24 Hours:
- 6
- Past 7 Days:
- 29
- Past 30 Days:
- 197
- All Time:
- 20,954
Comments: 19
4 comments on steps, 15 guide comments.
Go to guide commentsCompleted: 18 19
18 people have marked this guide "completed." Will you be next?
19 people have marked this guide "completed." Including you — great job!
Favorites: 0 1
No one has favorited (and subscribed to) this guide. Will you be the first?
1 person has favorited (and subscribed to) this guide — and that's you!
Featured Guide
This guide has been found to be exceptionally cool by the iFixit staff.
Community-Contributed Guide
An awesome member of our community made this guide. It was not created by iFixit staff.
Introduction
Go to step 1 ↓Do you want a bigger hard drive or a second SSD? Follow this guide to replace your hard drive. 1/10/24 Edit: If your Studio is noisy, but the computer is operating fine, replace your fans first; they are available on Amazon, eBay, etc.
What you need
Fix Kits
These kits contain all the parts and tools needed to complete this guide.


Parts


Tools


-
-
-
Lay the Surface face down on a padded surface
-
Remove the four rubber feet at each corner concealing the Torx screws
-
Remove the four Torx screws under the rubber feet.
-
Two screws on the upper corners are longer than two screws on the lower corners.
-
Attach suction cups to the bottom cover and then pull on the suction cups to free the bottom cover.
 Ask FixBot
-
-
-
Remove five torx screws holding the two fans to the midframe
-
Remove the two fans
-
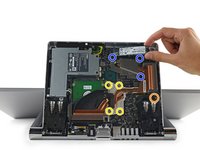
Remove four large torx screws holding the midframe
-
Remove four small torx screws holding the midframe. Note: The 4th blue circle is missing in the picture and is above the far right green circle. In line with the second red circle and below the GPU heat sink.
-
-
-
-
Slowly remove the midframe
-
Detach the connectors for the two fans and the speaker
-
-
-
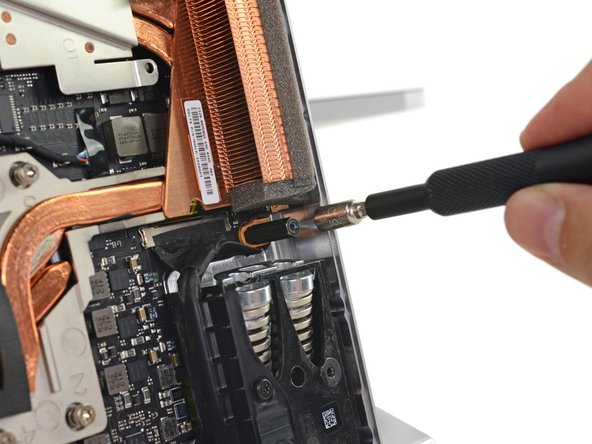
Fully loosen (they don't come out) the four spring loaded torx screws labeled 1 to 4;
-
Remove three torx screw labeled 5 to 7
-
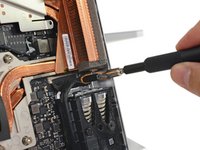
Remove 5mm hex mounting post
-
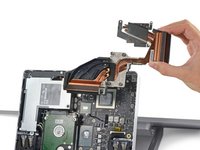
Use a spudger to remove the heatsink assembly from the motherboard
-
-
-
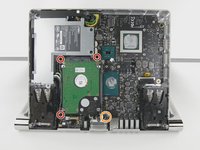
Remove three torx screws holding the hard drive brackets
-
Remove 5mm hex mounting post
-
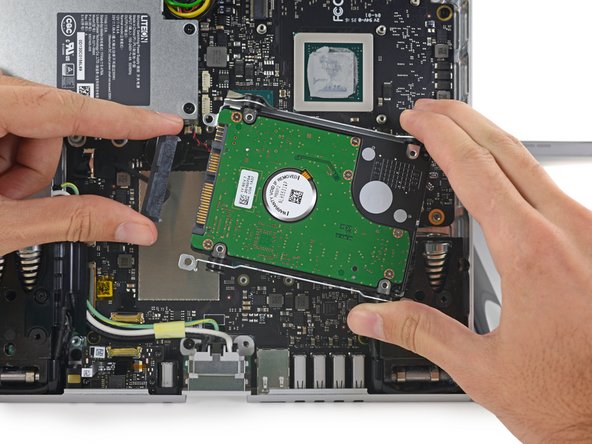
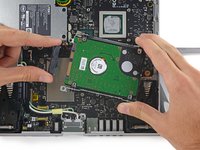
Remove the hard drive and disconnect the SATA/SATA power cable
-
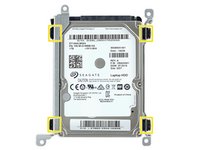
Remove four torx screws holding the hard drive brackets to the hard drive
-
-





To reassemble your device, follow these instructions in reverse order.
Cancel: I did not complete this guide.
18 other people completed this guide.

15 Guide Comments
Thank you for this step by step guide to replace the "Hard Drive" Here are a few measures that I took before drive replacement:
1) have to turn off drive encryption
2) I cloned the drive to the new SSD drive (I used Samsung 850 PRO 1TB) using Acronis True Image
3) Replaced the drive followed your instructions.
4) Turned ON the Surface Studio and success! no issues and better performance.
Does changing to a SSD drive cut down on the fan noise?
vanstar7 - January 15
No, fan noise level does not change, the heat that is been produced comes mostly from the processor.
I upgraded to to a SATA SSD 2TB and a M.2 NVMe SSD 1TB and wrote my experience here:
