Introduction
This is a step by step guide on how to disassemble and replace a faulty battery on a Super Nintendo game cartridge circuit board. After a period of time, these game cartridge batteries fail and in many cases, prevent games from saving their states, rendering some games unplayable. So, the aim of this guide is to help you maintain the functionality of your game, instead of throwing out a perfectly good game.
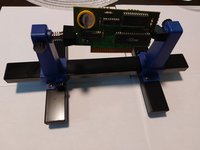
What you need
-
-
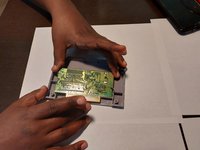
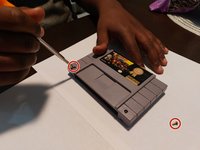
Remove the two 3.8mm security screws from the front panel of the game cartridge using a 3.8mm Gamebit screwdriver to reveal the circuit board.
-
-


Cancel: I did not complete this guide.
2 other people completed this guide.
