This translation may not reflect the most recent updates from the source guide. Help update the translation or view the source guide.
Introduction
The russel hobbs air fryer is making a lot of loud noises. Either when setting it up, it being half way through its job or done. Too loud for normal people, so this guide is for removing the beeping/sound all together.
Technically it's possible to enable the sound later again, by replugging a wire.
-
-
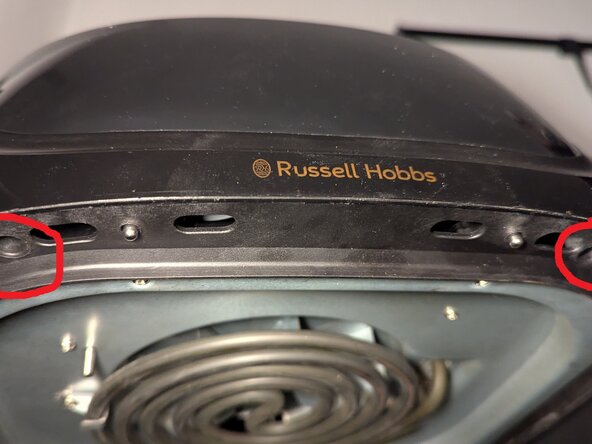
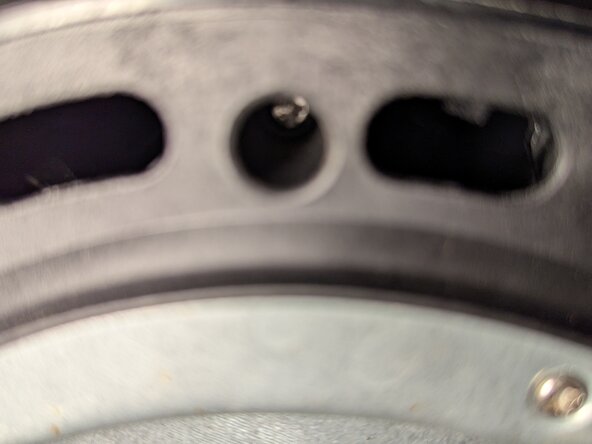
There are 2 screws just below holding the upper outer shell.
-
Remove them with a fitting screw driver.
-
-
-
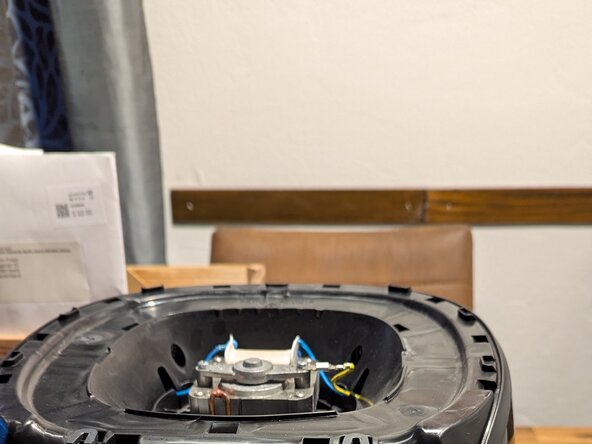
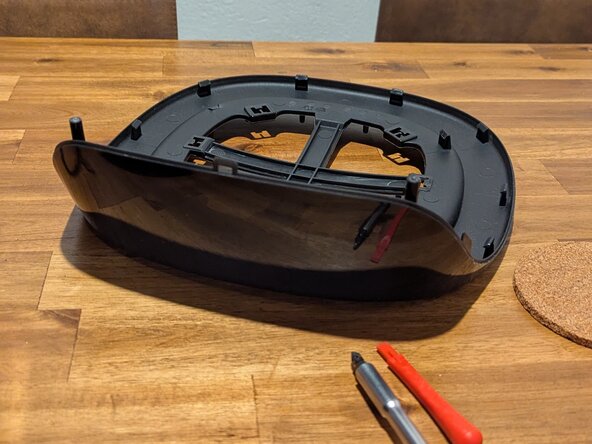
The top panel is only fixed by clips. You will need some force for this.
-
Use a flat screwdriver if possible, after first click you can also continue by hand.
-
-
-
-
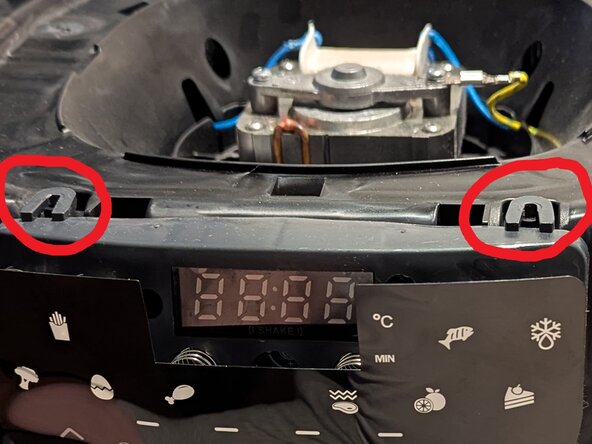
Be careful when trying to ply it open.
-
You should start at the back side of the air fryer. If you don't get in between, check for other gaps around.
-
Only the upper part must come off. Not the whole top attached to the lower body/container.
-
-
-
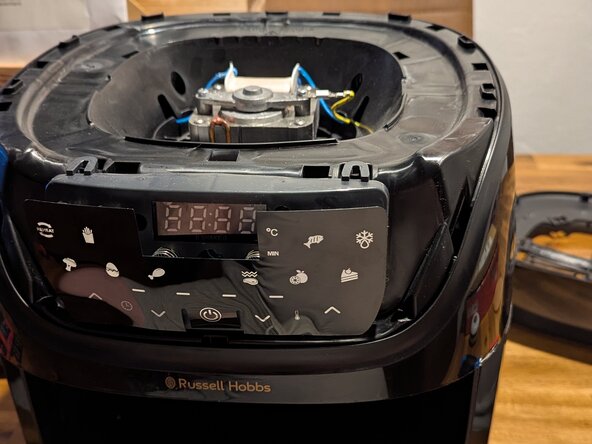
The display is held together by 2 screws located at the top. remove them and the display comes off easily
-
The springs may loosen a bit. At the end, when rebuilding, make sure to press the display against the springs so that you can re-attach the top cover
-
-
-
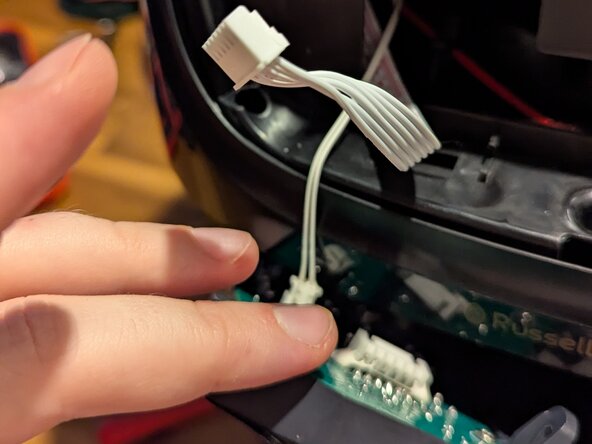
When you take out the display interface, 2 cables will be attached to the end of it.
-
The bigger cable is the one you need to modify. The line at the outer edge without any symbols, only text, is the one you want to remove.
-
You can safely remove it by pressing against the exposed connection pin with something sharp and pulling it.
-
Isolate the connection via. rubber or tape.
-
-
-
You can now put everything back together in the same order. It will go way faster, since the clips are loosened.
-
Make sure to put in your air fryer container when turning on, the machine will initially not work when powered off/on without container.
-


Arbeite die Schritte in umgekehrter Reihenfolge ab, um dein Gerät wieder zusammenzubauen.
Special thanks to these translators:
40%

Jason is helping us fix the world! Want to contribute?
Start translating ›
