Introduction
Follow this guide to replace or upgrade the shell on a Valve Steam Machine (2026).
What you need
-
-
-
Power down your Steam Machine and disconnect the power cable.
-
Unplug any remaining cables or accessories from all ports.
 Ask FixBot
-
-
-
-
-
Reposition the Steam Machine so the bottom is facing up.
-
-
-
-
-
Reposition the Steam Machine so the back panel is facing up.
-
-
-
Use a T8 Torx screwdriver to fully loosen the two captive screws securing the back panel.
-
-
-
-
Lift the top edge of the panel (near the screws) until the two locking clips release.
-
Slide the panel towards the top edge and lift to remove it.
-
-
-
Use a T8 Torx screwdriver to remove the two 7.3 mm‑long screws securing the inner assembly.
-
-
-
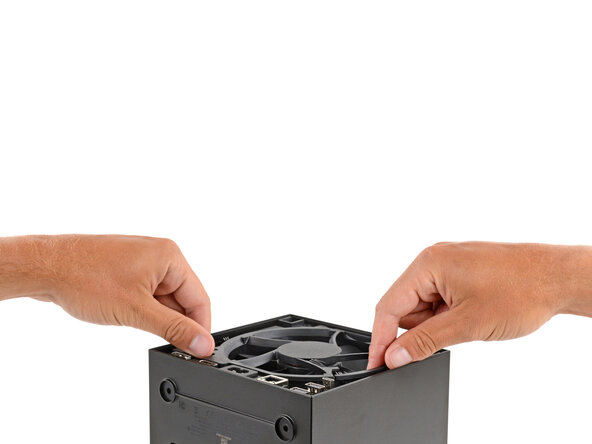
Grip the inner assembly under the fan and lift it straight up and out of the shell.
-
Set the inner assembly down so the SSD is on top.
-
-
-
-
-
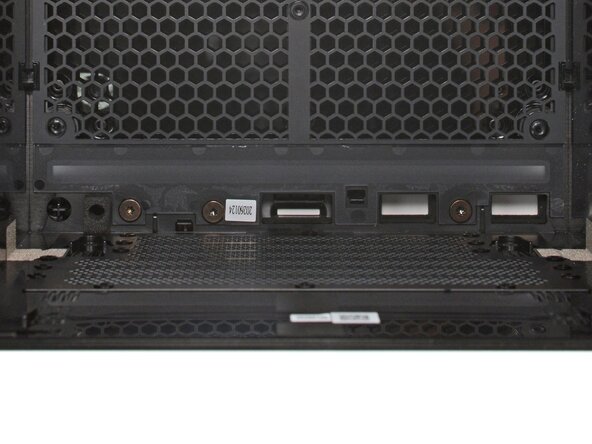
Use a T8 Torx screwdriver to remove the three 5.1 mm‑long screws securing the front port cover.
-
-
-
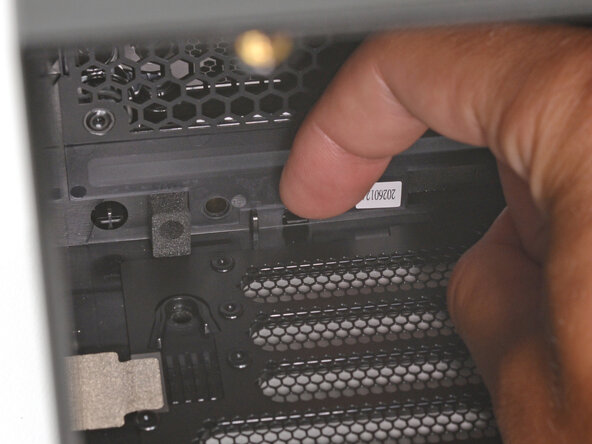
Two plastic clips secure the front port cover to the shell.
-
Use your finger to push both clips in to release them.
-
-
-
-
-
Firmly pull the faceplate away from the shell to remove it.
-
-


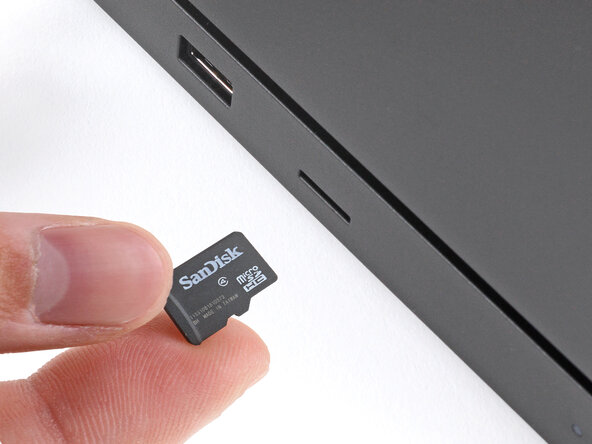








To reassemble your device, follow these instructions in reverse order.
Repair didn’t go as planned? Try some basic troubleshooting, or ask our Answers community for help.

