Introduction
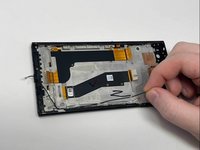
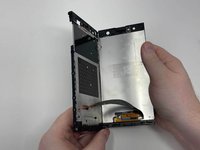
This is a guide to help you remove the LCD Screen on the Sony Xperia XA2 Ultra. Review the troubleshooting page to make sure the screen is broken.
Warning: The removal of the screen could permanently damage it. Only take these steps if your current screen is broken.
Follow all available guides to make sure that the following parts have been removed:
- Sim Card Tray
- Back Cover
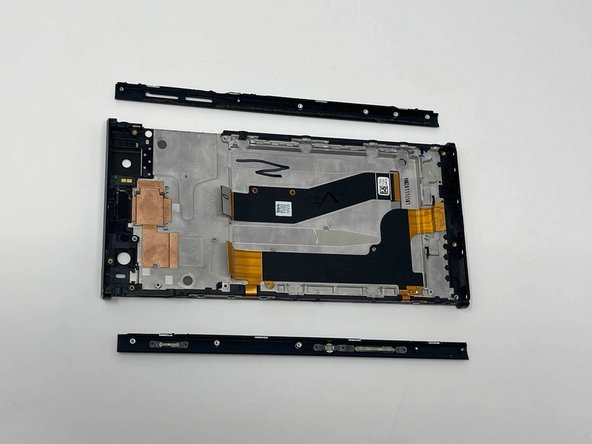
- Motherboard Bracket
- Rear Camera
- Front Camera
- Headphone Jack
- Motherboard
- Speaker
- Charging Port
- Vibration Motor
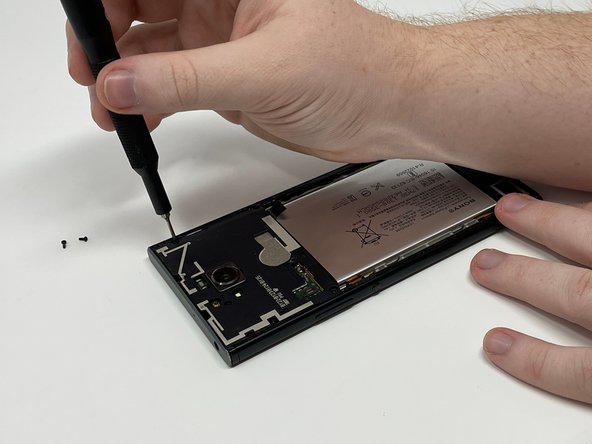
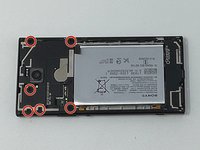
- Battery
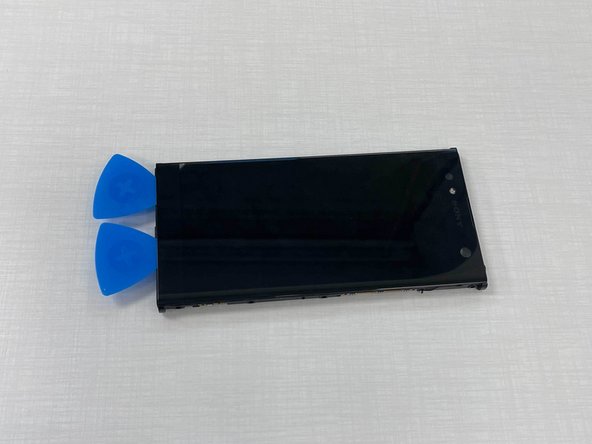
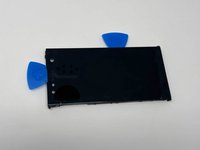
Before taking any steps to open the phone, make sure that it is turned completely.
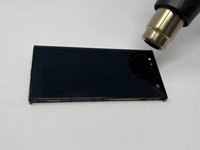
Be aware that the device will heat up when using a heat gun (or something similar). Continue with caution.
What you need
-
-
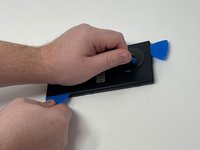
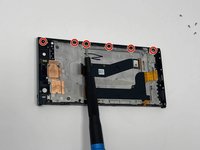
Remove the SIM card tray on the left side of the phone using a SIM card eject tool.
-
-
-
Tool used on this step:Tweezers$4.99
-
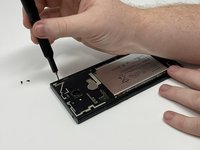
Using the tweezers, pry underneath the vibration motor and pull from its place.
-
-
Tool used on this step:Tweezers$4.99
-
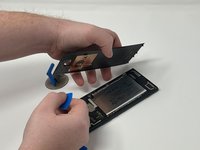
Use a pair of tweezers to remove the rear-facing camera.
-
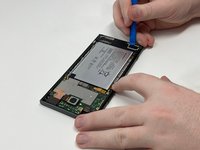
Use a pair of tweezers to remove the magnetic tape covering the front-facing camera.
-
Use a pair of tweezers to remove the front-facing camera.
-
-
Tool used on this step:Tweezers$4.99
-
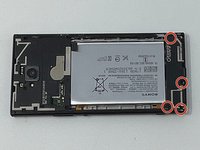
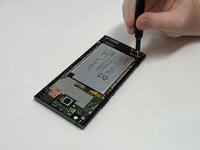
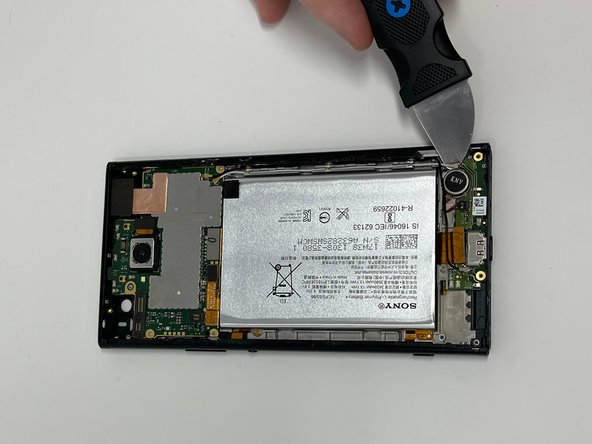
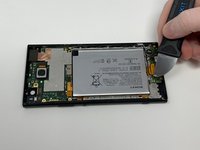
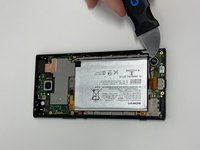
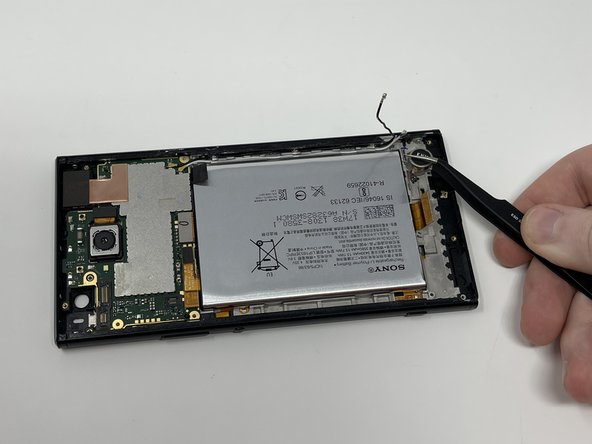
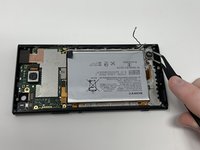
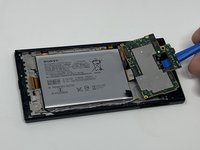
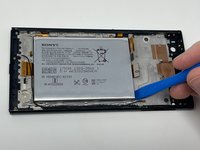
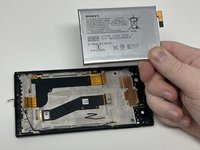
Grab and twist the black battery tab with a pair of precision tweezers.
-
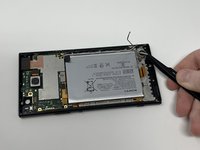
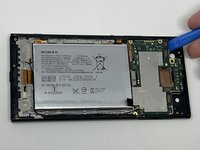
Do this again with the black tab under the power button flex cable.
-


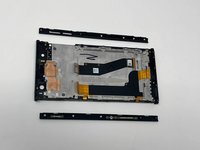


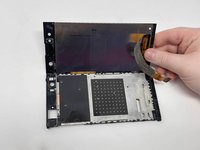
To reassemble your device, follow these instructions in reverse order.
Cancel: I did not complete this guide.
One other person completed this guide.
