
Sony Xperia XA Ultra Vibrator Module replacement

Walter Lackey and 3 other contributors
Last updated on May 7, 2024
Views: 851
View statistics:
- Past 24 Hours:
- 1
- Past 7 Days:
- 15
- Past 30 Days:
- 91
- All Time:
- 851
Comments: 0
No one has left comments on this guide. Will you be first?
Go to guide commentsCompleted: 2 3
2 people have marked this guide "completed." Will you be next?
3 people have marked this guide "completed." Including you — great job!
Favorites: 1 2
1 person has favorited (and subscribed to) this guide. Will you be next?
2 people have favorited (and subscribed to) this guide — including you!
Introduction
Go to step 1 ↓This guide will show you how to replace the vibrating module of the Sony Xperia XA Ultra, in the event that the device's vibrating capabilities are weakened or stop working completely. To complete this guide, you will need a t3 and t5 torx screw driver, as well as a plastic spudge or wedging tool of some kind.
What you need
Tools
-
Spudger4.9
-
-


-
-
-
Carefully remove the back panel of the phone with a plastic spudger, or other flat and thin wedge tool. Work your way around the perimeter of the case, loosening and prying gently, until there is sufficient distance between the panel and phone.
 Ask FixBot
-
-
-
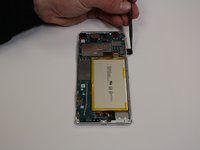
Remove all 9 black 4mm T5 screws.
-
Remove all 8 silver 3mm T3 screws.
-
Make sure to carefully place each screw in a secure location to avoid losing any.
-
-
-
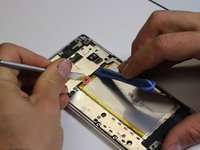
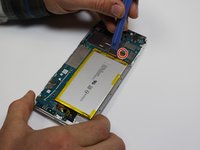
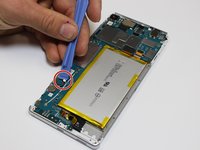
Near the top of the battery (area closest to camera) press the small latch in the highlighted area, push the latch away from the metal casing with the metal spudger.
-
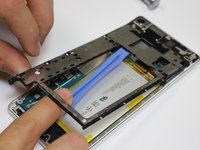
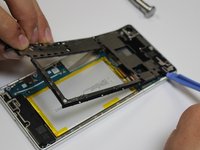
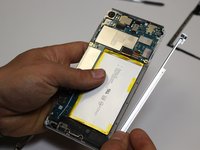
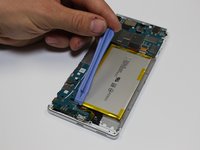
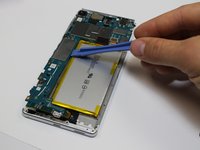
Use the plastic opening tool to pry off the metal case. Be sure to carefully pry the casing slowly and at multiple angles and directions to insure nothing is damaged.
-
-
-
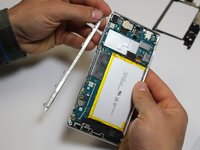
Using the plastic opening tool, gently pry off the black charge port plate, located near the bottom of the phone.
-
Remove the sim card from sim card slot using fingernail or small plastic spudger.
-
-
-
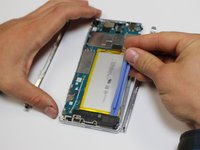
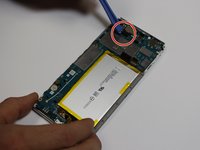
Disconnect all four of the shown electrical connectors by gently prying up with the plastic opening tool.
-
-
-
-
-
Tool used on this step:Tweezers$4.99
-
Use tweezers to pull the vibrator module out of its socket.
-
-











To reassemble your device, follow these instructions in reverse order.
Cancel: I did not complete this guide.
2 other people completed this guide.

Team

Central Washington University, Team S1-G3, Pengilly Fall 2017 Member of Central Washington University, Team S1-G3, Pengilly Fall 2017
CWU-PENGILLY-F17S1G3
4 Members
60 Guides authored
