Introduction
How to disassemble / take apart Sony Xperia M2 and change the Touchscreen / Glass / Digitizer and/or the LCD Display.
What you need
-
-
Tool used on this step:iOpener$24.95
-
Warm the back cover using an iOpener or a hairdryer.
-
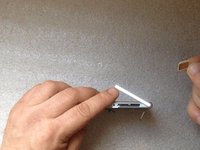
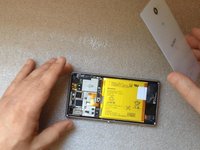
Use a small suction cup and plastic opening tools to carefully separate the cover from the frame.
-
Before reassembly, clean the frame from any old adhesive and apply new adhesive
 Ask FixBot
-
-
-
-
-
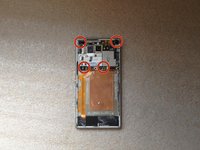
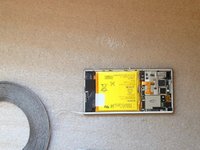
Disconnect the battery cable from the motherboard.
-
The battery is secured to the phone frame with adhesive. Carefully use the white pull tab to remove it.
-
Li-Polymer Battery, 2230 mAh
-
Part number: LIS1551ERPC
-
-
-
-
-
Disconnect:
-
Touchscreen flex cable
-
Proximity sensor flex cable
-
Side buttons flex cable
-
SIM & Micro SD flex cable
-
Coaxial antenna cable
-
-
-
Disconnect the LCD Display flex cable located on the other side of the board.
-
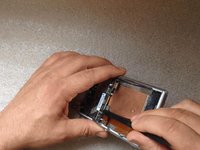
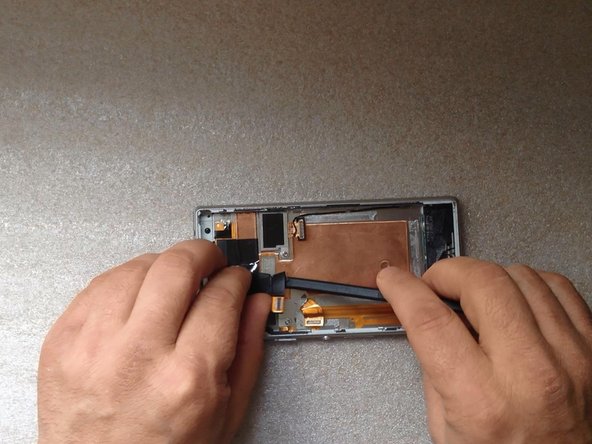
Put a plastic tool between the motherboard and the frame.
-
-
-
-
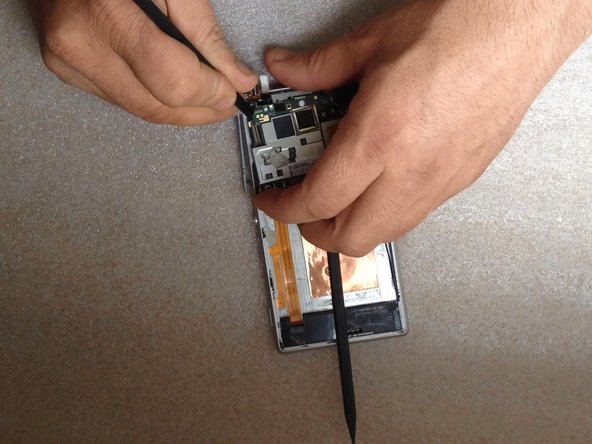
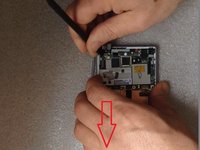
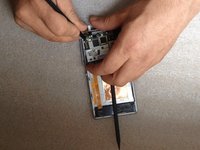
Move the left side of the board downward.
-
Take the left side out of the frame.
-
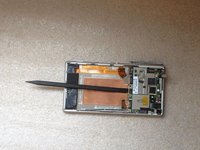
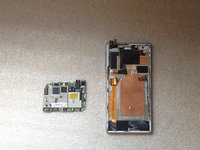
Take out the whole motherboard.
-
-
-
-
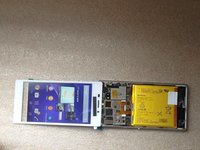
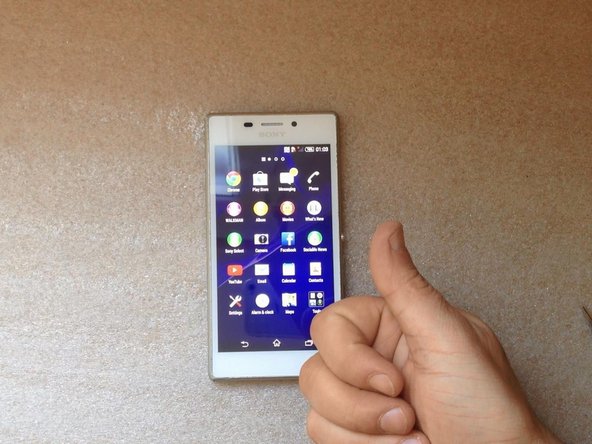
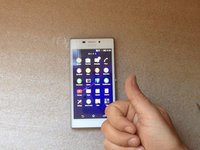
Let's first test the new spare parts.
-
-
-
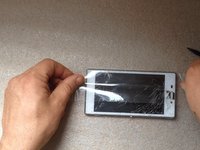
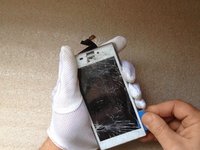
Use a scotch tape for the broken glass.
-
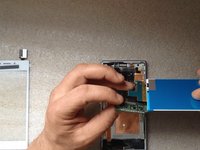
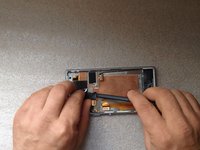
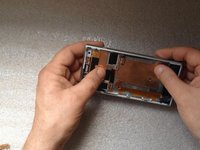
Unstuck the LCD Display flex cable from the Main frame.
-
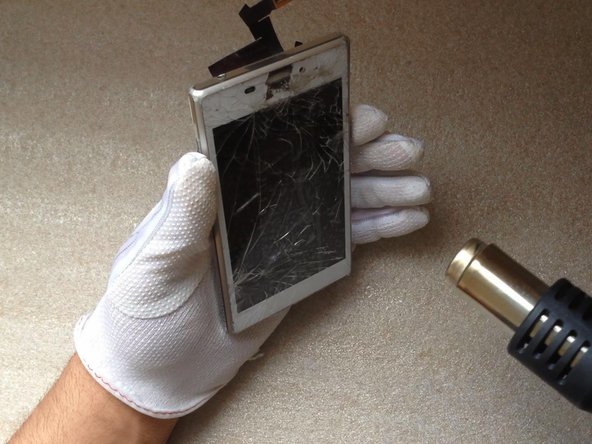
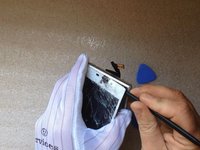
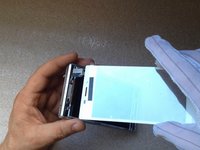
Now preheat the glass before removing. This will soften the adhesive and will make separating more easy.
-
-
-
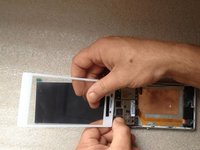
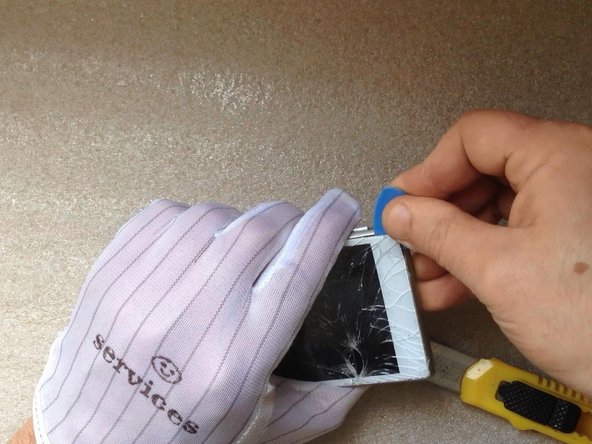
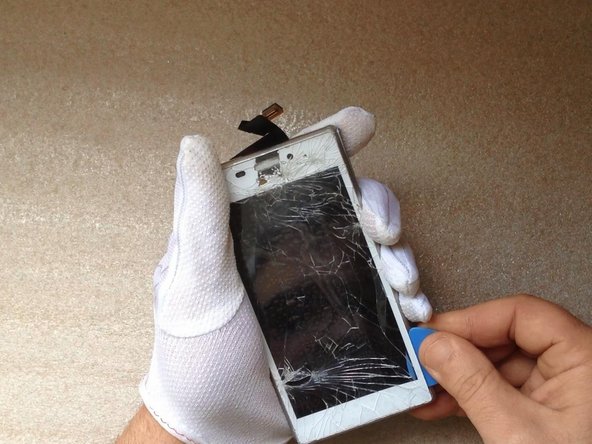
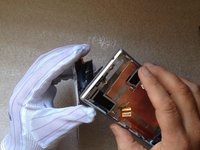
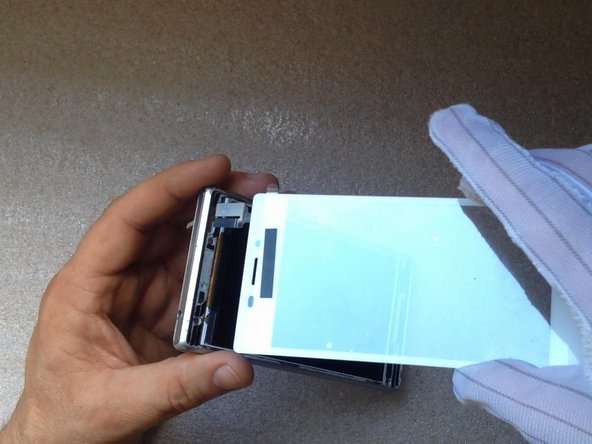
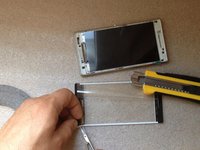
With a cutter, make a room for a plastic tool, then continue with separating the Touchscreen & LCD Display from the frame.
-
-
-
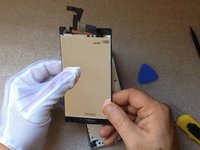
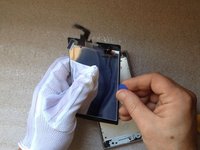
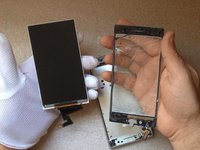
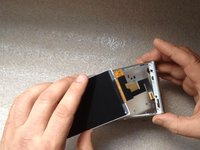
This is the Display Assembly.
-
The LCD Display and the Touchscreen are not firmly bonded, while some other other models.
-
-
-
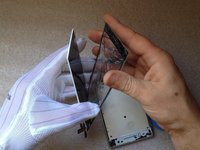
If your Touchscreen or LCD Display is OK, separate them carefully.
-
In our situation, both of them are broken.
-
-
-
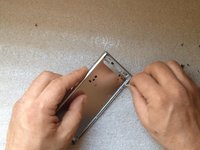
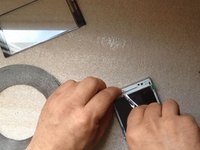
Clean the frame from the remains of tape.
-
Install the LCD Display and the flex cable on its correct place.
-
-
-
We could not find adhesive sticker for this model, so We used universal adhesive tape 3M - 3 mm.
-
Don't forget to remove protectors from the LCD Display and from the inner side of the Touchscreen.
-
-
-
When finishing the assembly of the inner parts, use same technic to install the Back cover.
-
-




















To reassemble your device, follow these instructions in reverse order.
Cancel: I did not complete this guide.
40 other people completed this guide.

Team

18 Guide Comments
Followed Guide & completed without any errors. Also Step 2 "remove x4 screws" There's also x2 Screws on the board that needs removing.
Also The touch screen isn't exactly glued to the screen so does come of pretty easy but be very careful when using spudger to remove the glass as you could easily prod the touch screen. Apart from that thanks for the Guide it went well.
Hi there. Thanks for the leaflet with the links that I got with my purchase. Things went really well, except for one thing. Not sure if you can help, but it would be great if you can.
Everything is connected and assembled, although not bonded yet. The problem I have is the touch screen buttons at the bottom of the screen (return/back, home, task navigation) are completely unresponsive. Is there anything you could advice to help please.
It might be worth knowing that with the phone in landscape (rather than portrait) the buttons seem to work, maybe suggesting that there is something at the bottom of the screen that's not quite right.
Thank you in advance of any response.
I changed the broken touchscreen today... with success, except that during the operation, I broke the LCD! (I did not read the comments first!!!) Indeed, the screen was broken in many parts and as I wanted to unpaste some of the rather small parts (1-2cm wide), they pressed on the screen and broke it. It is not visible when switched off, but I could check that some broken parts correspond to the shape of some shards of glass when I switched it on and realize that I broke it.
A comment that might be useful: when you assemble again the microphone part, extend maximally the door of the SIM and the microSD, otherwise you may have difficulties to place it back, and do not forget the connector of the proximity detector.
Good luck!
