Free Shipping on Domestic Orders $75+

Sony Vaio VPCW21FX Keyboard Replacement

Archived Guide
This guide is retained solely for historical purposes. Use the updated version of the guide to perform your repair.

What you need

    1. Sony Vaio VPCW21FX Keyboard Replacement, Battery: step 1, image 1 of 1
      • Make sure your device is powered off and unplugged to avoid electric shock.

      • Place your device upside down with the bottom panel facing upwards.

      • Orient the device so the battery is away from you as shown

      Ask FixBot

      Add Comment

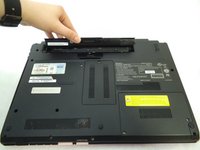
    2. Sony Vaio VPCW21FX Keyboard Replacement: step 2, image 1 of 2 Sony Vaio VPCW21FX Keyboard Replacement: step 2, image 2 of 2
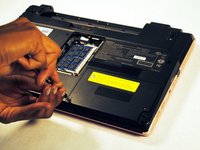
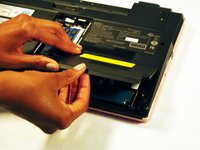
      • Unlock the battery by sliding the lock switch to the right.

      • Locate the release latch. Slide the latch to the left to remove the battery from your laptop.

      • Be sure to lift up on the battery while you slide the latch to the left.

      Ask FixBot

      Add Comment

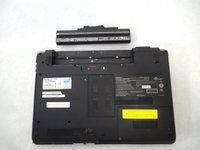
    3. Sony Vaio VPCW21FX Keyboard Replacement: step 3, image 1 of 2 Sony Vaio VPCW21FX Keyboard Replacement: step 3, image 2 of 2
      • Remove the battery from your laptop.

      Ask FixBot

      Add Comment

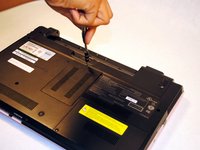
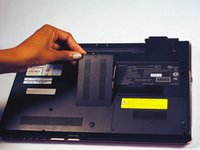
    1. Sony Vaio VPCW21FX Keyboard Replacement, Headphone Jack: step 4, image 1 of 2 Sony Vaio VPCW21FX Keyboard Replacement, Headphone Jack: step 4, image 2 of 2
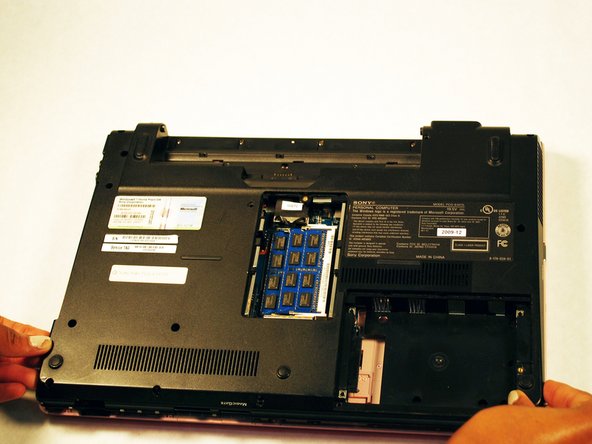
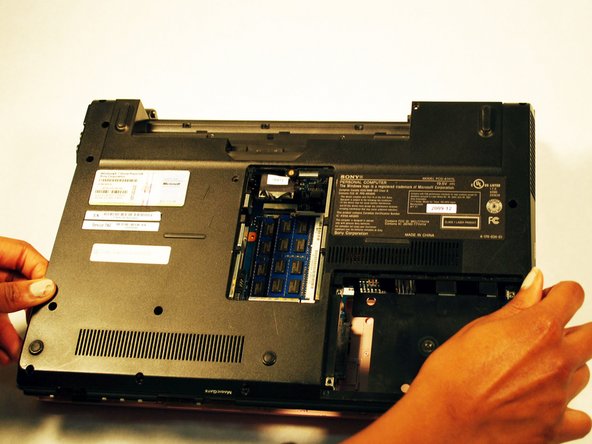
      • Place the laptop upside down with the bottom panel facing upwards.

      • Locate the screw that holds the small panel covering your laptop's Ram. This panel should be in the dead center of your laptop.

      • Unscrew the screw and remove the panel.

      Ask FixBot

      Add Comment

    2. Sony Vaio VPCW21FX Keyboard Replacement: step 5, image 1 of 1
      • Before you move away from where your RAM is located, be sure to unplug the wire labeled To MB. If you do not unplug this, the back panel you are trying to remove will not come off.

      Ask FixBot

      Add Comment

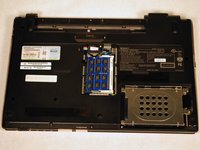
    3. Sony Vaio VPCW21FX Keyboard Replacement: step 6, image 1 of 3 Sony Vaio VPCW21FX Keyboard Replacement: step 6, image 2 of 3 Sony Vaio VPCW21FX Keyboard Replacement: step 6, image 3 of 3
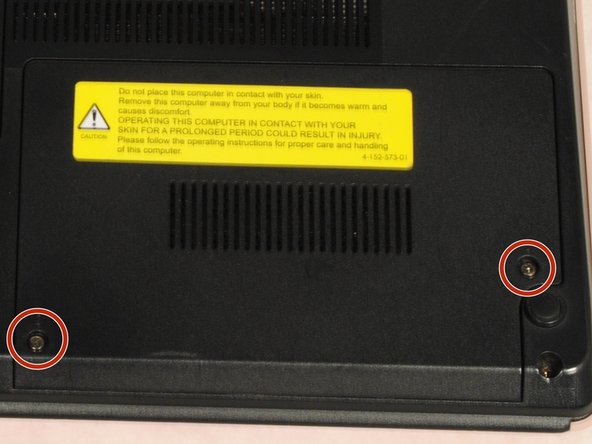
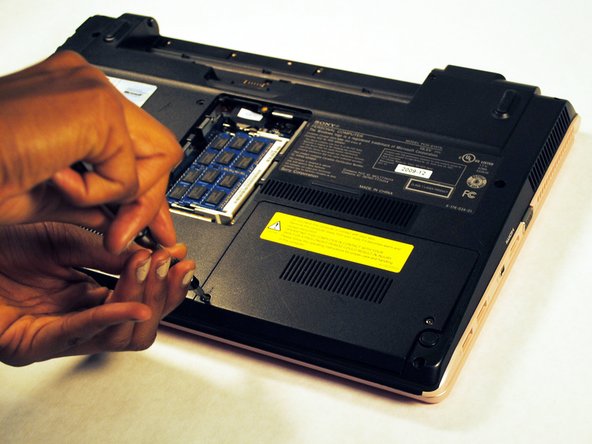
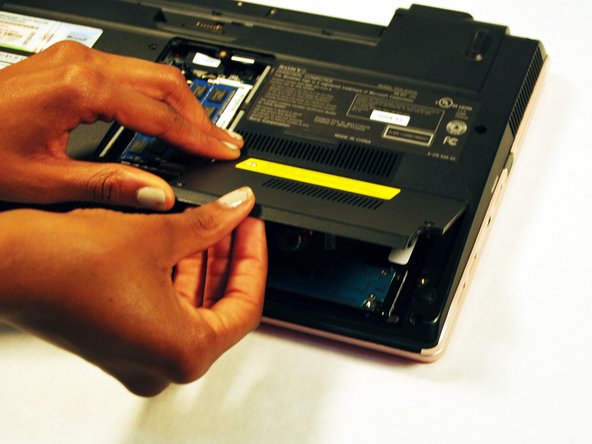
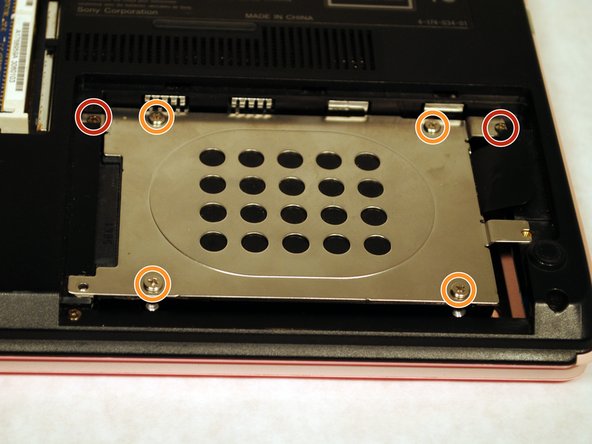
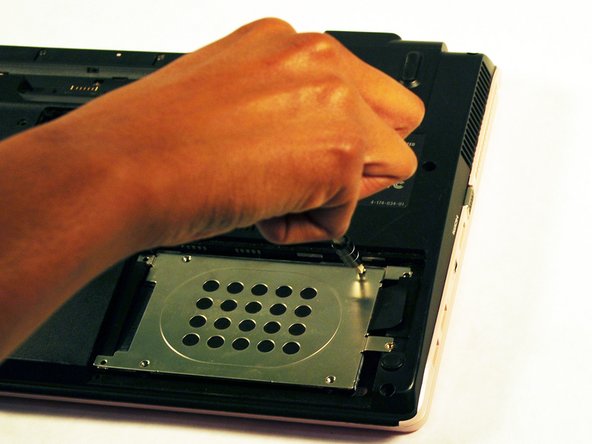
      • Next, locate the panel covering your laptop's hard drive. This panel should be located on the lower right hand side of your laptop.

      • Unscrew the cover on the hard drive.

      • Remove the hard drive cover.

      Ask FixBot

      Add Comment

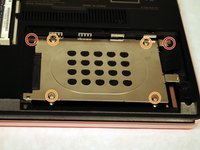
    4. Sony Vaio VPCW21FX Keyboard Replacement: step 7, image 1 of 3 Sony Vaio VPCW21FX Keyboard Replacement: step 7, image 2 of 3 Sony Vaio VPCW21FX Keyboard Replacement: step 7, image 3 of 3
      • Remove screws.

      • Remove screws and remove panel.

      Ask FixBot

      Add Comment

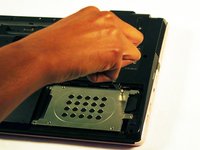
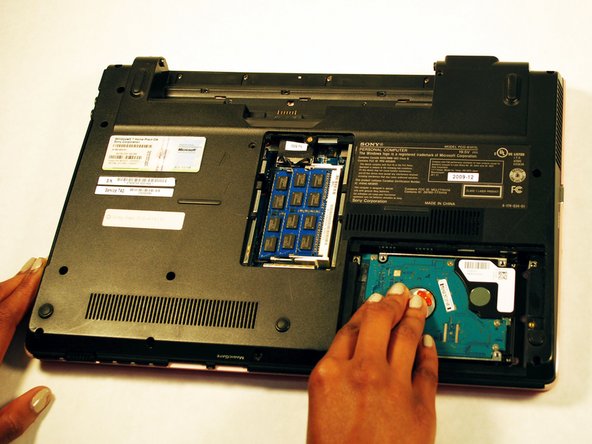
    5. Sony Vaio VPCW21FX Keyboard Replacement: step 8, image 1 of 3 Sony Vaio VPCW21FX Keyboard Replacement: step 8, image 2 of 3 Sony Vaio VPCW21FX Keyboard Replacement: step 8, image 3 of 3
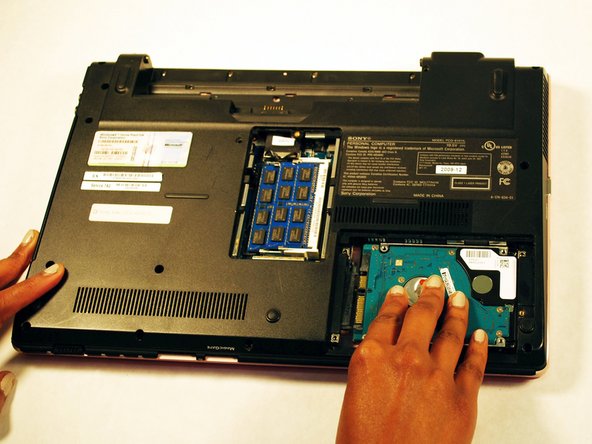
      • Remove the hard drive by gently pressing down on it and sliding it to the right.

      • Remember to have a clean work space to place the parts you take off your laptop. It'd be embarrassing to forget to reassemble a part or have a screw or two left over.

      Ask FixBot

      Add Comment

    6. Sony Vaio VPCW21FX Keyboard Replacement: step 9, image 1 of 3 Sony Vaio VPCW21FX Keyboard Replacement: step 9, image 2 of 3 Sony Vaio VPCW21FX Keyboard Replacement: step 9, image 3 of 3
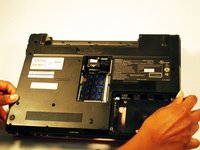
      • Remove the screws holding the rest of the outside panel down.

      • Gently lift the panel up to remove it once all the screws have been removed.

      Ask FixBot

      Add Comment

    7. Sony Vaio VPCW21FX Keyboard Replacement: step 10, image 1 of 3 Sony Vaio VPCW21FX Keyboard Replacement: step 10, image 2 of 3 Sony Vaio VPCW21FX Keyboard Replacement: step 10, image 3 of 3
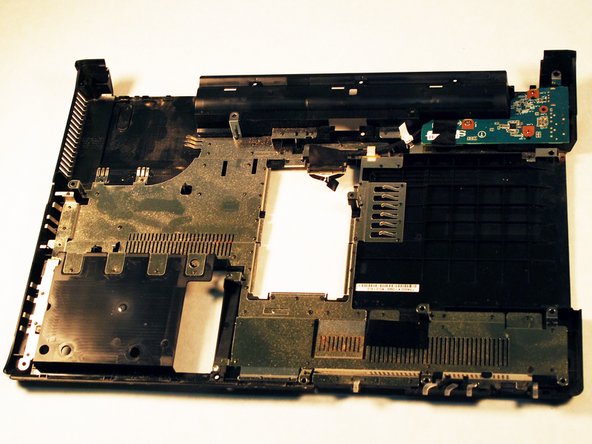
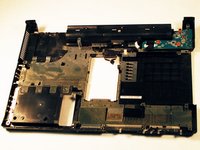
      • Once the back panel has been removed, set the rest of your laptop to the side and place the panel you just removed in front of you.

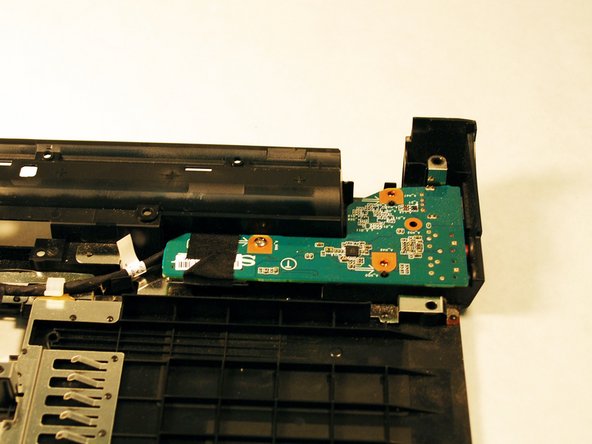
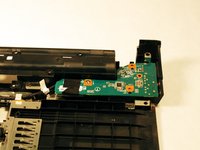
      • Locate the headphone jack, which will be in the top right hand corner of the panel. The headphone jack board is a bright green, you can't miss it.

      Ask FixBot

      Add Comment

    8. Sony Vaio VPCW21FX Keyboard Replacement: step 11, image 1 of 2 Sony Vaio VPCW21FX Keyboard Replacement: step 11, image 2 of 2
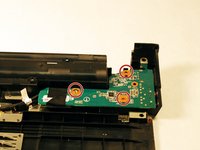
      • Remove the screws holding the headphone jack board down.

      Ask FixBot

      Add Comment

    9. Sony Vaio VPCW21FX Keyboard Replacement: step 12, image 1 of 2 Sony Vaio VPCW21FX Keyboard Replacement: step 12, image 2 of 2
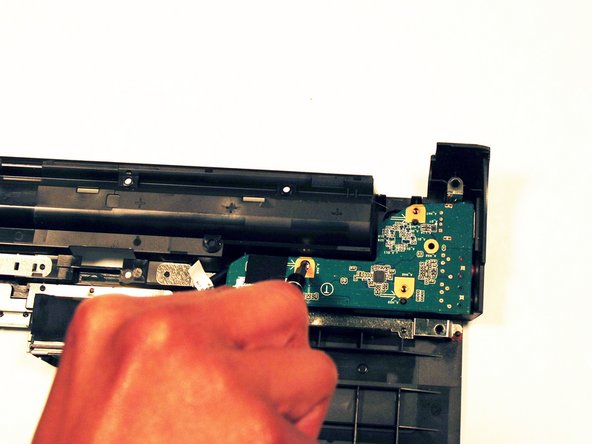
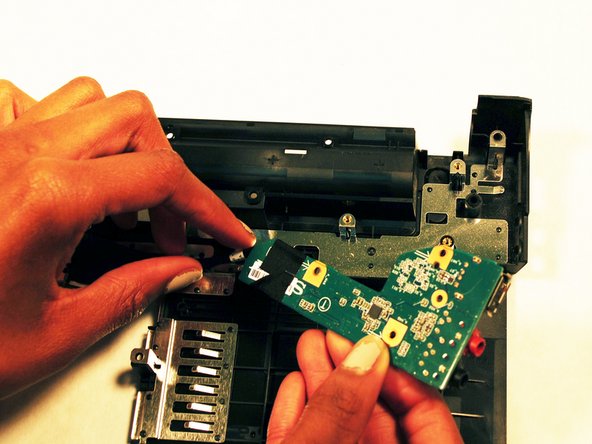
      • Gently pull the board to remove it.

      Ask FixBot

      Add Comment

    1. Sony Vaio VPCW21FX Keyboard Replacement, Keyboard: step 13, image 1 of 2 Sony Vaio VPCW21FX Keyboard Replacement, Keyboard: step 13, image 2 of 2
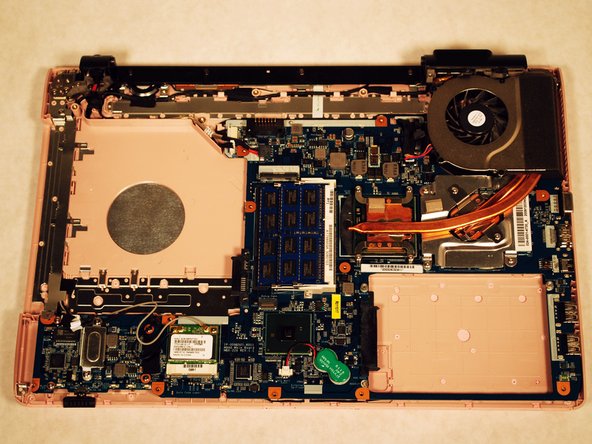
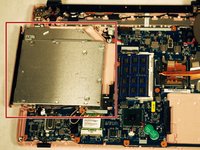
      • Remove CD drive by gently sliding it to the left.

      Ask FixBot

      Add Comment

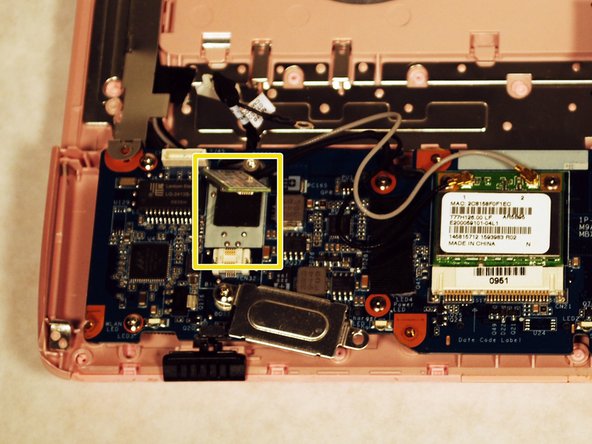
    2. Sony Vaio VPCW21FX Keyboard Replacement: step 14, image 1 of 3 Sony Vaio VPCW21FX Keyboard Replacement: step 14, image 2 of 3 Sony Vaio VPCW21FX Keyboard Replacement: step 14, image 3 of 3
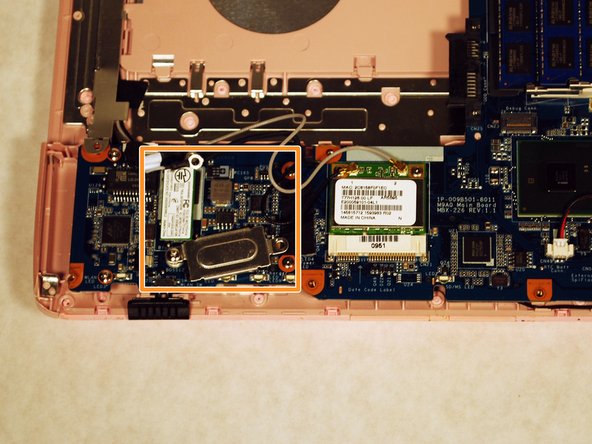
      • Remove screws.

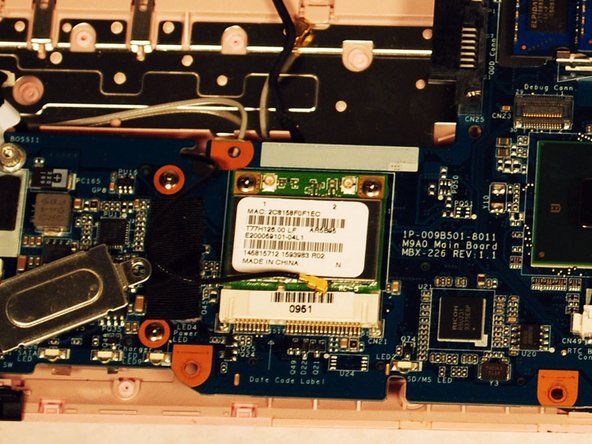
      • Slide the small silver panel to the right to expose the wire underneath.

      • Gently pull on the small green board where the wire is connected to disconnect it.

      Ask FixBot

      Add Comment

    3. Sony Vaio VPCW21FX Keyboard Replacement: step 15, image 1 of 2 Sony Vaio VPCW21FX Keyboard Replacement: step 15, image 2 of 2
      • Remove wires.

      • Remember to move the wires away from the motherboard after disconnecting them. This will avoid them getting caught when you try to lift the motherboard.

      Ask FixBot

      Add Comment

    4. Sony Vaio VPCW21FX Keyboard Replacement: step 16, image 1 of 2 Sony Vaio VPCW21FX Keyboard Replacement: step 16, image 2 of 2
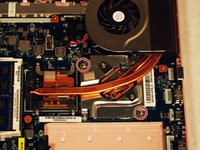
      • Remove these two screws near the fan.

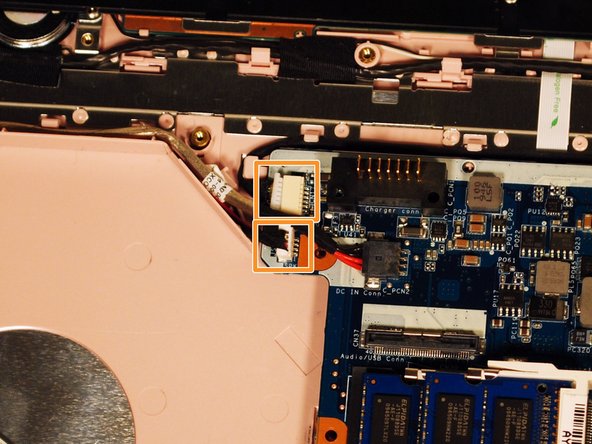
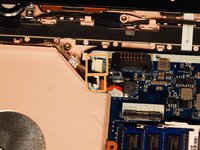
      • Disconnect the two wires connecting the motherboard to the charging port, these are located above the space where your CD drive was.

      • If you do not disconnect these two wires you won't be able to lift the motherboard up to disconnect the keyboard.

      Ask FixBot

      Add Comment

    5. Sony Vaio VPCW21FX Keyboard Replacement: step 17, image 1 of 1
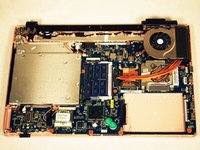
      • Lift up the motherboard.

      • Gently disconnect the large green wire underneath the motherboard that is connected to the keyboard.

      • The wire that is connected to the keyboard is thick and may take a little effort to unplug.

      Ask FixBot

      Add Comment

    6. Sony Vaio VPCW21FX Keyboard Replacement: step 18, image 1 of 2 Sony Vaio VPCW21FX Keyboard Replacement: step 18, image 2 of 2
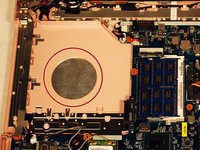
      • With the laptop open, gently push on the silver circle shown. This is the back side of the keyboard and will cause the keyboard to pop out.

      Ask FixBot

      Add Comment

    7. Sony Vaio VPCW21FX Keyboard Replacement: step 19, image 1 of 3 Sony Vaio VPCW21FX Keyboard Replacement: step 19, image 2 of 3 Sony Vaio VPCW21FX Keyboard Replacement: step 19, image 3 of 3
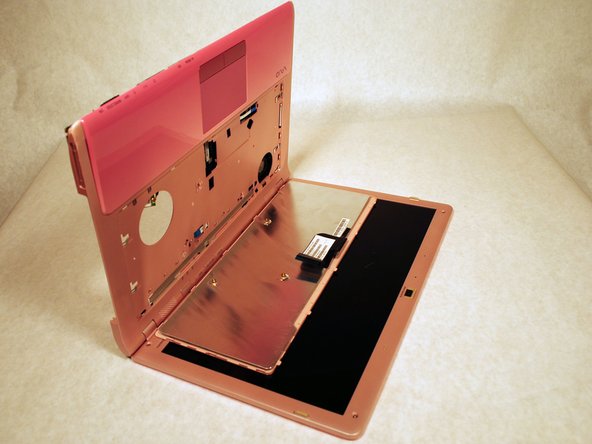
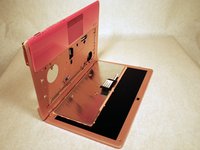
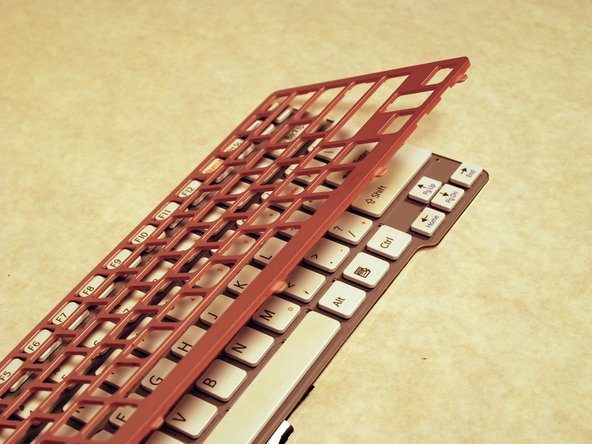
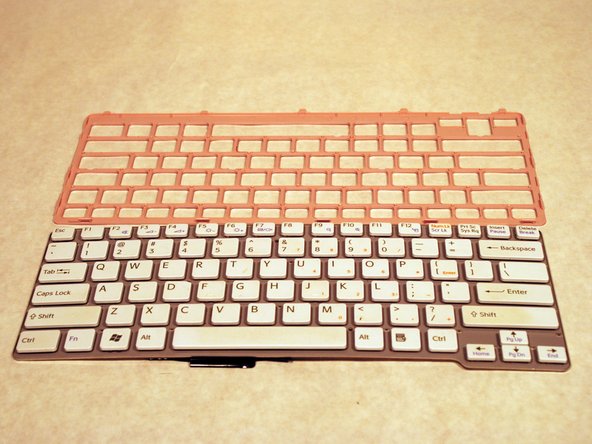
      • Gently pry the pink cover off the keyboard itself.

      Ask FixBot

      Add Comment

Conclusion

To reassemble your device, follow these instructions in reverse order.

Cancel: I did not complete this guide.

One other person completed this guide.

Rebecca

Member since: 10/10/16

324 Reputation

2 Guides authored

Team

0 Guide Comments

Add Comment

View Statistics:

Past 24 Hours: 1

Past 7 Days: 3

Past 30 Days: 13

All Time: 386