Shop the Holiday Gift Guide
Free Shipping on Domestic Orders $75+

Sony Vaio SVE111B11L Screen Replacement

Views: 2K

View statistics:

Past 24 Hours:
4
Past 7 Days:
17
Past 30 Days:
85
All Time:
2,032
Comments: 3

3 comments on steps.

Completed: 2

2 people have marked this guide "completed." Will you be next?

Favorites: 0

No one has favorited (and subscribed to) this guide. Will you be the first?

Time Required: 2 hours
Difficulty: Difficult
Inconsistent Images

Updating the images on this guide to be more consistent with the prerequisites would increase its awesomeness.

Action Shots

Be an action hero! This guide needs images that better demonstrate how to perform specific actions.

Confusing Text

Some of this guide's text is confusing, duplicated, or off-topic. Clarify it by editing!

Markup Mishap

This guide needs better markups. Help out by correcting or making some markup annotations.

Needs More Images

A few more images would make this guide's procedures crystal clear.

Sony Vaio SVE111B11L  Screen Replacement

Introduction

Go to step 1 ↓

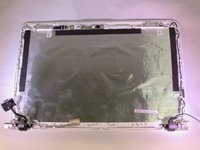
This guide shows how to remove the screen of a Sony Vaio SVE111B11L. This repair may be needed if the screen melts or cracks. To replace the screen follow the guide in reverse order.

What you need

Tools

    1. Sony Vaio SVE111B11L  Screen Replacement, Battery: step 1, image 1 of 2 Sony Vaio SVE111B11L  Screen Replacement, Battery: step 1, image 2 of 2
      • Remove the charging adaptor. Some charge may still be in the battery or computer. DO NOT touch connectors or copper yellow connector.

      • Locate the battery on the bottom of the computer.

      • Flip the computer so that the battery faces you.

      Ask FixBot

      Add Comment

    2. Sony Vaio SVE111B11L  Screen Replacement: step 2, image 1 of 1
      • Locate the two latches with the words “lock” and “release” on them.

      Ask FixBot

      Add Comment

    3. Sony Vaio SVE111B11L  Screen Replacement: step 3, image 1 of 1
      • Push the latches towards each other and lift the battery to remove it.

      Ask FixBot

      Add Comment

    1. Sony Vaio SVE111B11L  Screen Replacement, Keyboard Assembly: step 4, image 1 of 1
      • Remove the memory door on the bottom of the computer to access the screw for the keyboard.

      • The screws for the memory door do not come out.

      Ask FixBot

      Add Comment

    2. Sony Vaio SVE111B11L  Screen Replacement: step 5, image 1 of 1
      • Remove the 6.7 mm screw that holds the keyboard assembly in place.

      Ask FixBot

      Add Comment

    3. Sony Vaio SVE111B11L  Screen Replacement: step 6, image 1 of 1
      • Be careful not to break the keyboard wire connection.

      • Slide the wires out, away from the solder connections.

      • Flip the computer over and open it.

      Ask FixBot

      Add Comment

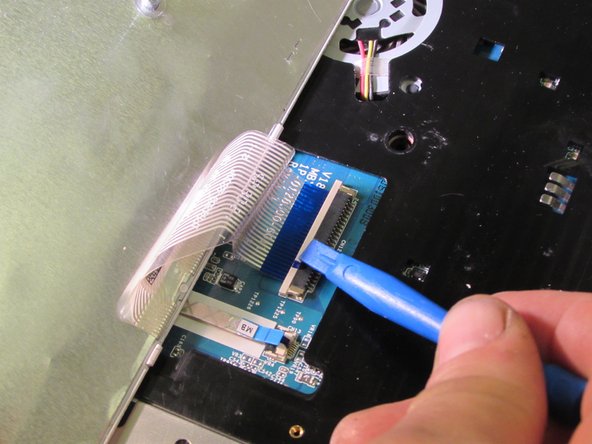
    4. Sony Vaio SVE111B11L  Screen Replacement: step 7, image 1 of 3 Sony Vaio SVE111B11L  Screen Replacement: step 7, image 2 of 3 Sony Vaio SVE111B11L  Screen Replacement: step 7, image 3 of 3
      • Gently pry the keyboard assembly from the screen side, using an opening tool. You will need to lift the keyboard about two inches.

      • Using an opening tool, gently pull out and slightly up on the connector clip.

      • Gently lift the keyboard assembly up and out.

      Ask FixBot

      Add Comment

    1. Sony Vaio SVE111B11L  Screen Replacement, Motherboard: step 8, image 1 of 1
      • Remove charging adaptor. Some charge may still be in the battery or computer.

      • DO NOT touch connectors or copper yellow connector.

      • Take the covers on the bottom of the laptop off.

      Ask FixBot

      Add Comment

    2. Sony Vaio SVE111B11L  Screen Replacement: step 9, image 1 of 1
      • Locate and remove the screws holding the motherboard down.

      • Screws: L 4.6mm X D 1.85mm

      Ask FixBot

      Add Comment

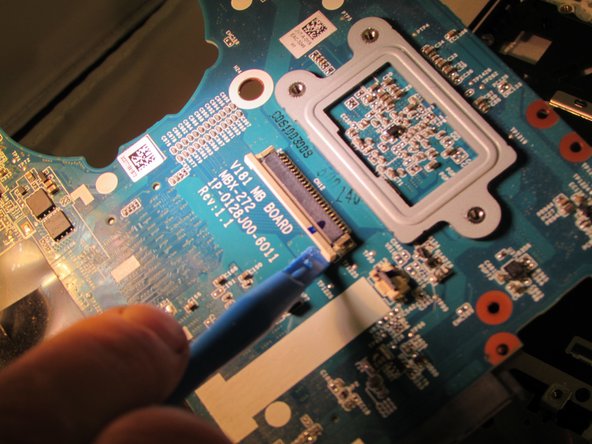
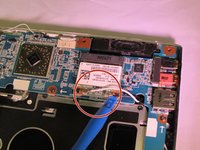
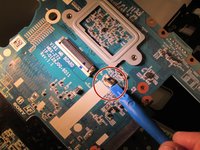
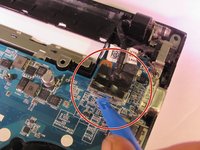
    3. Sony Vaio SVE111B11L  Screen Replacement: step 10, image 1 of 3 Sony Vaio SVE111B11L  Screen Replacement: step 10, image 2 of 3 Sony Vaio SVE111B11L  Screen Replacement: step 10, image 3 of 3
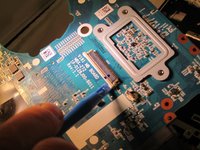
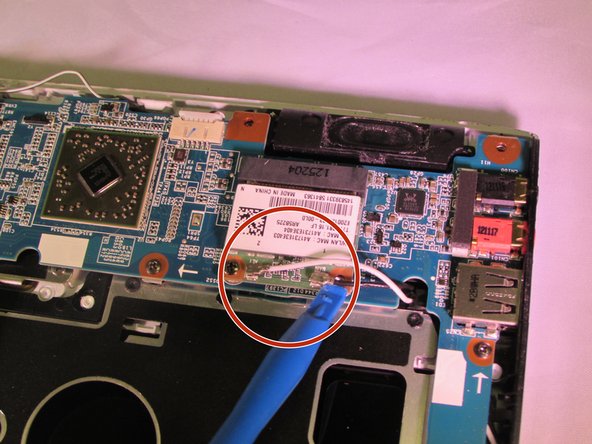
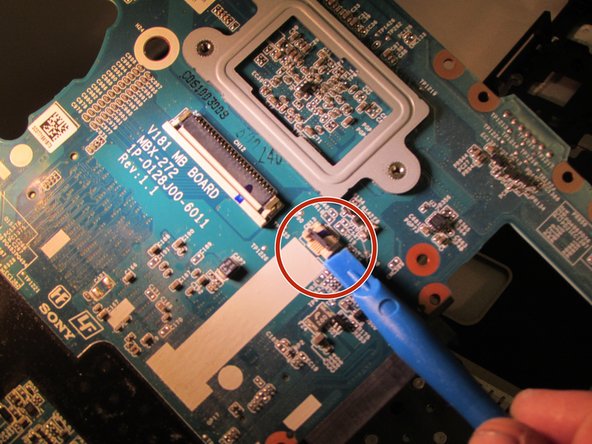
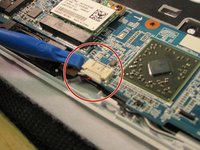
      • Locate the wires and connectors and remove them from the motherboard.

      Ask FixBot

      Add Comment

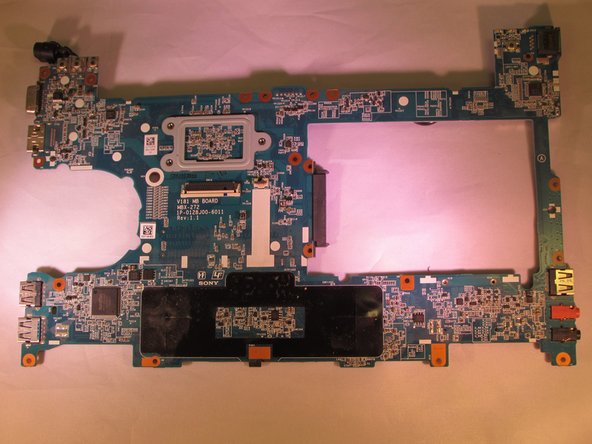
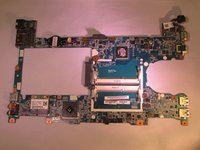
    4. Sony Vaio SVE111B11L  Screen Replacement: step 11, image 1 of 2 Sony Vaio SVE111B11L  Screen Replacement: step 11, image 2 of 2
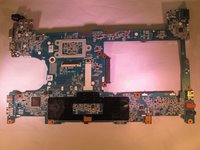
      • Lift the mother board out and safely put it to the side.

      Ask FixBot

      Add Comment

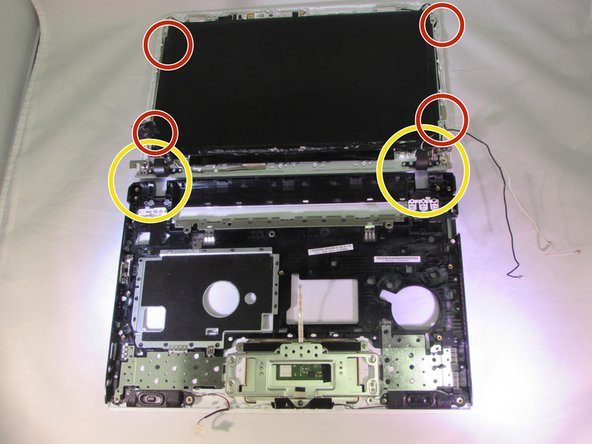
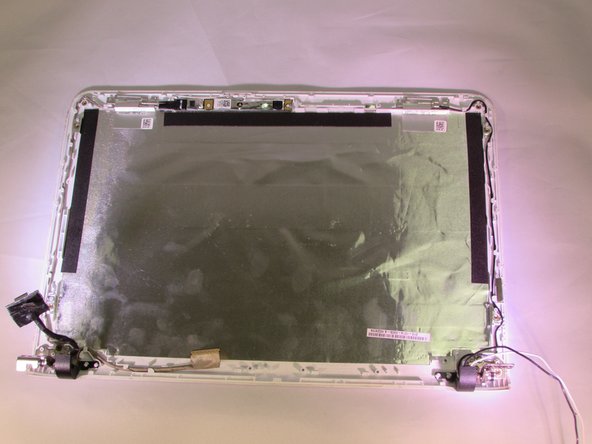
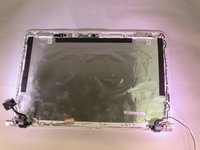
    1. Sony Vaio SVE111B11L  Screen Replacement, Screen: step 12, image 1 of 2 Sony Vaio SVE111B11L  Screen Replacement, Screen: step 12, image 2 of 2
      • Remove charging adaptor and battery. Some charge may still be in the battery or computer.

      • DO NOT touch connectors or copper yellow connector.

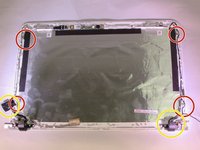
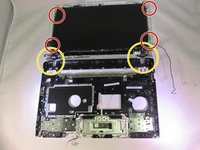
      • Locate screws. L 3.35mm X D 1.8mm

      • Remove Screws.

      • Lay the screen on a hard flat surface.

      • Remove hinges and wires for ease of removal.

      Ask FixBot

      Add Comment

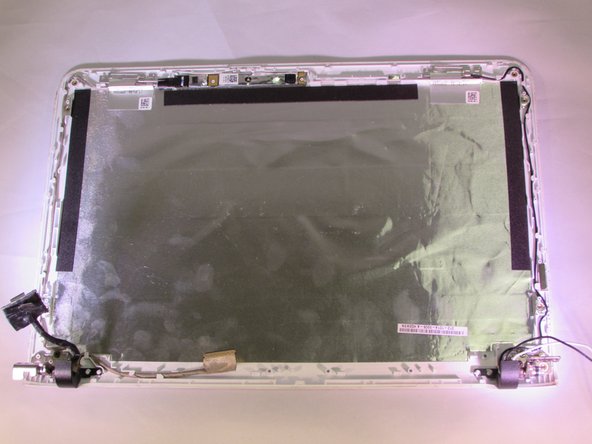
    2. Sony Vaio SVE111B11L  Screen Replacement: step 13, image 1 of 1
      • Gently remove the screen cover.

      • Be careful of the camera at the top of the screen.

      • Be careful of the seal tape between the cover and the screen.

      Ask FixBot

      Add Comment

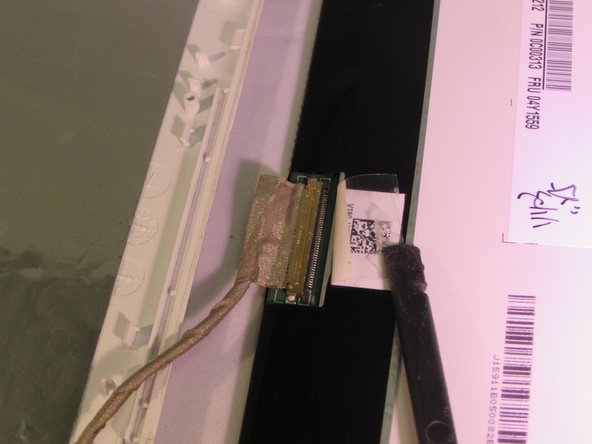
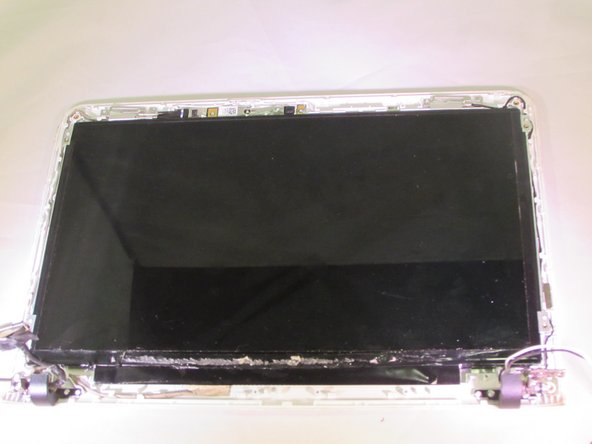
    3. Sony Vaio SVE111B11L  Screen Replacement: step 14, image 1 of 3 Sony Vaio SVE111B11L  Screen Replacement: step 14, image 2 of 3 Sony Vaio SVE111B11L  Screen Replacement: step 14, image 3 of 3
      • Locate the wires and connectors.

      • Unplug the wires from the connectors.

      • Be careful of the yellow tape around the connection.

      Ask FixBot

      Add Comment

    4. Sony Vaio SVE111B11L  Screen Replacement: step 15, image 1 of 2 Sony Vaio SVE111B11L  Screen Replacement: step 15, image 2 of 2
      • Gently lift the screen assembly up and out.

      Ask FixBot

      Add Comment

Conclusion

To reassemble your device, follow these instructions in reverse order.

Cancel: I did not complete this guide.

2 other people completed this guide.

Author

with

John Noll

Member since: 09/29/16

819 Reputation

5 Guides authored

0 Guide Comments

Add Comment

View Statistics:

Past 24 Hours: 4

Past 7 Days: 17

Past 30 Days: 85

All Time: 2,032