
Sony Vaio VGN-FS640 Hard Drive Replacement

What you need

  1. Sony Vaio VGN-FS640 Hard Drive Replacement, Battery: step 1, image 1 of 1
    • Lay the closed laptop on its screen so the bottom is facing towards you.

  2. Sony Vaio VGN-FS640 Hard Drive Replacement: step 2, image 1 of 1
    • Push both latches towards the center of the battery.

  3. Sony Vaio VGN-FS640 Hard Drive Replacement: step 3, image 1 of 2 Sony Vaio VGN-FS640 Hard Drive Replacement: step 3, image 2 of 2
    • Revome the battery by pushing it away from the laptop.

    • Set the battery away from the laptop.

  4. Sony Vaio VGN-FS640 Hard Drive Replacement, Hard Drive: step 4, image 1 of 3 Sony Vaio VGN-FS640 Hard Drive Replacement, Hard Drive: step 4, image 2 of 3 Sony Vaio VGN-FS640 Hard Drive Replacement, Hard Drive: step 4, image 3 of 3
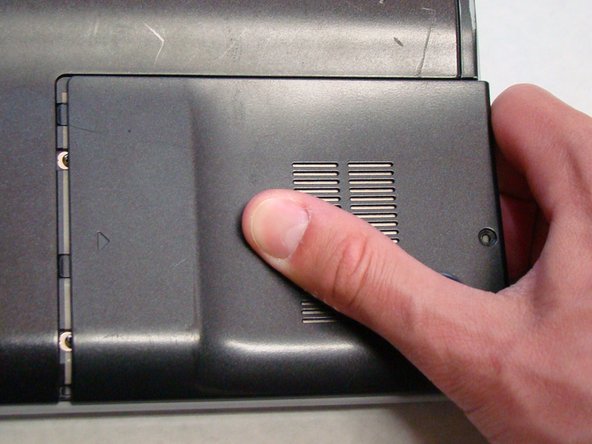
    • Locate and remove the screw (Length: 7.7mm) for the hard drive cover.

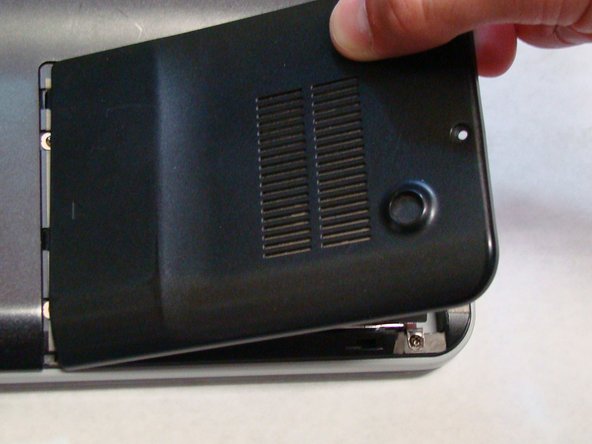
    • Slide the cover until it is free from the laptop case.

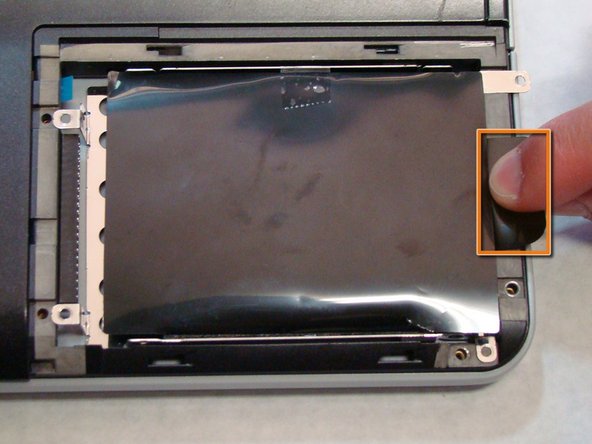
    • Lift the cover to remove.

  5. Sony Vaio VGN-FS640 Hard Drive Replacement: step 5, image 1 of 3 Sony Vaio VGN-FS640 Hard Drive Replacement: step 5, image 2 of 3 Sony Vaio VGN-FS640 Hard Drive Replacement: step 5, image 3 of 3
    • Locate and remove the four screws (Length: 7.7mm) holding the Hard Drive tray in place.

    • Using the tab on the tray, slide the Hard Drive away from the main body of the laptop.

    • The Hard Drive should now be disconnected.

    • Lift the drive out with the tab on the tray.

Conclusion

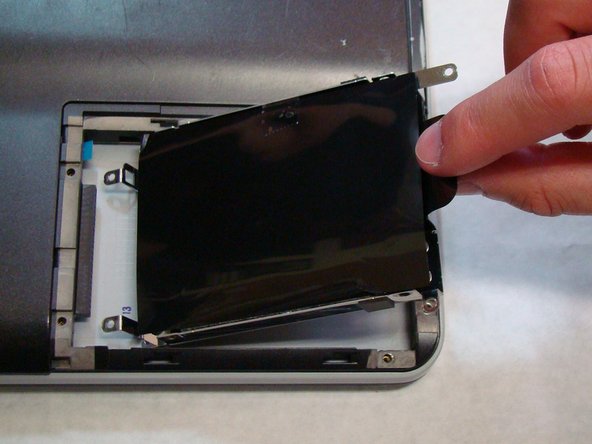
To reassemble your device, follow these instructions in reverse order.

2 other people completed this guide.

Matt McCarty

Member since: 04/15/10

220 Reputation

2 Guides authored

Team

Cal Poly, Team 24-32, Regan Spring 2010 Member of Cal Poly, Team 24-32, Regan Spring 2010

CPSU-REGAN-S10S24G32

4 Members

16 Guides authored

One Comment

cant sign to recover my external hard drive

manivanan88 - Reply

Add Comment

View Statistics:

Past 24 Hours: 0

Past 7 Days: 4

Past 30 Days: 6

All Time: 10,570