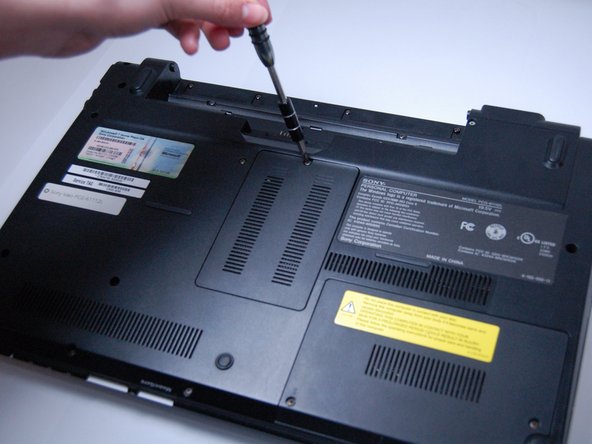
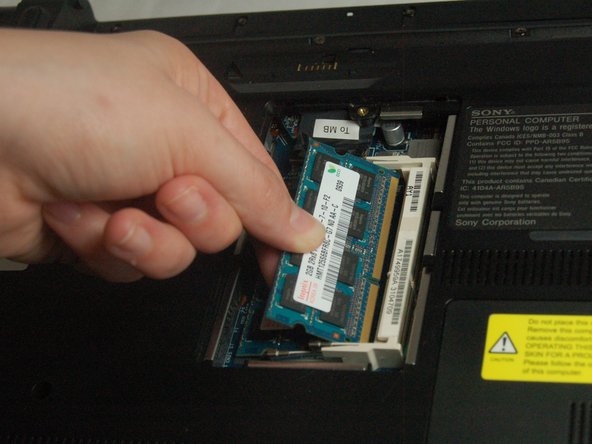
Sony Vaio VPCCW17FX RAM Replacement

What you need

  1. Sony Vaio VPCCW17FX RAM Replacement, RAM: step 1, image 1 of 1
    • Turn the laptop over and orient it as shown.

  2. Sony Vaio VPCCW17FX RAM Replacement: step 2, image 1 of 1
    • Slide both latches to the center of the laptop in order to release the battery.

  3. Sony Vaio VPCCW17FX RAM Replacement: step 3, image 1 of 2 Sony Vaio VPCCW17FX RAM Replacement: step 3, image 2 of 2
    • Use your fingernail or a plastic tool to lift the battery. Rotate the battery up and away to remove from the laptop.

  4. Sony Vaio VPCCW17FX RAM Replacement: step 4, image 1 of 2 Sony Vaio VPCCW17FX RAM Replacement: step 4, image 2 of 2
    • Using a Phillips #0 screwdriver, remove the one screw (Length: 7.7 mm) that is covering the RAM.

  5. Sony Vaio VPCCW17FX RAM Replacement: step 5, image 1 of 1
    • Lift the black plastic cover to assess the RAM.

  6. Sony Vaio VPCCW17FX RAM Replacement: step 6, image 1 of 3 Sony Vaio VPCCW17FX RAM Replacement: step 6, image 2 of 3 Sony Vaio VPCCW17FX RAM Replacement: step 6, image 3 of 3
    • Apply light, outward pressure to the locks on both sides of the RAM.

    • Rotate the RAM up and slowly pull towards you to remove it.

  7. Sony Vaio VPCCW17FX RAM Replacement: step 7, image 1 of 3 Sony Vaio VPCCW17FX RAM Replacement: step 7, image 2 of 3 Sony Vaio VPCCW17FX RAM Replacement: step 7, image 3 of 3
    • In order to remove the secondary RAM, use the same outward pressure on the locks.

    • Lift and slide out the RAM to remove it from the slot.

Conclusion

To reassemble your device, follow these instructions in reverse order.

Mia Martinez

Member since: 03/30/17

101 Reputation

1 Guide authored

Team

0 Comments

Add Comment

View Statistics:

Past 24 Hours: 0

Past 7 Days: 3

Past 30 Days: 10

All Time: 1,108