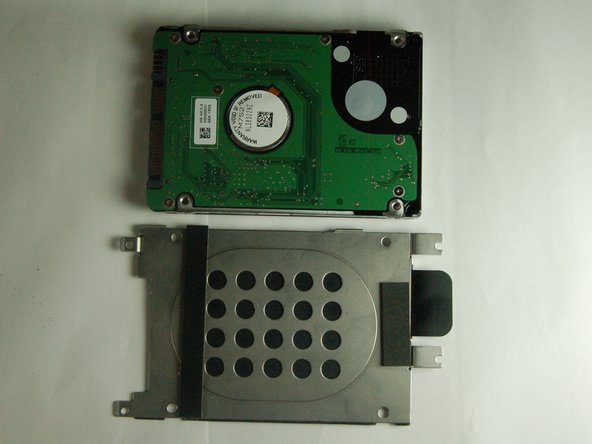
Sony Vaio VPCCW17FX Hard Drive Replacement

What you need

  1. Sony Vaio VPCCW17FX Hard Drive Replacement, Hard Drive: step 1, image 1 of 1
    • Turn the laptop over and orient it as shown.

  2. Sony Vaio VPCCW17FX Hard Drive Replacement: step 2, image 1 of 1
    • Slide the two latches towards the center of the battery to release it.

  3. Sony Vaio VPCCW17FX Hard Drive Replacement: step 3, image 1 of 2 Sony Vaio VPCCW17FX Hard Drive Replacement: step 3, image 2 of 2
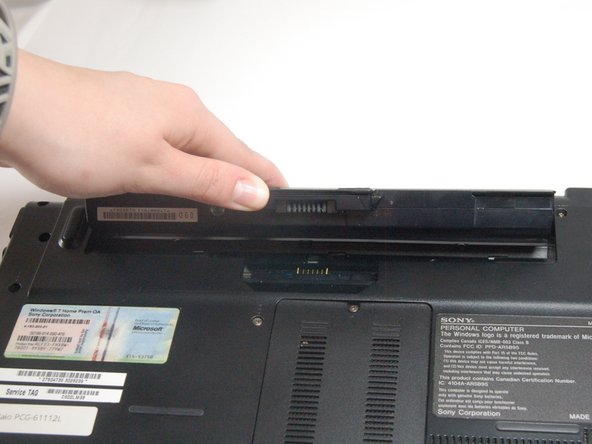
    • Use your fingernail or a plastic tool to lift the battery. Rotate the battery up and away to remove from the laptop.

  4. Sony Vaio VPCCW17FX Hard Drive Replacement: step 4, image 1 of 2 Sony Vaio VPCCW17FX Hard Drive Replacement: step 4, image 2 of 2
    • Use a Phillips #00 screwdriver to remove the two 7.7 mm screws from the hard drive cover and place it to the side.

  5. Sony Vaio VPCCW17FX Hard Drive Replacement: step 5, image 1 of 3 Sony Vaio VPCCW17FX Hard Drive Replacement: step 5, image 2 of 3 Sony Vaio VPCCW17FX Hard Drive Replacement: step 5, image 3 of 3
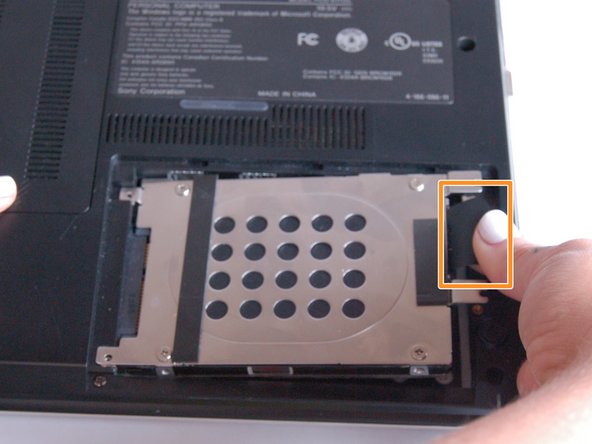
    • Remove the four screws (Length: 7.7 mm) using the Phillips #00 screwdriver that hold the hard drive in place.

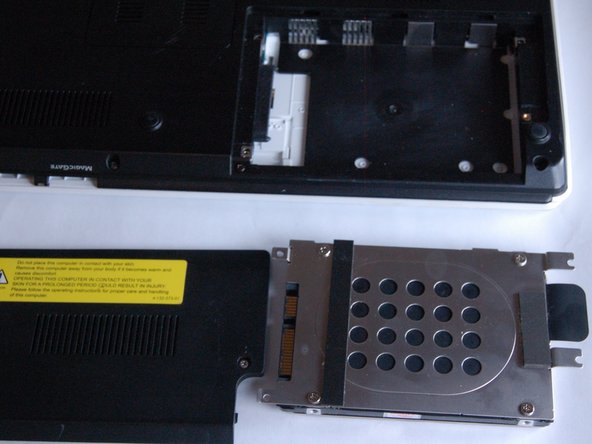
    • Use the tab to slide the hard drive away from the laptop.

    • Set the disconnected hard drive away from the laptop.

  6. Sony Vaio VPCCW17FX Hard Drive Replacement: step 6, image 1 of 3 Sony Vaio VPCCW17FX Hard Drive Replacement: step 6, image 2 of 3 Sony Vaio VPCCW17FX Hard Drive Replacement: step 6, image 3 of 3
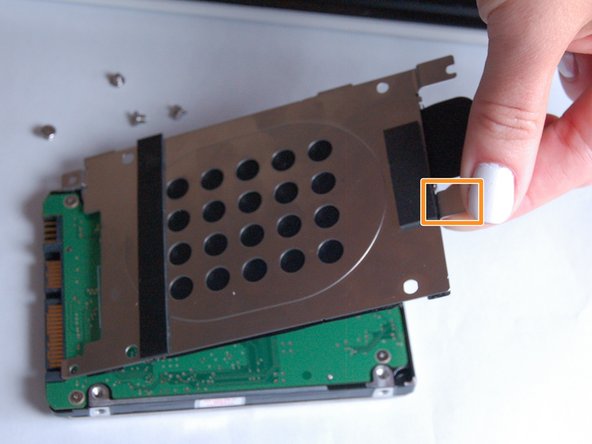
    • Remove the four screws (Length: 7.7 mm) using the Phillips #00 screwdriver that cover the hard drive.

    • Use the tab to pull up on the metal cover and remove it.

    • You are now free to replace the hard drive.

Conclusion

To reassemble your device, follow these instructions in reverse order.

Tiffani Beck

Member since: 03/20/17

219 Reputation

2 Guides authored

Team

0 Comments

Add Comment

View Statistics:

Past 24 Hours: 0

Past 7 Days: 4

Past 30 Days: 12

All Time: 1,614