Introduction
This replacement guide provides step by step instructions with pictures to help replace Sony Vaio PCG-3C2L RAM. You may need to replace your RAM if your laptop is becoming slow or sluggish. RAM is typically the cheapest and easiest component to replace to increase system speed. You can find replacement RAM here.
What you need
-
-
-
Turn your computer over so the bottom is facing up.
-
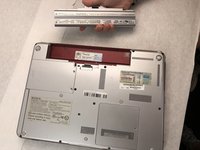
The battery should be in the top on the back of the computer.
 Ask FixBot
-
-
-
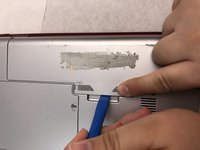
Initially, the "lock" button should be pushed all the way to the left. To unlock the battery, move the lock button from the left to the right.
-
-
-
-
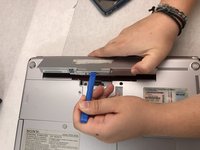
Keep the "release" button pressed.
-
Use the iFixit opening tool (or your hands) to lift the battery up.
-
-
-
-
-
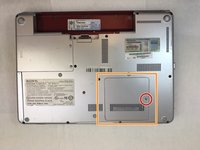
Unscrew the panel screw with a Phillips #0 screwdriver.
-
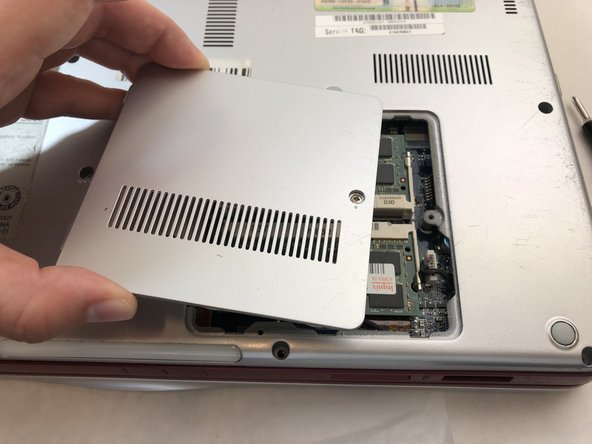
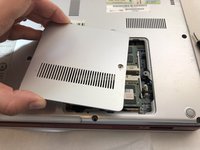
Remove the panel from the laptop.
-
-
-
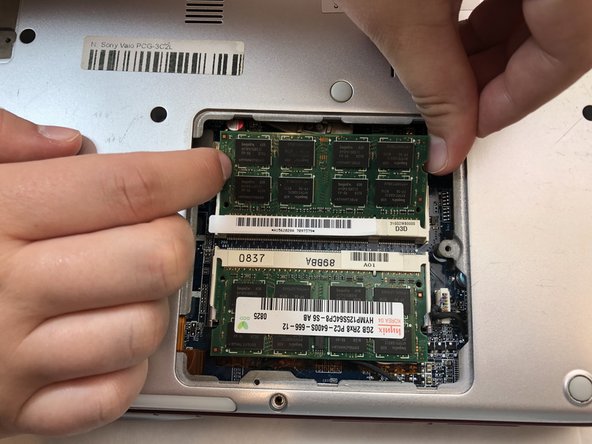
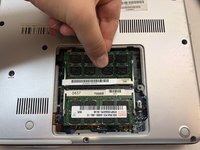
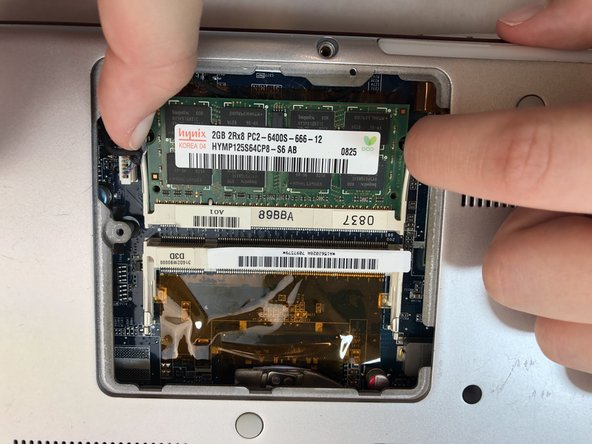
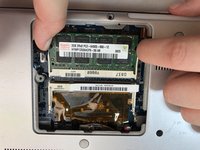
Inside the panel there will be two green panels with black rectangles on top. This is the RAM.
-
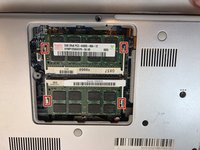
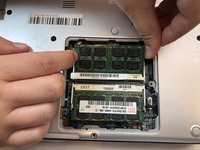
To remove the RAM, use your fingers to press the metal tabs on the white holders outwards.
-
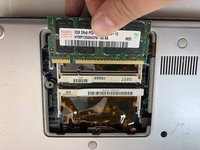
At this point, the green panel will flip up slightly.
-
-
-
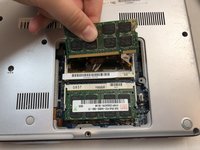
With the green panel flipped up, use your hands to remove the RAM.
-
Do the same thing for the second green panel.
-








To reassemble your device, follow these instructions in reverse order.

Team

Embry-Riddle Aeronautical University, Team S8-G3, Salas Fall 2019 Member of Embry-Riddle Aeronautical University, Team S8-G3, Salas Fall 2019
ERAU-SALAS-F19S8G3
4 Members
72 Guides authored
