Sony Vaio PCG-31311L Hard Drive Replacement

What you need

  1. Sony Vaio PCG-31311L Hard Drive Replacement, Hard Drive: step 1, image 1 of 2 Sony Vaio PCG-31311L Hard Drive Replacement, Hard Drive: step 1, image 2 of 2
    • Start with device closed, powered off, and upside down.

    • Locate the 3 screws on the bottom plate and unscrew.

    • These screws do not detach from the plate.

  2. Sony Vaio PCG-31311L Hard Drive Replacement: step 2, image 1 of 2 Sony Vaio PCG-31311L Hard Drive Replacement: step 2, image 2 of 2
    • Use a plastic opening tool to pull up on the plate and remove from device.

  3. Sony Vaio PCG-31311L Hard Drive Replacement: step 3, image 1 of 1
    • Locate screws holding in the hard drive and remove.

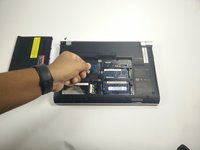
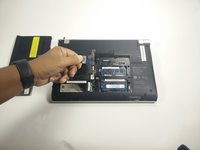
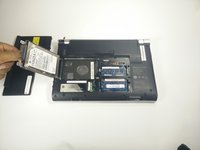
  4. Sony Vaio PCG-31311L Hard Drive Replacement: step 4, image 1 of 3 Sony Vaio PCG-31311L Hard Drive Replacement: step 4, image 2 of 3 Sony Vaio PCG-31311L Hard Drive Replacement: step 4, image 3 of 3
    • Grab the black plastic tab on the hard drive with two fingers.

    • Swiftly pull up on the tab to remove the hard drive.

Conclusion

To reassemble your device, follow these instructions in reverse order.

One other person completed this guide.

Tyler

Member since: 08/24/16

45 Reputation

5 Guides authored

Team

USF Tampa, Team 1-1, Lacy Fall 2016 Member of USF Tampa, Team 1-1, Lacy Fall 2016

USFT-LACY-F16S1G1

5 Members

10 Guides authored

0 Comments

Add Comment

View Statistics:

Past 24 Hours: 2

Past 7 Days: 9

Past 30 Days: 31

All Time: 1,964