Introduction
Use this guide to remove and replace the keyboard of your Sony VAIO VPCEC1M1E Laptop.
Disclaimer: iFixit staff has found this guide to be an interesting look at the device, but it is not indicative of the best way to perform repair. Use caution in following the guide and read all steps before you attempt the repair.
What you need
-
-
-
Remove the following color-coded screws:
-
These screws secure the RAM and hard drive covers, respectively.
-
These screws secure the optical drive to the lower case of the laptop.
 Ask FixBot
-
-
-
Remove the following screws:
-
Five screws highlighted in orange.
-
Two screws highlighted in blue.
-
Pry the hard drive connector upwards from its socket on the logic board.
-
-
-
-
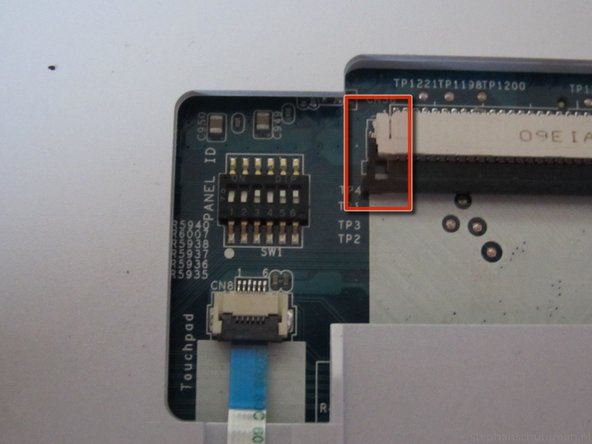
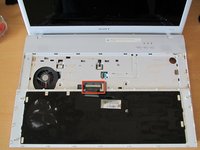
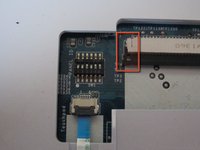
Flip up the retaining flap (highlighted in red) on the keyboard ribbon cable ZIF socket.
-
Pull the keyboard ribbon cable straight out of its socket toward the front edge of the laptop.
-
-



Cancel: I did not complete this guide.
8 other people completed this guide.

3 Guide Comments
OMG... guys, you need just unscrew FOUR screws on the bottom (two orange circles on the same level that yellow sticker and two orange-circled screws in the middle of left and right side) and then pop the keyboard up with knife, etc, and disconnect the cable.
