Sony VAIO VPCEE26FX Hard Disk Drive Replacement

What you need

  1. Sony VAIO VPCEE26FX Hard Disk Drive Replacement, Battery: step 1, image 1 of 2 Sony VAIO VPCEE26FX Hard Disk Drive Replacement, Battery: step 1, image 2 of 2
    • Ensure that the laptop is powered off before disconnecting the battery.

    • Flip the laptop over so the underside of the laptop is facing up.

  2. Sony VAIO VPCEE26FX Hard Disk Drive Replacement: step 2, image 1 of 2 Sony VAIO VPCEE26FX Hard Disk Drive Replacement: step 2, image 2 of 2
    • Slide the two tabs towards each other until the battery disconnects slightly from its position.

    • Carefully lift the battery out of its position away from the laptop.

    • The battery is not pictured here, since it is missing from this particular device.

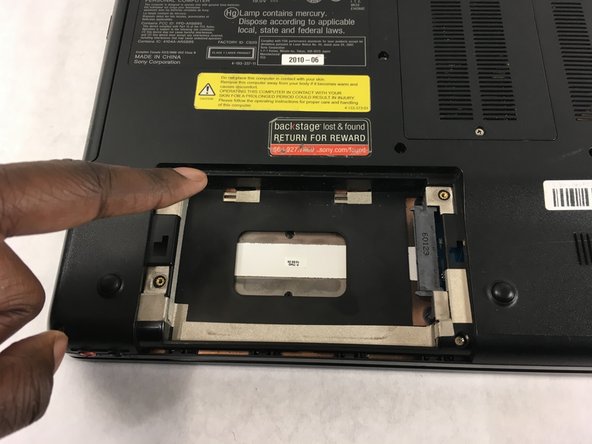
  3. Sony VAIO VPCEE26FX Hard Disk Drive Replacement, Hard Disk Drive: step 3, image 1 of 2 Sony VAIO VPCEE26FX Hard Disk Drive Replacement, Hard Disk Drive: step 3, image 2 of 2
    • Using a JIS #0 screwdriver, remove the two 4mm screws securing the hard drive cover to the laptop.

    • Lift the hard drive up and out of its place.

    • The drive cover and hard drive are not pictured. They are both missing from this particular device.

Conclusion

To reassemble your device, follow these instructions in reverse order.

Christopher Hover

Member since: 03/21/19

679 Reputation

5 Guides authored

Team

0 Comments

Add Comment

View Statistics:

Past 24 Hours: 0

Past 7 Days: 4

Past 30 Days: 14

All Time: 1,729