
Sony UBP-UX80 Power Board Replacement

What you need

  1. Sony UBP-UX80 Power Board Replacement, Top Cover: step 1, image 1 of 3 Sony UBP-UX80 Power Board Replacement, Top Cover: step 1, image 2 of 3 Sony UBP-UX80 Power Board Replacement, Top Cover: step 1, image 3 of 3
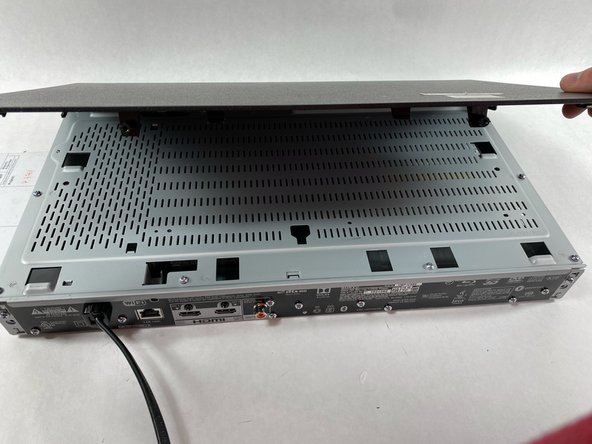
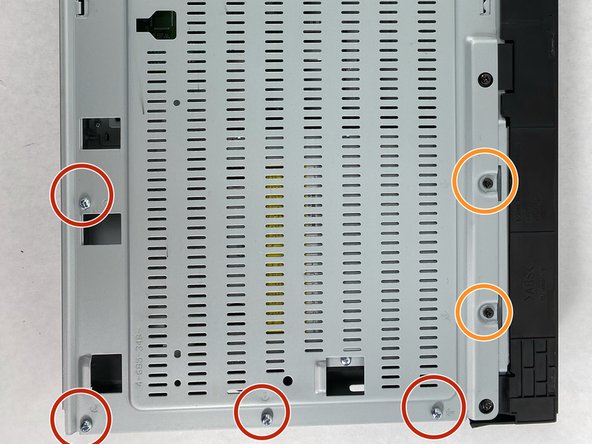
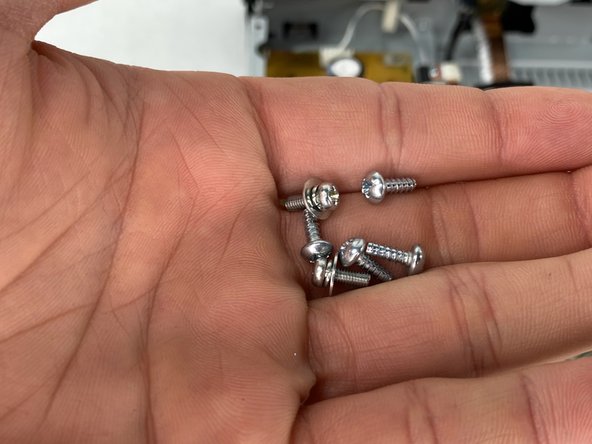
    • Use a Phillips #2 screwdriver to remove the two 10.5 mm screws that secure the two side panels onto the back of the player.

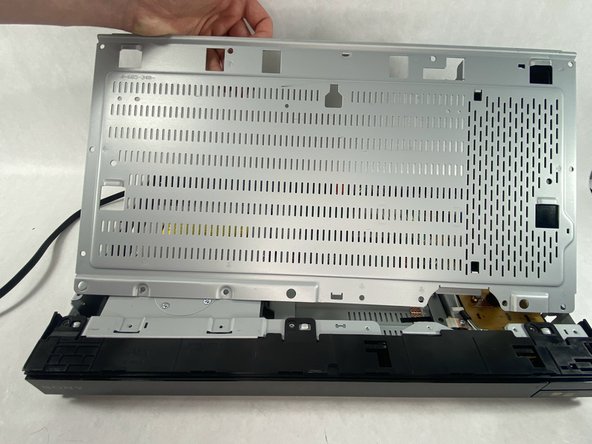
    • Slide both covers back about a 1/2 inch, then pull them away from the case.

  2. Sony UBP-UX80 Power Board Replacement: step 2, image 1 of 3 Sony UBP-UX80 Power Board Replacement: step 2, image 2 of 3 Sony UBP-UX80 Power Board Replacement: step 2, image 3 of 3
    • Use a Phillips #2 screwdriver to remove the two 10.5 mm screws on the side of the case, each connecting to a tab on the cover.

    • Similar to the previous step, it is identical cases on both sides of the device.

    • Use a Phillips #2 screwdriver to remove the two 10.5 mm screws (one next to the Wi-Fi logo and one next to the Blu-ray logo).

  3. Sony UBP-UX80 Power Board Replacement: step 3, image 1 of 2 Sony UBP-UX80 Power Board Replacement: step 3, image 2 of 2
    • Press in the tabs found on the front-sides of the case (connected to the front panel).

    • Slide the top cover forward.

    • Lift off the case.

  4. Sony UBP-UX80 Power Board Replacement: step 4, image 1 of 3 Sony UBP-UX80 Power Board Replacement: step 4, image 2 of 3 Sony UBP-UX80 Power Board Replacement: step 4, image 3 of 3
    • Find the eleven 10.5 mm silver screws and two 6 mm black screws on the perimeter of the silver cover plate.

    • Remove the silver screws using a Phillips #2 screwdriver and the black ones using a Phillips #1 screwdriver.

    • Life the back of the cover up and off of the chasis.

  5. Sony UBP-UX80 Power Board Replacement, Power Board: step 5, image 1 of 2 Sony UBP-UX80 Power Board Replacement, Power Board: step 5, image 2 of 2
    • Unplug device before starting. Try not to touch any exposed wires or traces on the board.

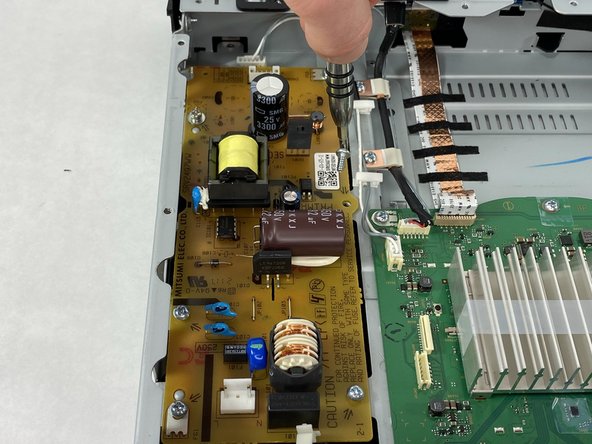
    • Disconnect the power cable connector and motherboard connector from the power board.

  6. Sony UBP-UX80 Power Board Replacement: step 6, image 1 of 3 Sony UBP-UX80 Power Board Replacement: step 6, image 2 of 3 Sony UBP-UX80 Power Board Replacement: step 6, image 3 of 3
    • Use a Phillips #2 screwdriver to remove the six 10.5 mm screws that secure the board.

    • Note that there are two (2) screws with washers attached to them at the top of the board, please know where they go.

  7. Sony UBP-UX80 Power Board Replacement: step 7, image 1 of 1
    • Grab the board by any plastic housing attached. Lift the board up and out of the chassis.

Conclusion

To reassemble your device, follow these instructions in reverse order.

Ryan Masoud

Member since: 03/13/23

193 Reputation

2 Guides authored

Team

0 Comments

Add Comment

View Statistics:

Past 24 Hours: 0

Past 7 Days: 1

Past 30 Days: 5

All Time: 79