Sony UBP-UX80 Front Cover Replacement

What you need

  1. Sony UBP-UX80 Front Cover Replacement, Top Cover: step 1, image 1 of 3 Sony UBP-UX80 Front Cover Replacement, Top Cover: step 1, image 2 of 3 Sony UBP-UX80 Front Cover Replacement, Top Cover: step 1, image 3 of 3
    • Use a Phillips #2 screwdriver to remove the two 10.5 mm screws that secure the two side panels onto the back of the player.

    • Slide both covers back about a 1/2 inch, then pull them away from the case.

  2. Sony UBP-UX80 Front Cover Replacement: step 2, image 1 of 3 Sony UBP-UX80 Front Cover Replacement: step 2, image 2 of 3 Sony UBP-UX80 Front Cover Replacement: step 2, image 3 of 3
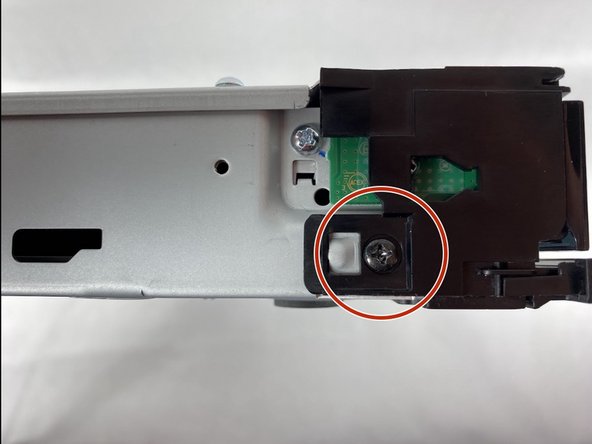
    • Use a Phillips #2 screwdriver to remove the two 10.5 mm screws on the side of the case, each connecting to a tab on the cover.

    • Similar to the previous step, it is identical cases on both sides of the device.

    • Use a Phillips #2 screwdriver to remove the two 10.5 mm screws (one next to the Wi-Fi logo and one next to the Blu-ray logo).

  3. Sony UBP-UX80 Front Cover Replacement: step 3, image 1 of 2 Sony UBP-UX80 Front Cover Replacement: step 3, image 2 of 2
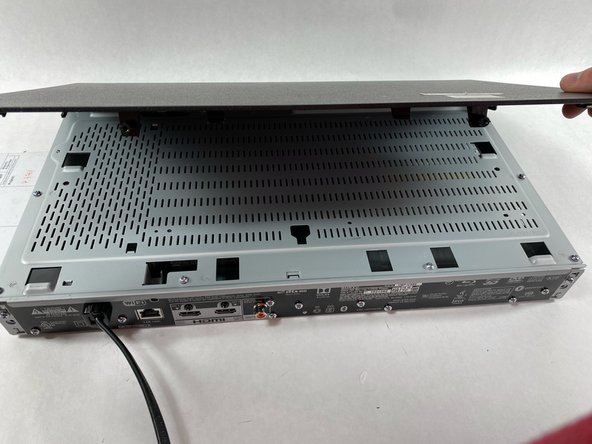
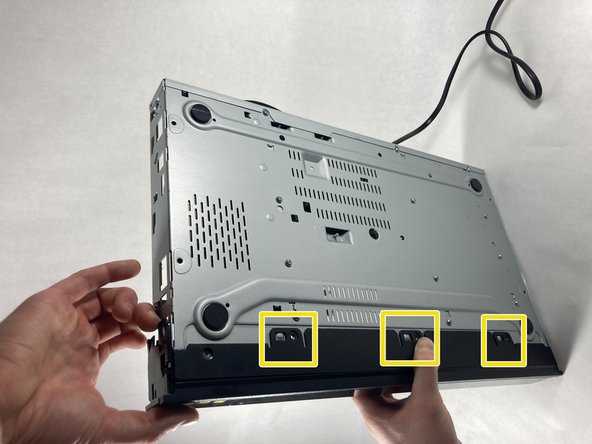
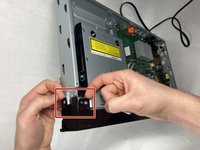
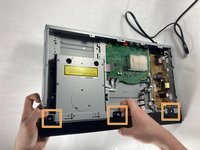
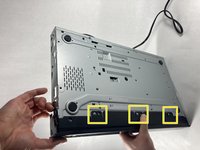
    • Press in the tabs found on the front-sides of the case (connected to the front panel).

    • Slide the top cover forward.

    • Lift off the case.

  4. Sony UBP-UX80 Front Cover Replacement: step 4, image 1 of 3 Sony UBP-UX80 Front Cover Replacement: step 4, image 2 of 3 Sony UBP-UX80 Front Cover Replacement: step 4, image 3 of 3
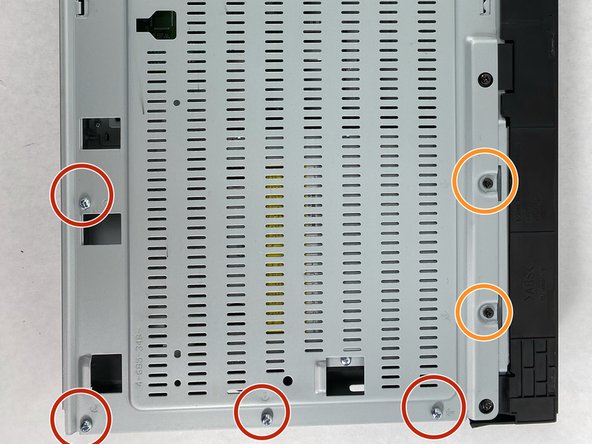
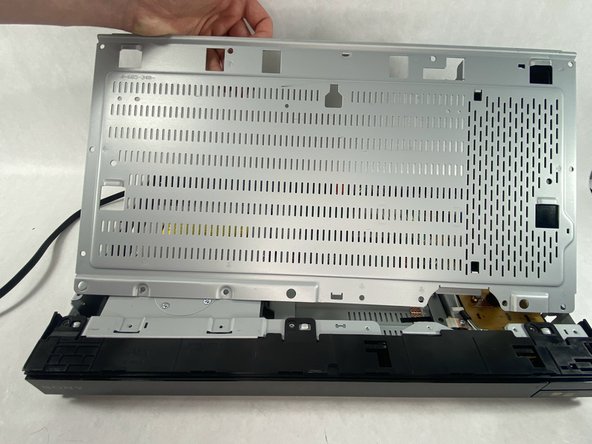
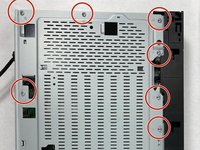
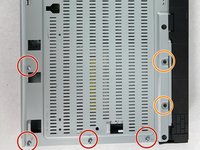
    • Find the eleven 10.5 mm silver screws and two 6 mm black screws on the perimeter of the silver cover plate.

    • Remove the silver screws using a Phillips #2 screwdriver and the black ones using a Phillips #1 screwdriver.

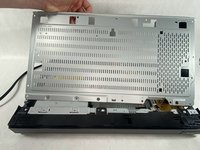
    • Life the back of the cover up and off of the chasis.

  5. Sony UBP-UX80 Front Cover Replacement, Front Cover: step 5, image 1 of 3 Sony UBP-UX80 Front Cover Replacement, Front Cover: step 5, image 2 of 3 Sony UBP-UX80 Front Cover Replacement, Front Cover: step 5, image 3 of 3
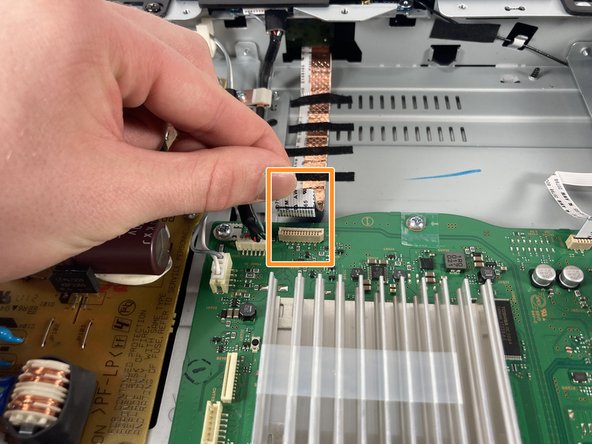
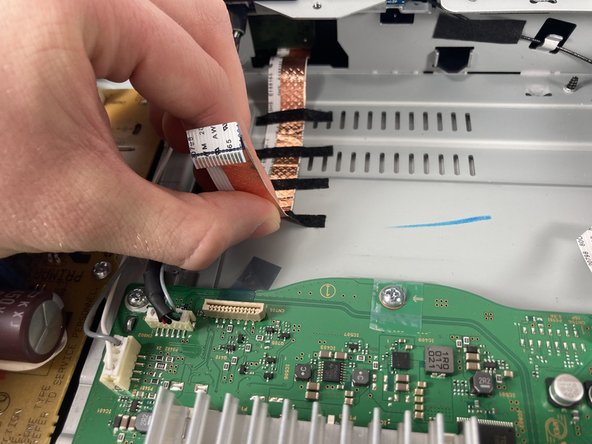
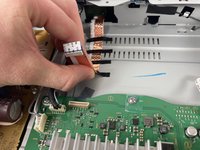
    • Toward the panel there is a ribbon cable with 4 small black pieces of tape holding it down

    • Pull directly up on the ribbon cable to disconnect it from the motherboard

    • Gently pull the cable back away from the motherboard pulling the tape off with it

  6. Sony UBP-UX80 Front Cover Replacement: step 6, image 1 of 1
    • Once all pieces of tape have been pulled up, the ribbon cable should look like this.

  7. Sony UBP-UX80 Front Cover Replacement: step 7, image 1 of 2 Sony UBP-UX80 Front Cover Replacement: step 7, image 2 of 2
    • There are screws on every side of the front panel holding it in. Use a #2 Phillips head screwdriver to remove the nine screws.

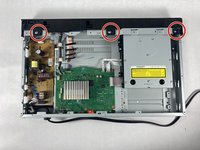
    • Unscrew the three 10.5 mm long ph #2 screws on the top.

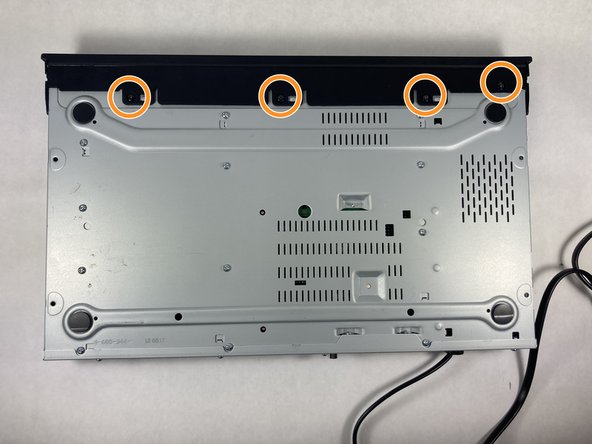
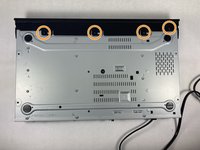
    • Unscrew the four 10.5 mm long ph #2 screws on the bottom.

  8. Sony UBP-UX80 Front Cover Replacement: step 8, image 1 of 2 Sony UBP-UX80 Front Cover Replacement: step 8, image 2 of 2
    • Use a Phillips #2 screwdriver to remove the 10.5 mm screws, one on each side of the device.

  9. Sony UBP-UX80 Front Cover Replacement: step 9, image 1 of 3 Sony UBP-UX80 Front Cover Replacement: step 9, image 2 of 3 Sony UBP-UX80 Front Cover Replacement: step 9, image 3 of 3
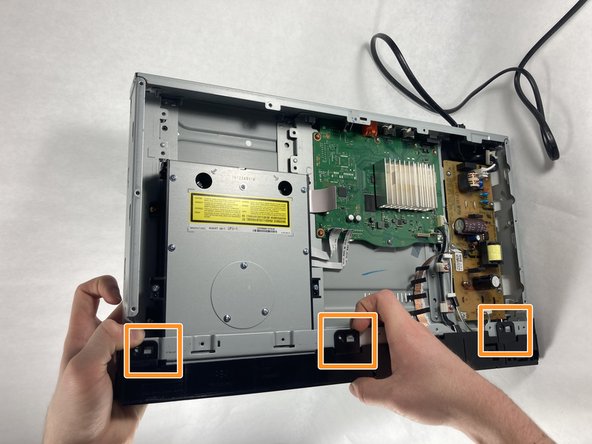
    • Lift tab on the left side of the device

    • Work your way right, lifting the next tabs. One on the bottom and one the Top

    • Continue working the tabs on the top and bottom, keeping them from snapping back in place.

  10. Sony UBP-UX80 Front Cover Replacement: step 10, image 1 of 1
    • Once all tabs are disconnected, pull the front panel forward to fully disconnect it

Conclusion

To reassemble your device, follow these instructions in reverse order.

Nate Picard

Member since: 03/13/23

349 Reputation

3 Guides authored

Team

0 Comments

Add Comment

View Statistics:

Past 24 Hours: 0

Past 7 Days: 0

Past 30 Days: 1

All Time: 64