Sony SEL55210 Camera Lens Disassembly

What you need

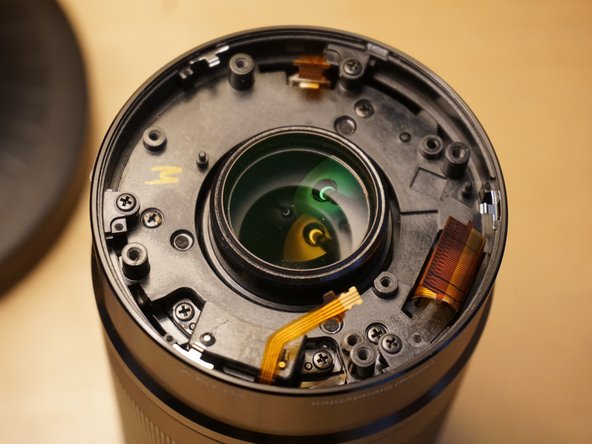
  1. Sony SEL55210 Camera Lens Disassembly, Remove E-mount Bezel: step 1, image 1 of 1
    • Remove 4 screws

  2. Sony SEL55210 Camera Lens Disassembly, Disconnect E-mount bezel: step 2, image 1 of 1
    • Gently disconnect cable from ZIP connector.

    • iFixit connector guide.

    • Remove E-mount bezel.

    • Avoid stressing flat cables.

    • Sensitive electronics - avoid static discharge.

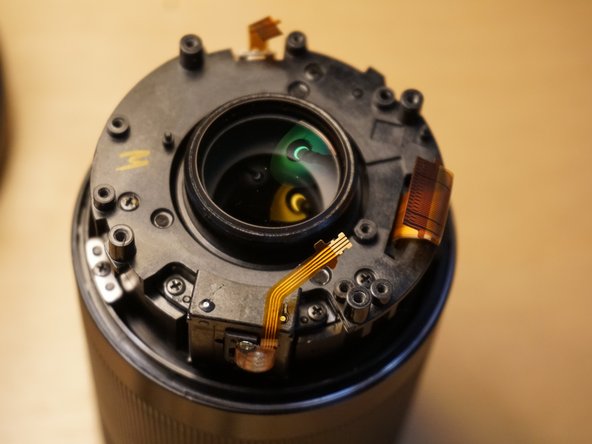
  3. Sony SEL55210 Camera Lens Disassembly, Disconnect Cables: step 3, image 1 of 1
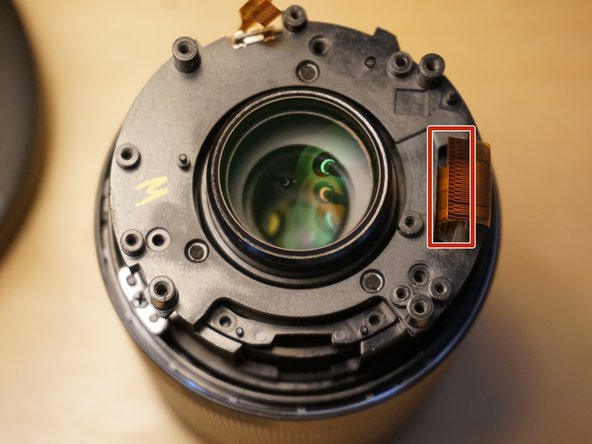
    • Gently disconnect 3 cables from ZIP connector.

    • The two wider connectors open from the cable side, the thinner connector opens from the back side.

    • iFixit connector guide.

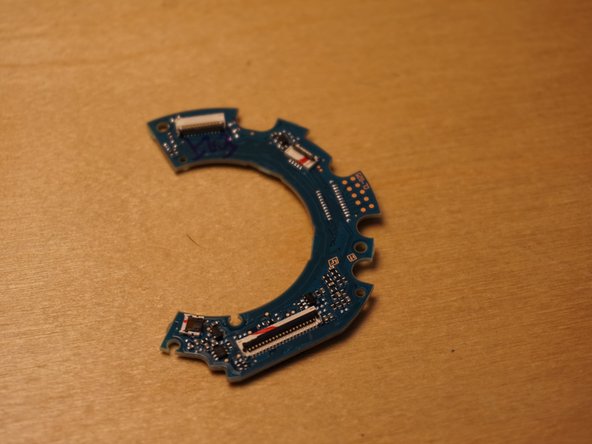
  4. Sony SEL55210 Camera Lens Disassembly, Remove PCB: step 4, image 1 of 3 Sony SEL55210 Camera Lens Disassembly, Remove PCB: step 4, image 2 of 3 Sony SEL55210 Camera Lens Disassembly, Remove PCB: step 4, image 3 of 3
    • Remove 3 screws

    • Remove printed circuit board.

    • Sensitive electronics - avoid static discharge.

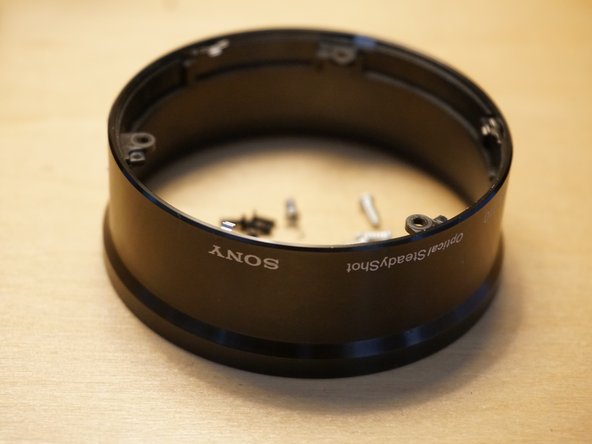
  5. Sony SEL55210 Camera Lens Disassembly, Remove Outer Bezel: step 5, image 1 of 3 Sony SEL55210 Camera Lens Disassembly, Remove Outer Bezel: step 5, image 2 of 3 Sony SEL55210 Camera Lens Disassembly, Remove Outer Bezel: step 5, image 3 of 3
    • Remove three screws from outer bezel ears.

    • Gently remove bezel.

    • Be mindful of cables when removing bezel.

  6. Sony SEL55210 Camera Lens Disassembly, Remove Lens Park Sensor: step 6, image 1 of 3 Sony SEL55210 Camera Lens Disassembly, Remove Lens Park Sensor: step 6, image 2 of 3 Sony SEL55210 Camera Lens Disassembly, Remove Lens Park Sensor: step 6, image 3 of 3
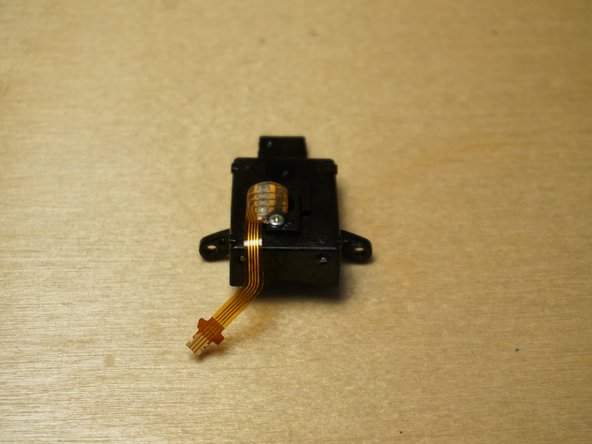
    • Remove 2 screws from lens park sensor.

    • Remove lens park sensor.

  7. Sony SEL55210 Camera Lens Disassembly, Remove Lens Brackets: step 7, image 1 of 2 Sony SEL55210 Camera Lens Disassembly, Remove Lens Brackets: step 7, image 2 of 2
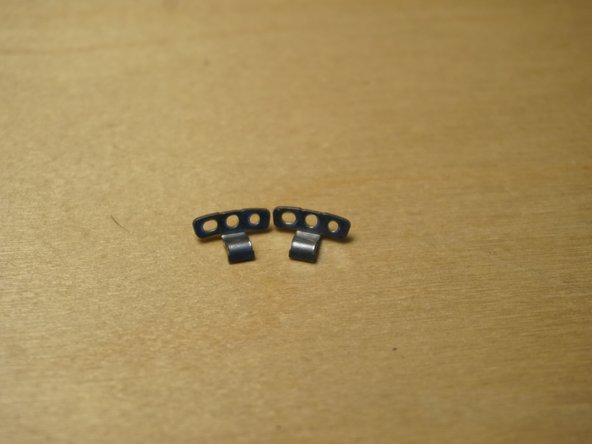
    • Remove 2 screws from 2 lens brackets.

    • Remove brackets.

  8. Sony SEL55210 Camera Lens Disassembly, Loosen Telescope Sensor: step 8, image 1 of 1
    • Loosen (or remove) 2 telescope sensor screws.

    • Do not remove this sensor - it is connected via a flat cable to the focus ring.

  9. Sony SEL55210 Camera Lens Disassembly, Remove External Lens Encasement: step 9, image 1 of 3 Sony SEL55210 Camera Lens Disassembly, Remove External Lens Encasement: step 9, image 2 of 3 Sony SEL55210 Camera Lens Disassembly, Remove External Lens Encasement: step 9, image 3 of 3
    • Remove 3 screws.

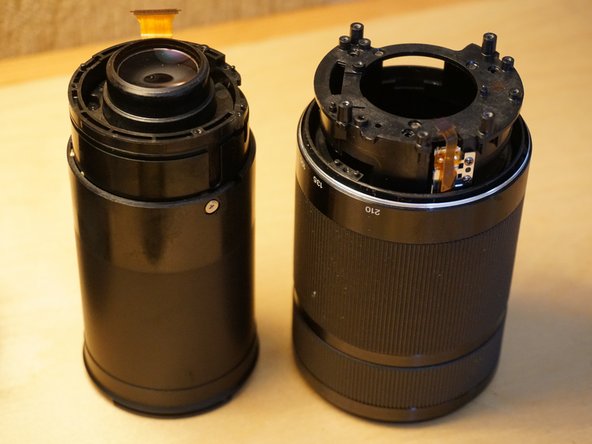
    • Pull lens out of external encasement.

    • Maneuver the telescope sensor so that it unmates from the slot in the internal lens body

    • Carefully feed the OSS/AF motor wire through the slot.

  10. Sony SEL55210 Camera Lens Disassembly, Remove Lens Element: step 10, image 1 of 2 Sony SEL55210 Camera Lens Disassembly, Remove Lens Element: step 10, image 2 of 2
    • Remove 3 screws

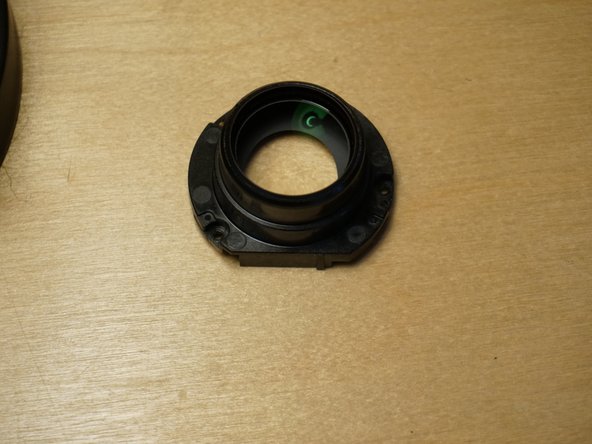
    • Remove the lens element.

  11. Sony SEL55210 Camera Lens Disassembly, Remove OSS Retainer: step 11, image 1 of 2 Sony SEL55210 Camera Lens Disassembly, Remove OSS Retainer: step 11, image 2 of 2
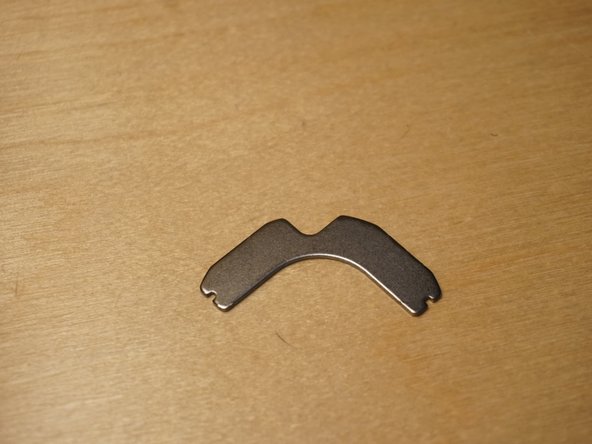
    • Gently pry up magnetic OSS retaining bracket.

  12. Sony SEL55210 Camera Lens Disassembly, Remove Outer Lens Sleeve Fasteners: step 12, image 1 of 3 Sony SEL55210 Camera Lens Disassembly, Remove Outer Lens Sleeve Fasteners: step 12, image 2 of 3 Sony SEL55210 Camera Lens Disassembly, Remove Outer Lens Sleeve Fasteners: step 12, image 3 of 3
    • Remove 3 screws from the aperture end of the telescoping mechanism.

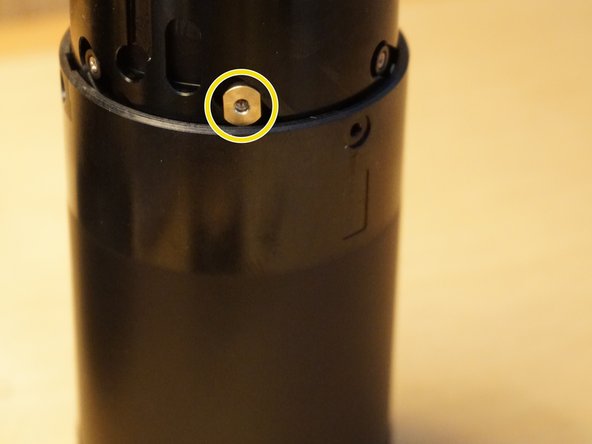
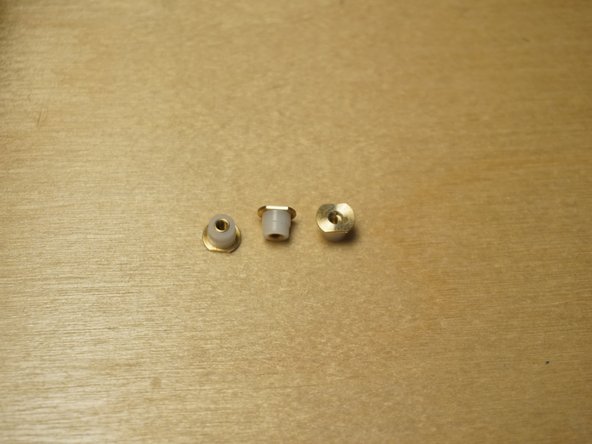
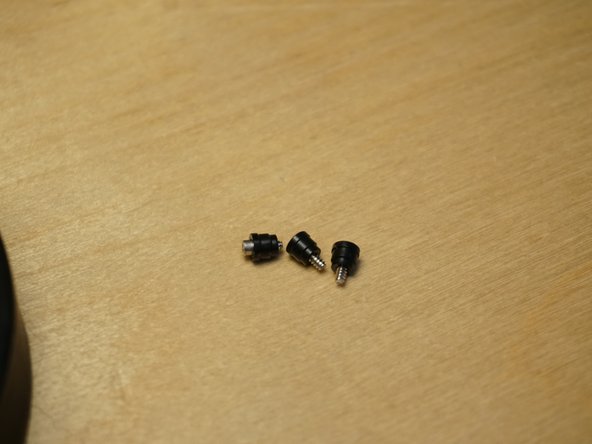
    • Lift lens to reveal and remove 3 brass/nylon nuts.

  13. Sony SEL55210 Camera Lens Disassembly, Remove Outer Optical Lens Sleeve: step 13, image 1 of 1
    • Remove outer optical lens sleeve.

  14. Sony SEL55210 Camera Lens Disassembly, Remove Slide Guides: step 14, image 1 of 2 Sony SEL55210 Camera Lens Disassembly, Remove Slide Guides: step 14, image 2 of 2
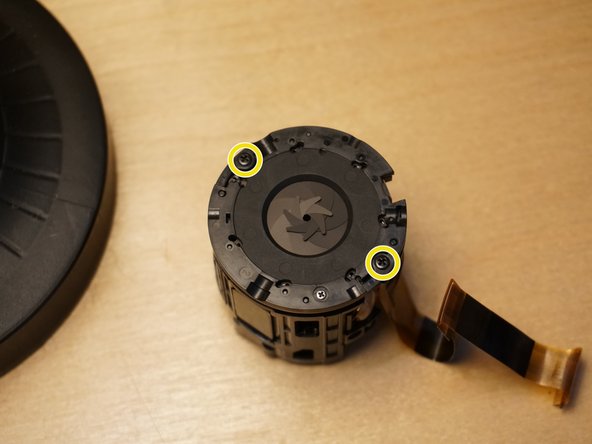
    • Remove 3 screws from the slide guides on the aperture end of the lens.

    • Remove 3 black nylon slide washers from the lens encasement.

  15. Sony SEL55210 Camera Lens Disassembly, Remove OSS/AF Mechanism: step 15, image 1 of 1
    • Remove the OSS/AF mechanism.

    • Gently pull the cable up and out from the lens encasement groove.

  16. Sony SEL55210 Camera Lens Disassembly, Remove Aperture Mechanism: step 16, image 1 of 3 Sony SEL55210 Camera Lens Disassembly, Remove Aperture Mechanism: step 16, image 2 of 3 Sony SEL55210 Camera Lens Disassembly, Remove Aperture Mechanism: step 16, image 3 of 3
    • Remove Kapton tape from aperture motor connector.

    • Save tape for reassembly

    • Disconnect aperture connector.

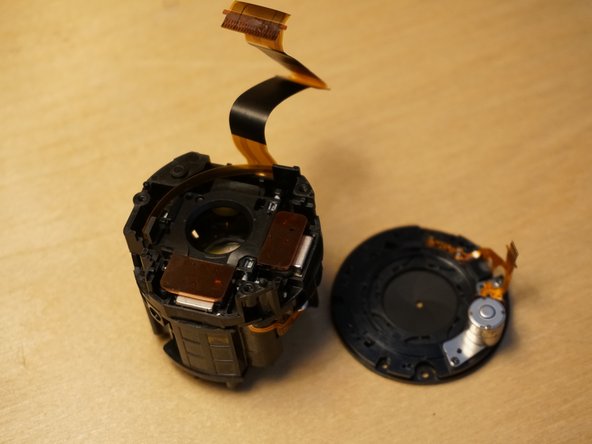
    • Remove 2 screws from aperture ring.

    • Remove aperture mechanism.

  17. Sony SEL55210 Camera Lens Disassembly, Separate OSS Mechanism: step 17, image 1 of 2 Sony SEL55210 Camera Lens Disassembly, Separate OSS Mechanism: step 17, image 2 of 2
    • Disconnect 3 cables.

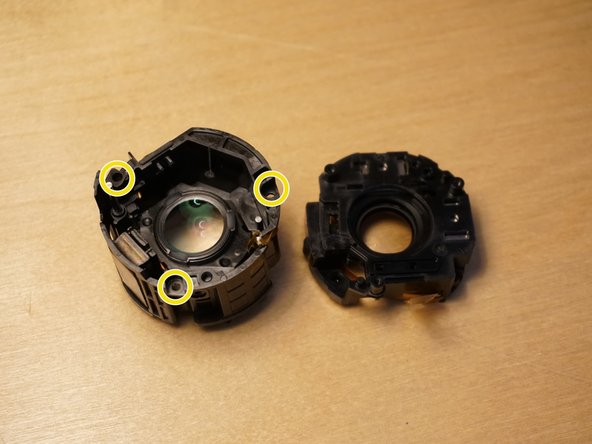
    • Remove 3 screws

    • Gently separate the OSS mechanism.

Conclusion

To reassemble your device, follow these instructions in reverse order.

2 other people completed this guide.

Nathan Rose

Member since: 01/17/21

335 Reputation

1 Guide authored

2 Comments

why did you need to dissasemble this lens. this lens looks similar to my 55mm lens which no longer focuses and the camera doesn’t recognize the lense anymore.

darren clyde - Reply

I need to know maddly, how can I have a reposition of the 6 spring there are on the first lense.

Is there any way?

If not, can you tell me specificcaly the size and the strength?

Pau Roqué Robert - Reply

Add Comment

View Statistics:

Past 24 Hours: 1

Past 7 Days: 25

Past 30 Days: 98

All Time: 3,550