
Sony NWZ-E473 Audio Jack Replacement

What you need

  1. Sony NWZ-E473 Audio Jack Replacement, Back Panel: step 1, image 1 of 1
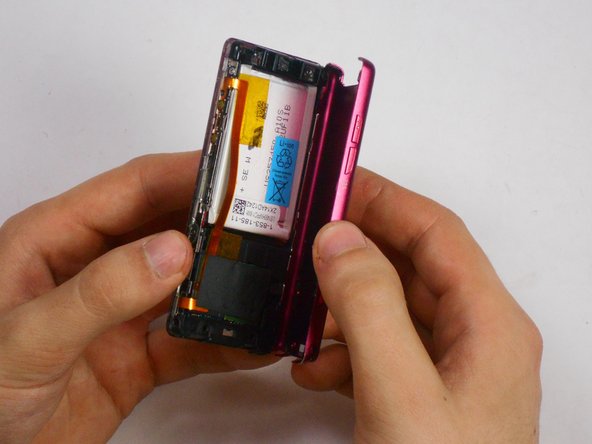
    • Use a Phillips #00 screwdriver to unscrew the two 5 mm screws located on the bottom of the back of the device.

  2. Sony NWZ-E473 Audio Jack Replacement: step 2, image 1 of 1
    • Use a plastic opening tool to loosen the bottom portion of device.

  3. Sony NWZ-E473 Audio Jack Replacement: step 3, image 1 of 1
    • Use a plastic opening tool to loosen the top panel of the device.

  4. Sony NWZ-E473 Audio Jack Replacement: step 4, image 1 of 1
    • Use a Phillips #00 screwdriver to remove the two 3 mm screws located on the portion under the top panel of the device.

  5. Sony NWZ-E473 Audio Jack Replacement: step 5, image 1 of 3 Sony NWZ-E473 Audio Jack Replacement: step 5, image 2 of 3 Sony NWZ-E473 Audio Jack Replacement: step 5, image 3 of 3
    • Remove the back plate from the device.

  6. Sony NWZ-E473 Audio Jack Replacement, Audio Jack: step 6, image 1 of 1
    • Unscrew one 2.5 mm screw using a Phillips #00 screwdriver on bottom right portion of device located near audio jack.

  7. Sony NWZ-E473 Audio Jack Replacement: step 7, image 1 of 2 Sony NWZ-E473 Audio Jack Replacement: step 7, image 2 of 2
    • Disconnect the headphone jack connection from the motherboard using any tool to remove black audio piece that needs to be replaced.

Conclusion

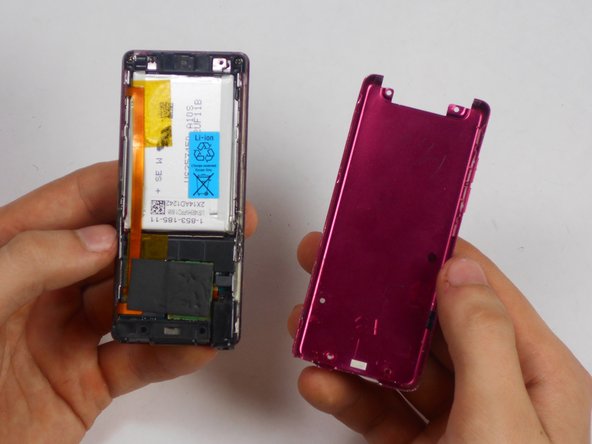
To reassemble your device, follow these instructions in reverse order.

One other person completed this guide.

Chaz

Member since: 01/16/15

119 Reputation

1 Guide authored

Team

USF Tampa, Team 17-6, Watkins Winter 2015 Member of USF Tampa, Team 17-6, Watkins Winter 2015

USFT-WATKINS-W15S17G6

4 Members

7 Guides authored

0 Comments

Add Comment

View Statistics:

Past 24 Hours: 1

Past 7 Days: 3

Past 30 Days: 5

All Time: 1,067