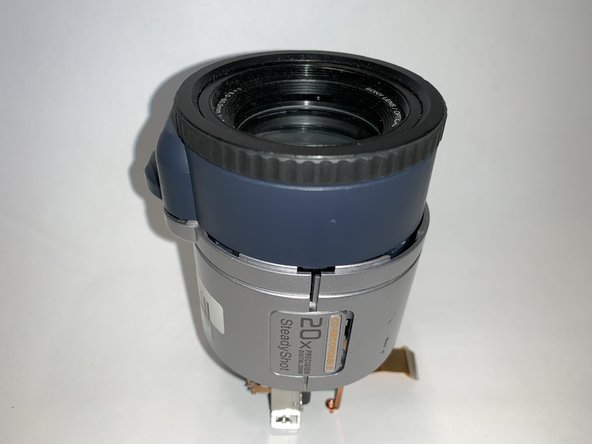
Sony Mavica MVC-CD1000 lens Replacement

  1. Sony Mavica MVC-CD1000 lens Replacement, lens: step 1, image 1 of 2 Sony Mavica MVC-CD1000 lens Replacement, lens: step 1, image 2 of 2
    • Remove the shell of base from the shell of lens

  2. Sony Mavica MVC-CD1000 lens Replacement: step 2, image 1 of 1
    • The outer casing of the lens consists of two outer casings that are secured by an end cap that connects them. In this part we take this end cap

  3. Sony Mavica MVC-CD1000 lens Replacement: step 3, image 1 of 2 Sony Mavica MVC-CD1000 lens Replacement: step 3, image 2 of 2
    • There is also a front end cover at the front end of the lens. In this step we take it away.

  4. Sony Mavica MVC-CD1000 lens Replacement: step 4, image 1 of 3 Sony Mavica MVC-CD1000 lens Replacement: step 4, image 2 of 3 Sony Mavica MVC-CD1000 lens Replacement: step 4, image 3 of 3
    • Place the lens section horizontally on the workbench and pry open the top cover of the lens with some effort

  5. Sony Mavica MVC-CD1000 lens Replacement: step 5, image 1 of 1
    • After removing the shell of lens we can replace the inside part.

Conclusion

When reassembling your device, follow the instructions in reverse order.

Special thanks to these translators:

zh en

100%

HelloMacOS is helping us fix the world! Want to contribute?
Start translating ›

0 Comments

Add Comment

View Statistics:

Past 24 Hours: 0

Past 7 Days: 1

Past 30 Days: 1

All Time: 56