Introduction
Use this guide to replace the screen of a Sony ICF-C1T. When your screen is too bright or it has a lot of scratches on it, you can easily replace the screen or add a sheet of tint to the backside of it.
What you need
-
-
Use a Phillips 00 head screwdriver to remove the four 14 mm screws from the bottom of the clock.
 Ask FixBot
-
-
-
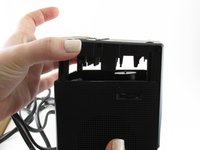
Insert the plastic opening tool to pry apart the top and sides of the device gently.
-
-
-
-
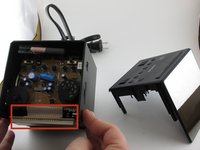
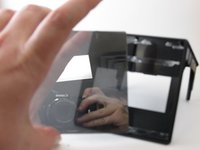
Pull the top of the device away from the rest of the clock to expose the inside.
-
-
-
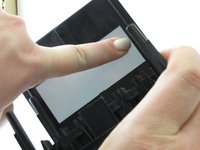
Add pressure to the inside of the screen so that a small area is loosened enough to be able to use an opening tool.
-
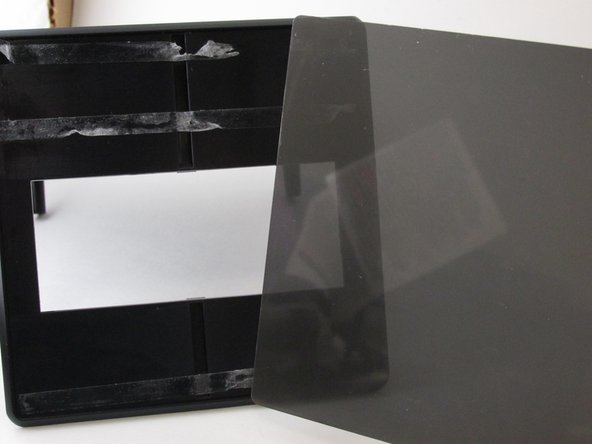
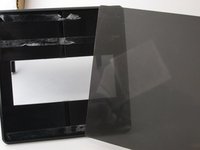
Use the plastic opening tool to separate the screen from the device.
-
-
-
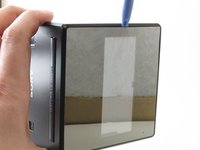
Apply a tinted spray to dim the brightness once the tinted sheet is out of the way.
-


To reassemble your device, follow these instructions in reverse order.
Cancel: I did not complete this guide.
One other person completed this guide.
Team

University of Kentucky Louisville, Team 1-5, Rountree Winter 2015 Member of University of Kentucky Louisville, Team 1-5, Rountree Winter 2015
LOUISVILLE-ROUNTREE-W15S1G5
3 Members
5 Guides authored