
Sony Handycam DCR-DVD650 LCD Touchscreen Replacement

Archived Guide
This guide is retained solely for historical purposes. Use the updated version of the guide to perform your repair.

What you need

  1. Sony Handycam DCR-DVD650 LCD Touchscreen  Replacement, LCD Touchscreen: step 1, image 1 of 2 Sony Handycam DCR-DVD650 LCD Touchscreen  Replacement, LCD Touchscreen: step 1, image 2 of 2
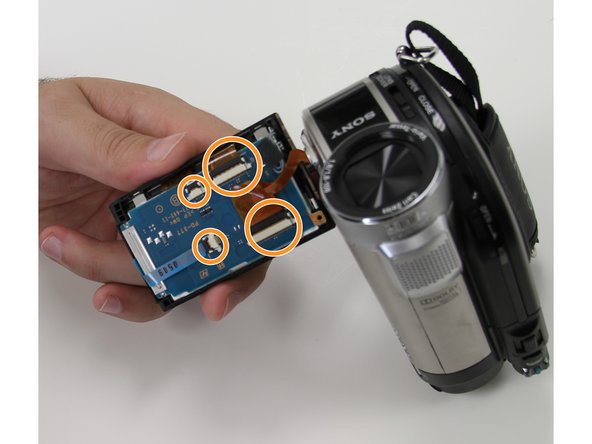
    • Remove the first screw located on the bottom of the LCD screen by using a cross tip screwdriver.
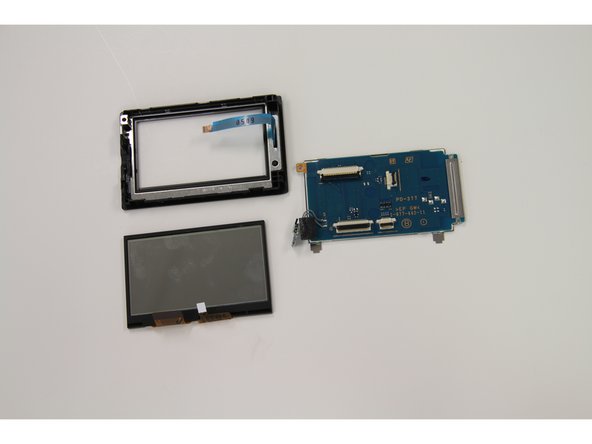
  2. Sony Handycam DCR-DVD650 LCD Touchscreen  Replacement: step 2, image 1 of 1
    • Turn the LCD screen either clockwise or counterclockwise for a better view of the screw.

    • Remove the second screw.

  3. Sony Handycam DCR-DVD650 LCD Touchscreen  Replacement: step 3, image 1 of 2 Sony Handycam DCR-DVD650 LCD Touchscreen  Replacement: step 3, image 2 of 2
    • Place a plastic opening tool along the outside of the touchscreen.

    • Follow the path to remove the panel.

  4. Sony Handycam DCR-DVD650 LCD Touchscreen  Replacement: step 4, image 1 of 2 Sony Handycam DCR-DVD650 LCD Touchscreen  Replacement: step 4, image 2 of 2
    • Remove each of the ribbon cables off by lifting up on the black tab.

    • Remove all ribbon cables before continuing unto the next step.

  5. Sony Handycam DCR-DVD650 LCD Touchscreen  Replacement: step 5, image 1 of 2 Sony Handycam DCR-DVD650 LCD Touchscreen  Replacement: step 5, image 2 of 2
    • Unscrew the final screw located on the top left corner.

    • Remove the screen.

Conclusion

To reassemble your device, follow these instructions in reverse order.

One other person completed this guide.

santos guitron

Member since: 09/24/15

144 Reputation

1 Guide authored

Team

Texas Tech, Team 22-1, Rauch Fall 2015 Member of Texas Tech, Team 22-1, Rauch Fall 2015

TTU-RAUCH-F15S22G1

3 Members

1 Guide authored

0 Comments

Add Comment

View Statistics:

Past 24 Hours: 0

Past 7 Days: 2

Past 30 Days: 4

All Time: 155