Introduction
Sony's CDP-CE375 is a great 5-disc CD changer. But over time, its two belts (loading belt for opening the drawer and rotary belt rotating the disc-tray) can stretch, preventing the device from operating properly.
This guide shows how to replace both belts.
NOTE: Most of the screws are brass and are therefore not magnetic. A small grabber tool will be very useful for removing some otherwise hard-to-reach screws.
Also, four of the screws (that attach the chassis to the case) require a screwdriver with a shaft longer than the handles included in the Manta kit. A Philips #1 screwdriver with a shaft that is at least 1.5" long will be necessary.
h/t to these YouTube videos that helped me learn the procedure:
What you need
-
-
-
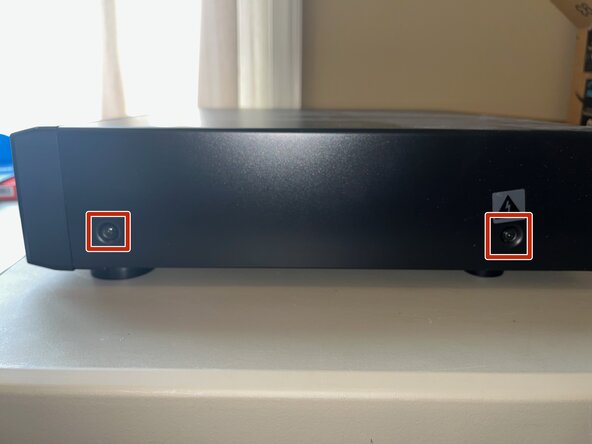
Remove the black screws from the left and right side panels.
-
Remove the two brass screws from the top of the cover.
-
Remove the cover by lifting it straight up. Do not attempt to slide it - it will not move in that direction.
-
-
-
Disconnect the yellow and white power cables from the front-panel's power switch board. Gently sqeeze each cable's connector's latch and it will easily slide out of its socket.
-
-
-
Disconnect the front panel ribbon cable from the main board by pulling is straight up.
-
Disconnect the front-panel audio cable by pulling it straight up.
-
-
-
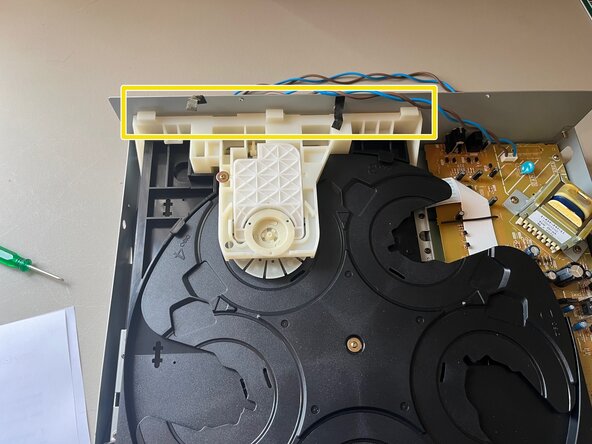
Bend the tie-down clip out of the way to free the power cables.
-
Cut and discard the zip tie attaching the power cables to the chassis. Replacement during reassembly is recommended, but not mandatory.
-
Gently remove the power cord from behind the beige plastic chassis. Remove the black tape that secures it in place. The tape will remain tacky enough to reuse during reassembly.
-
-
-
Remove the four screws that secure the front panel to the frame. Note that there are two screws inside the right-side foot. Both must be removed.
-
-
-
-
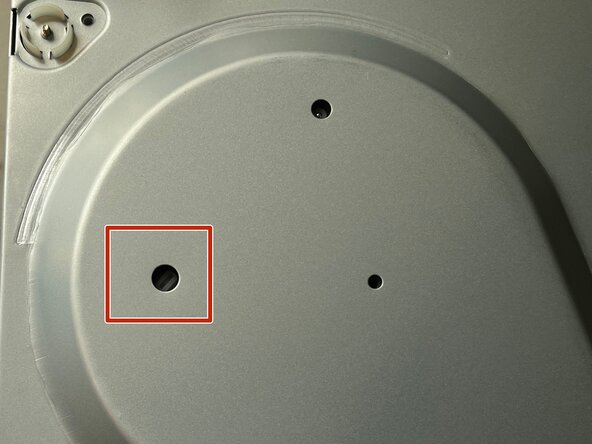
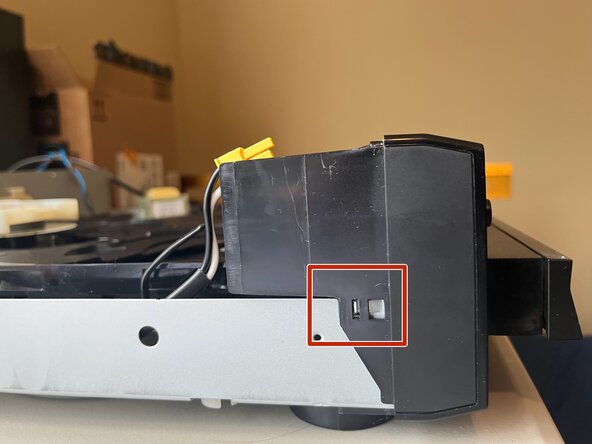
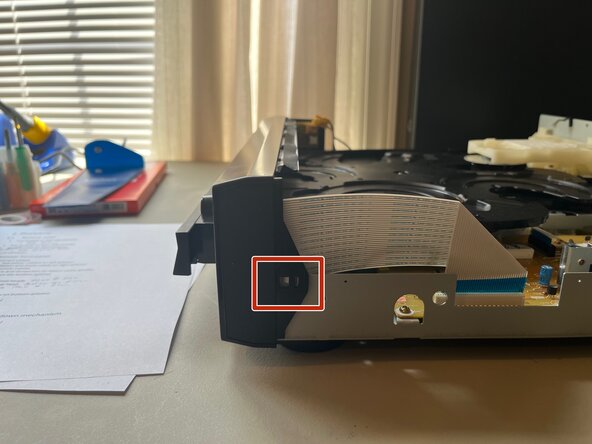
Using a small flat-blade screwdriver, turn the white plastic screw located within the indicated hole.
-
There is no need to turn it a lot. One or two turns should be sufficient to unlock the mechanism. You can then gently pull the tray forward a few inches.
-
This is necessary, because the front panel's opening is only wide enough for the CD tray, but its bezel is wider. The panel can be maneuvered around the tray's bezel if the tray is opened partway.
-
-
-
Gently un-clip the front panel from the left and right sides of the frame and slide it forward to remove it.
-
The opening in the panel is not wide enough for the tray's front bezel. Pull the left side forward first, and you can maneuver it around the right edge of the bezel.
-
The bezel itself can be disconnected from the tray. Some have found this to be simpler, but it is not necessary.
-
-
-
Remove the three screws that connect the plastic chassis to the rear panel.
-
Remove the two screws that connect the plastic chassis to the bottom-front edge.
-
-
-
Bend aside the three retaining wires that hold down the data cables.
-
Disconnect the ribbon cable by pulling it straight up
-
Disconnect the second cable, by pulling it straight up.
-
-
-
Move the tray so it is fully open and rotate it to expose the four chassis mounting screws. Remove them.
-
The red box is the upper-left screw location. See also the close-up photo.
-
The orange box is the upper-right screw location. See also the close-up photo.
-
See the next step for close-up locations of the other two screws.
-
-
-
The yellow box is the location of the lower-left chassis mounting screw.
-
The green box is the location of the lower-right chassis mounting screw. You will need to rotate the tray to make it accessible.
-
-
-
Lift the chassis out of the frame.
-
The loading belt is on the underside of the chassis.
-
-
-
During reassembly, do not pinch the power cord under the chassis. It will not fit together properly if you do.
-
Note the location where the power cord enters the device.
-
Note also that there is a notch in the underside of the chassis.
-
The power cord should pass under this notch, to allow the chassis to mount properly onto the metal frame.
-
-
-
Flip the chassis upside down.
-
Remove and discard the old loading belt.
-
If the old belt is broken or missing, look for and remove whatever bits you can find.
-
Inspect the two pulleys. If any dirt or belt residue is present, clean them with isopropyl alcohol and a cotton swab. Allow them to fully dry before attaching the replacement belt.
-
Stretch the new belt across the two pulleys.
-
-
-
Flip the chassis right-side-up.
-
Using a #0 Phillips or JIS screwdriver, remove the screw at the center of the carousel.
-
Lift the carousel off of the chassis.
-
The gear assembly where the rotary belt may be found is underneath.
-
-
-
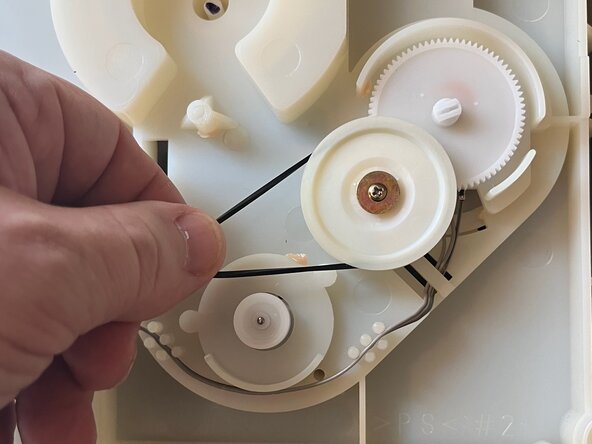
Remove and discard the old rotary belt
-
If the old belt is broken or missing, look for and remove whatever bits you can find.
-
Inspect the two pulleys. If any dirt or belt residue is present, clean them with isopropyl alcohol and a cotton swab. Allow them to fully dry before attaching the replacement belt.
-
Stretch the new belt across the two pulleys.
-

 Ask FixBot













To reassemble your device, follow these instructions in reverse order (leaving the new belts in-place, of course).

