Free Shipping on Domestic Orders $75+

Sony BDP-S1: Getting inside the device

Prerequisite Only
This is a prerequisite-only guide! This guide is part of another procedure and isn’t meant to be used alone.

What you need

    1. Sony BDP-S1: Getting inside the device, Sony BDP-S1: Getting inside the device: step 1, image 1 of 2 Sony BDP-S1: Getting inside the device, Sony BDP-S1: Getting inside the device: step 1, image 2 of 2
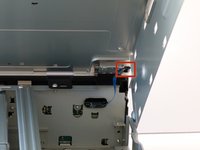
      • Remove the 12mm screws with the Philips #2 screwdriver which keep the plastic panels in place.

      • Don't forget, there are two more 12mm screws on the other side as well.

      Ask FixBot

      Add Comment

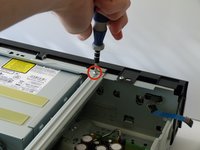
    2. Sony BDP-S1: Getting inside the device: step 2, image 1 of 3 Sony BDP-S1: Getting inside the device: step 2, image 2 of 3 Sony BDP-S1: Getting inside the device: step 2, image 3 of 3
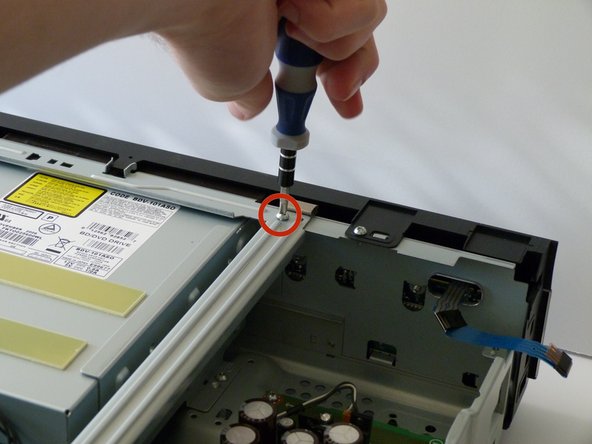
      • First, remove the three 12mm black screws holding the top panel on (Phillips #2).

      • Then, remove the two 12mm black screws - one on each side of the back of the device - holding the top panel on.

      • Lastly, remove the three 12mm black screws on each side of device.

      Ask FixBot

      Add Comment

    3. Sony BDP-S1: Getting inside the device: step 3, image 1 of 3 Sony BDP-S1: Getting inside the device: step 3, image 2 of 3 Sony BDP-S1: Getting inside the device: step 3, image 3 of 3
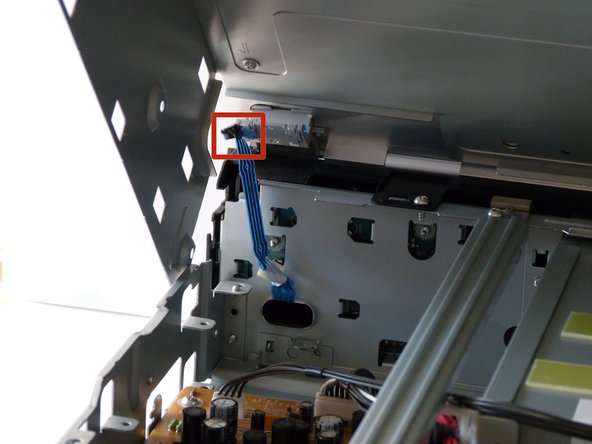
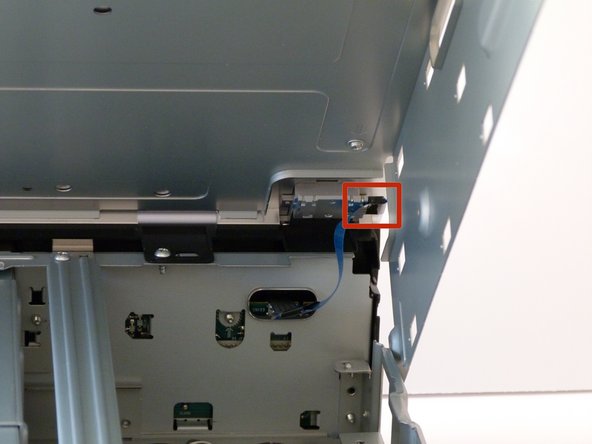
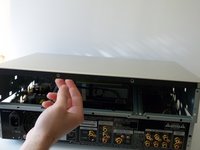
      • Potential for device damage: Carefully lift up the top panel, because there are two blue ribbon cables that must be disconnected before removing the panel, and we do NOT want them to break.

      • After gently disconnecting the two ribbon cables (you can just pull them out with your hand), take the top off and set it to the side.

      Ask FixBot

      Add Comment

    4. Sony BDP-S1: Getting inside the device: step 4, image 1 of 3 Sony BDP-S1: Getting inside the device: step 4, image 2 of 3 Sony BDP-S1: Getting inside the device: step 4, image 3 of 3
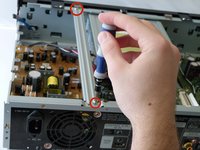
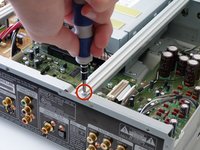
      • After the top is off, you'll see that there are two metal bars that go across the top of the device.

      • Remove each bar by unscrewing the two 10mm silver screws on each end.

      Ask FixBot

      Add Comment

Conclusion

To reassemble your device, follow these instructions in reverse order.

Cancel: I did not complete this guide.

Sam

Member since: 01/26/14

376 Reputation

3 Guides authored

Team

Cal Poly, Team 9-30, Maness Winter 2014 Member of Cal Poly, Team 9-30, Maness Winter 2014

CPSU-MANESS-W14S9G30

3 Members

60 Guides authored

0 Guide Comments

Add Comment

View Statistics:

Past 24 Hours: 0

Past 7 Days: 6

Past 30 Days: 18

All Time: 240