Introduction
If you are having issues with overheating it is most likely being caused by a faulty fan. In this guide we will open the player up by removing the connecting screws and then removed the faulty fan so it can be replaced for a new one.
What you need
-
-
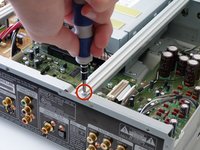
Remove the 12mm screws with the Philips #2 screwdriver which keep the plastic panels in place.
-
Don't forget, there are two more 12mm screws on the other side as well.
 Ask FixBot
-
-
-
First, remove the three 12mm black screws holding the top panel on (Phillips #2).
-
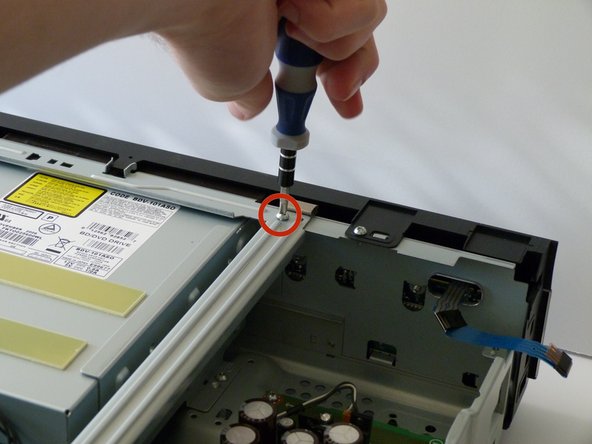
Then, remove the two 12mm black screws - one on each side of the back of the device - holding the top panel on.
-
Lastly, remove the three 12mm black screws on each side of device.
-
-
-
-
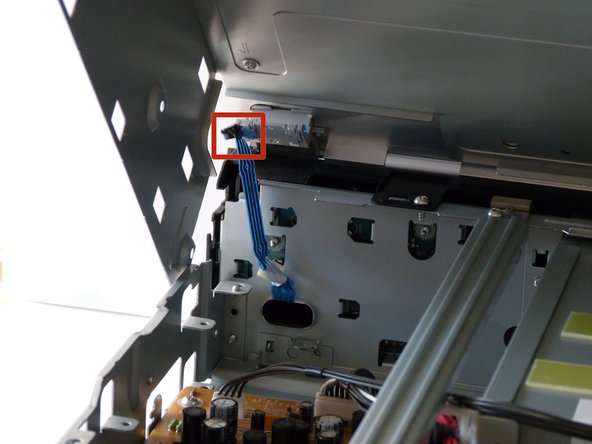
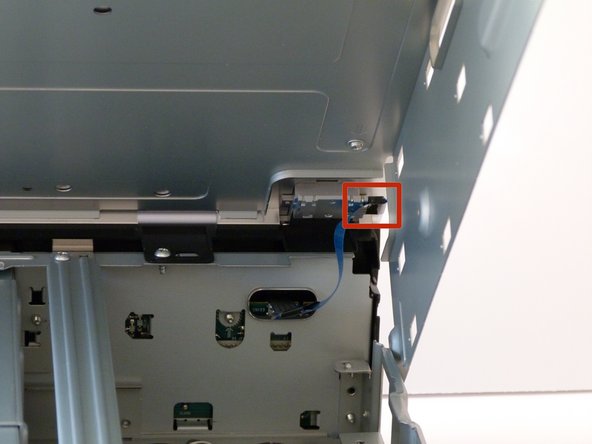
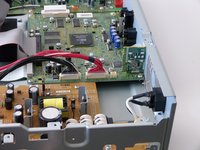
After gently disconnecting the two ribbon cables (you can just pull them out with your hand), take the top off and set it to the side.
-
-
-
After the top is off, you'll see that there are two metal bars that go across the top of the device.
-
Remove each bar by unscrewing the two 10mm silver screws on each end.
-
-
-
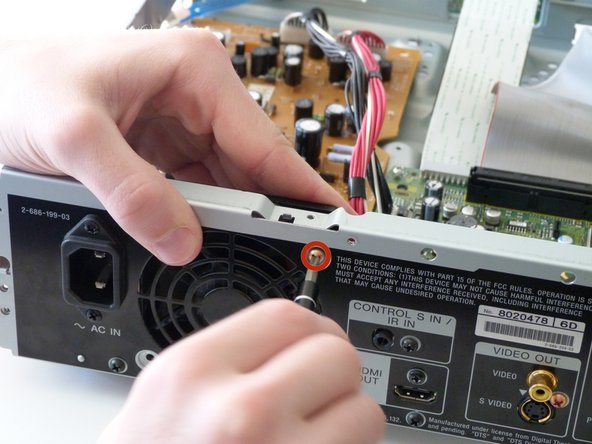
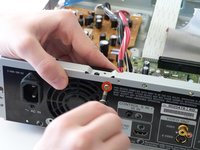
First we need to unscrew the fan from before we can remove it.
-
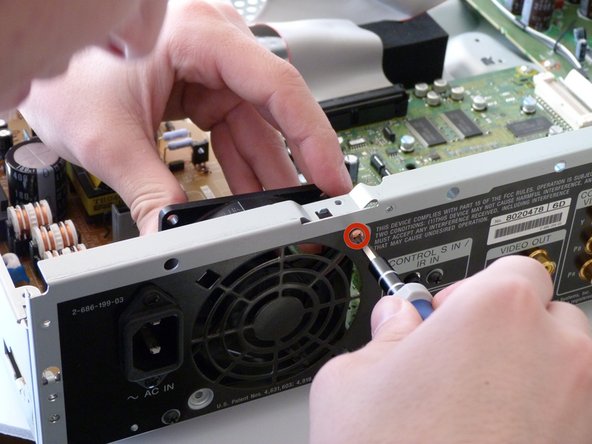
Remove both copper colored 10mm screws with a #2 phillips screwdriver.
-
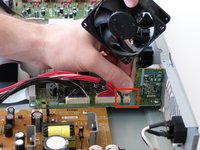
As you remove the second screw, pull the fan inward to remove it from the remainder of the case. It should now only be connected to the case through a cable attached to the circuit board.
-
-
-
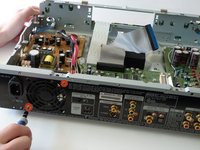
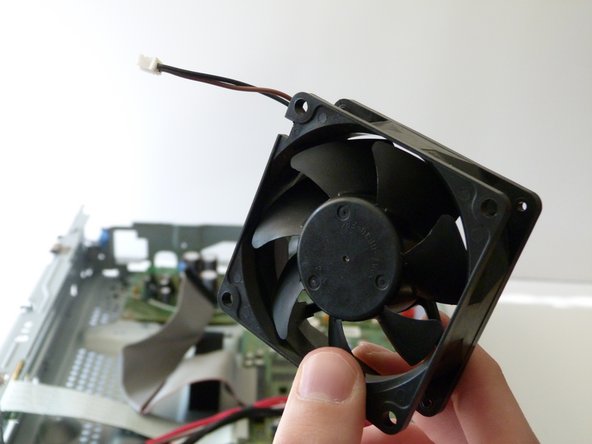
We will now completely remove the fan from the player.
-
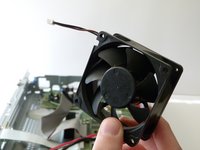
Carefully detach the cable from the fan to the circuit board by pulling on the cable connecting the fan to the circuit board.
-
You are now ready to install the new fan!
-


To reassemble your device, follow these instructions in reverse order.
Team

Cal Poly, Team 9-30, Maness Winter 2014 Member of Cal Poly, Team 9-30, Maness Winter 2014
CPSU-MANESS-W14S9G30
3 Members
5 Guides authored
2 Guide Comments
We're can i get a replacement fan for my Blu- ray player model BDV-E4100. HEEEEELP PLEASE.
Where can I get a replacement fan for my blue-ray player.