
Sony BDP-BX520 Front Panel Replacement

Prerequisite Only
This guide is only intended to be used as a prerequisite for other guides. It's incomplete by itself.

What you need

  1. Sony BDP-BX520 Front Panel Replacement, Disc Tray Cover: step 1, image 1 of 1
    • Plug in the Blu-Ray player, then press the power button, making sure the Blu-Ray player is powered on.

    • Press the eject button on either the top of the Blu-Ray player or on the remote to open the disc tray.

  2. Sony BDP-BX520 Front Panel Replacement: step 2, image 1 of 1
    • Grab the sides of the disc tray cover and carefully pull each side upwards, starting with the left side. This will unhook the cover from the tray.

  3. Sony BDP-BX520 Front Panel Replacement: step 3, image 1 of 1
    • Close the disc tray, then power off and unplug the Blu-Ray player.

  4. Sony BDP-BX520 Front Panel Replacement, Top Case: step 4, image 1 of 1
    • Locate the three 8 mm screws on the back of the Blu-Ray player.

    • Using the Phillips #2 screwdriver, unscrew each of the screws and set them aside.

  5. Sony BDP-BX520 Front Panel Replacement: step 5, image 1 of 2 Sony BDP-BX520 Front Panel Replacement: step 5, image 2 of 2
    • Gently pull the top case back to remove it from the Blu-Ray player.

  6. Sony BDP-BX520 Front Panel Replacement, Front Panel: step 6, image 1 of 1
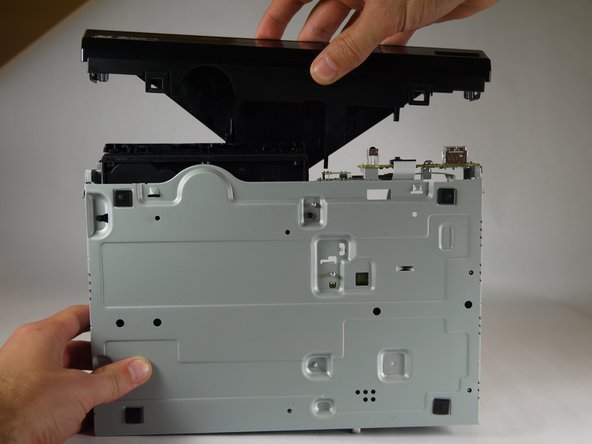
    • Insert the nylon or metal spudger under the clip on the side near the front of the device. Lift the clip so it is free from the device.

    • Lifting these clips may require you to hold one clip open while you move on to the next clip.

  7. Sony BDP-BX520 Front Panel Replacement: step 7, image 1 of 1
    • Flip device over so the bottom faces you.

    • Insert the nylon or metal spudger and lift the two clips on the bottom of the device.

  8. Sony BDP-BX520 Front Panel Replacement: step 8, image 1 of 1
    • Lift the clip on the opposite side of the device with the nylon or metal spudger.

  9. Sony BDP-BX520 Front Panel Replacement: step 9, image 1 of 2 Sony BDP-BX520 Front Panel Replacement: step 9, image 2 of 2
    • Grasp the front case firmly and lift from the rest of the device.

    • Lifting may require some force.

Conclusion

To reassemble your device, follow these instructions in reverse order.

One other person completed this guide.

Kyle Smit

Member since: 01/31/15

243 Reputation

2 Guides authored

Team

Cal Poly, Team 8-41, Amido Winter 2015 Member of Cal Poly, Team 8-41, Amido Winter 2015

CPSU-AMIDO-W15S8G41

4 Members

8 Guides authored

0 Comments

Add Comment

View Statistics:

Past 24 Hours: 0

Past 7 Days: 0

Past 30 Days: 0

All Time: 36