Introduction
In the situation that your disk reader is not working despite trying the solutions on the troubleshooting page, you may need to replace it . This guide will provide you with the steps required to safely remove your disk reader for replacement. The tools that are needed include a Phillips #2 screwdriver, Phillips #0 screwdriver, tweezers, and metal spudger.
What you need
-
-
-
Plug in the device to turn it on, then press the eject ( ⏏ ) button to open the tray.
 Ask FixBot
-
-
-
To remove the tray cover, hold both sides of the tray cover and gently apply a downward pressure.
-
Apply slightly more pressure to the left side until it unhooks then unhook the right side.
-
Close the disk tray by pressing the eject button again, then power off the device and unplug it.
-
-
-
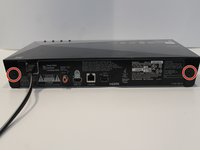
Turn to the back of the device.
-
Remove the two 7mm Phillips #2 screws.
-
Slide the two plastic covers on both sides of the device towards the back of the device to remove them.
-
-
-
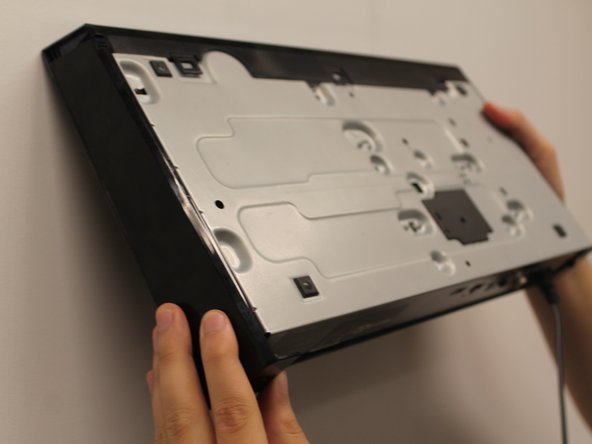
Turn the device so you can see the bottom.
-
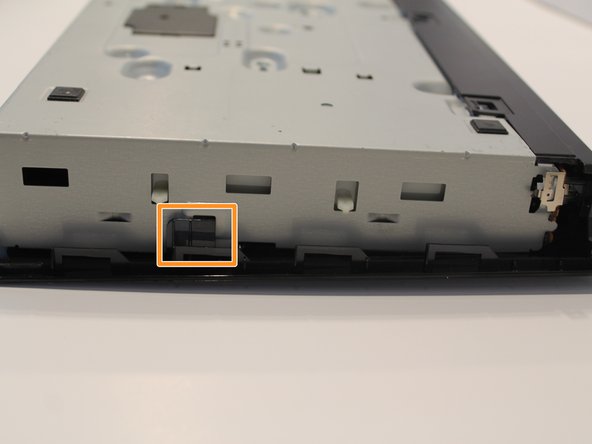
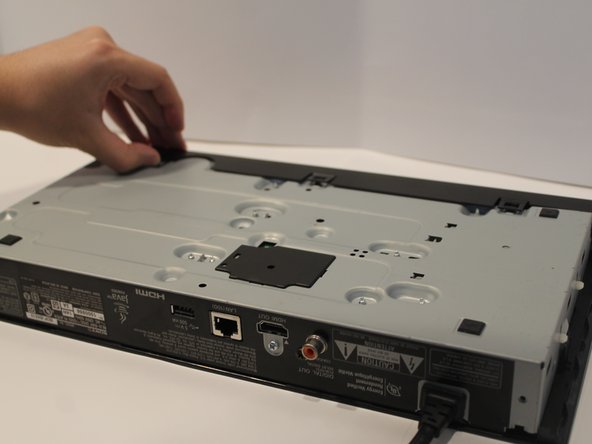
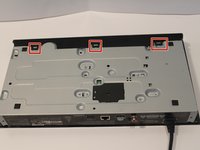
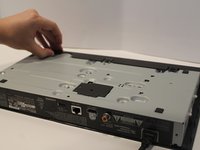
Unclip the three black plastic clips on the bottom of the device.
-
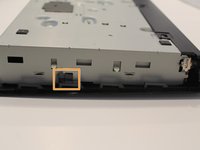
Unclip one clip on each side of the device.
-
-
-
-
-
Tool used on this step:Tweezers$4.99
-
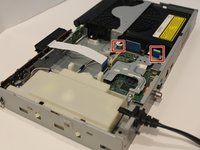
Pull the medium-sized 9 pin ribbon cable and the small 5 pin ribbon cable out of their connector in the motherboard.
-
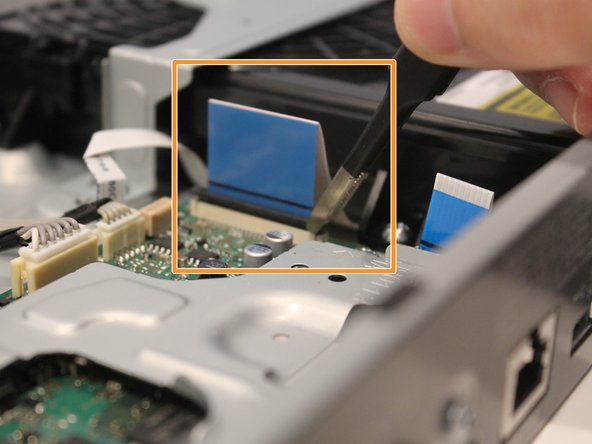
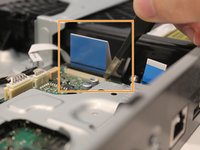
Using tweezers, lift the black tab on the connector of the large 45 pin connector on the motherboard.
-
Pull the large 45 pin ribbon cable out of the connector in the motherboard.
-
-
-
Remove the 5mm Phillips #2 screw holding the metal brace above the disk tray.
-
Remove the two 5mm Phillips #2 screws that hold the disk tray to the metal case on the bottom.
-
-
-
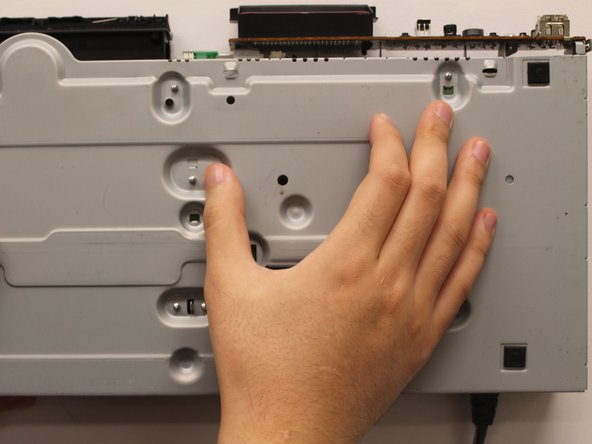
Turn the device over to the backside.
-
Use tweezers or hands to take off the metal clasp for the metal brace near the center on the bottom of the device.
-
-
-
-
-
Connect the three cables.
-
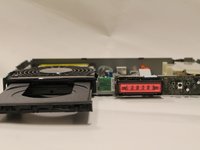
Plug the device in and press the eject button to open the disk tray.
-
Unplug the device.
-
Disconnect the three cables.
-
-
-
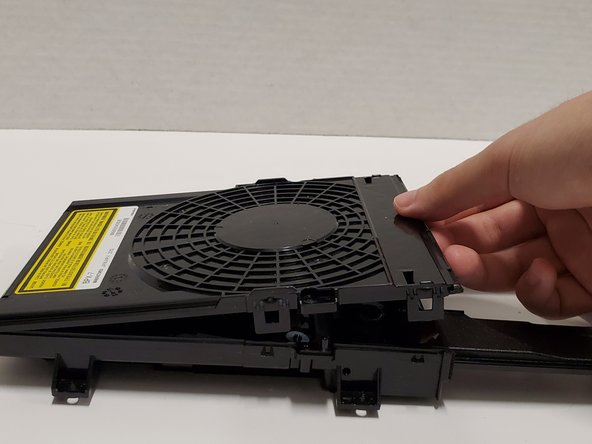
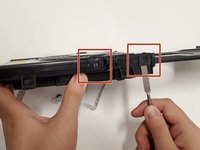
Locate and unclip the plastic clips on the sides of the disk tray using a metal spudger. There are two on each side of the disk tray.
-
Lift open and remove the top cover of the disk tray.
-
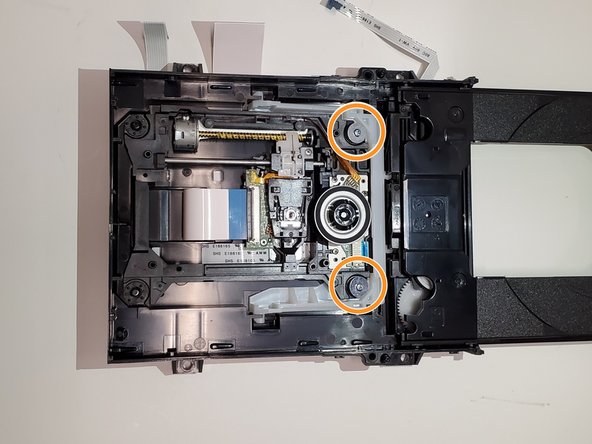
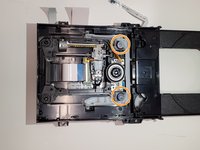
Remove the two 6mm Phillips #0 screws from the disk reader.
-
-
Tool used on this step:Tweezers$4.99
-
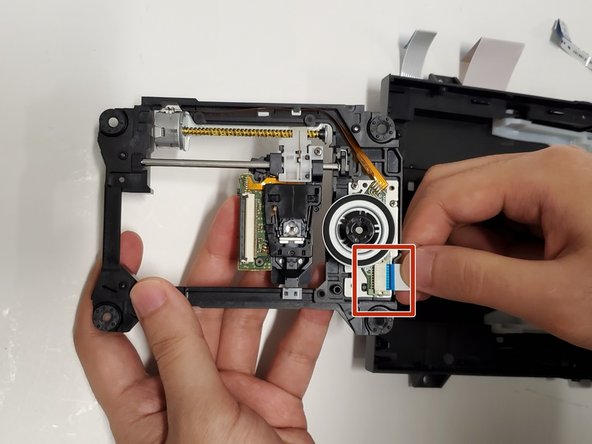
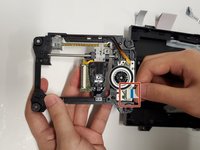
Using tweezers, lift the black tab on the connector of the large ribbon cable on the disk reader.
-
Pull the large ribbon cable out of the connector in the disk reader.
-
-
-
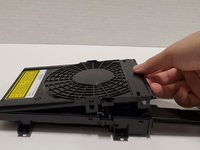
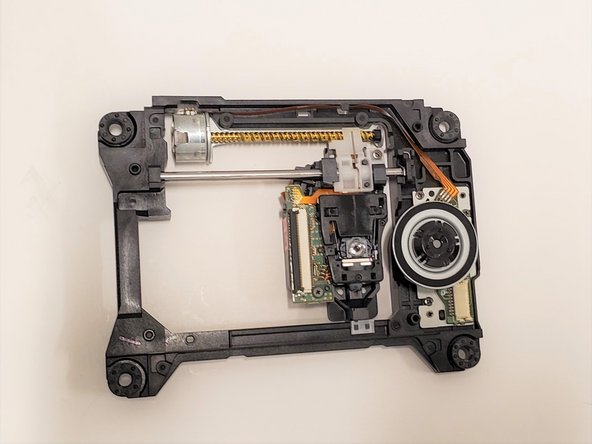
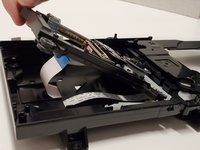
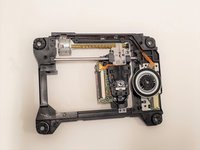
Lift the disk reader carefully.
-
Pull the small ribbon cable out of the disk reader.
-
-








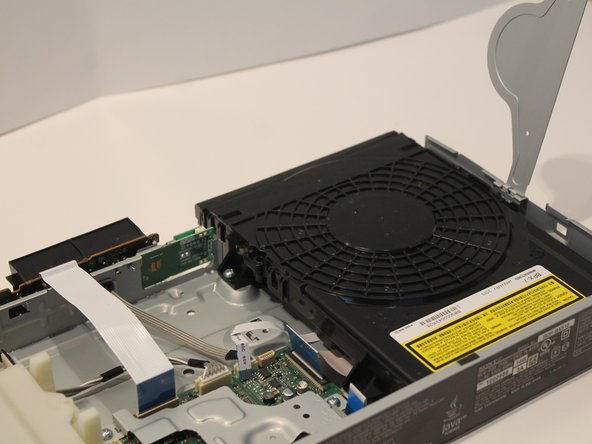
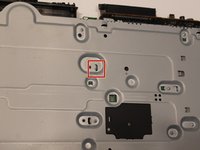
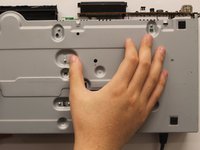


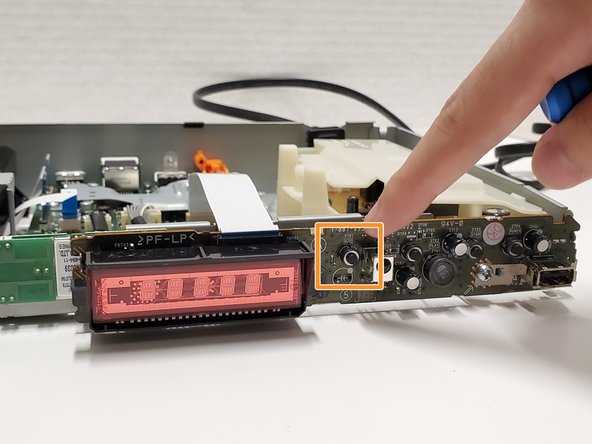
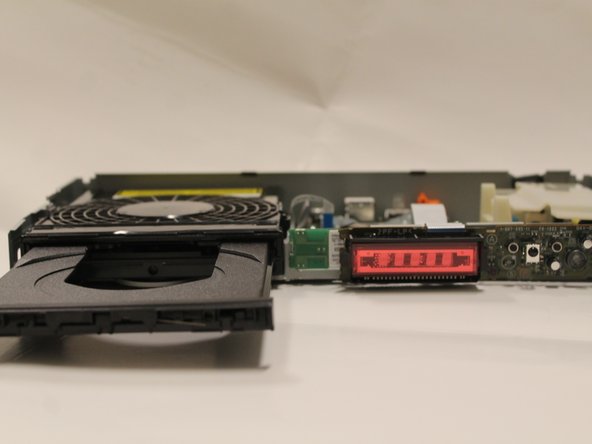



To reassemble your device, follow these instructions in reverse order.

Team

York University, Team S1-G10, Woodhouse Winter 2020 Member of York University, Team S1-G10, Woodhouse Winter 2020
YORK-WOODHOUSE-W20S1G10
2 Members
72 Guides authored
