
Softball Glove Heel Replacement

What you need

  1. Softball Glove Heel Replacement, Softball Glove Heel Replacement: step 1, image 1 of 1
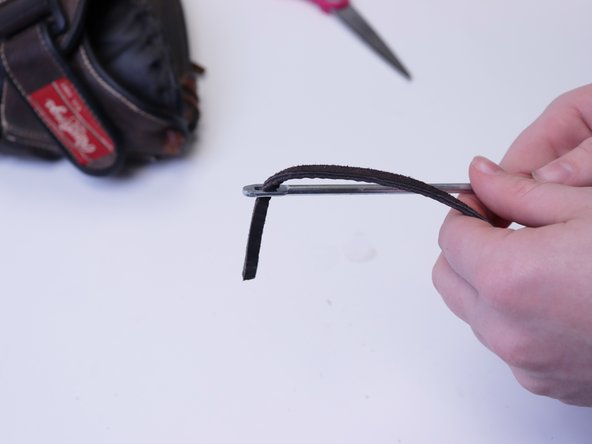
    • Gather your materials; the glove, scissors, new thread, and the Glove Lacing Tool

    • Identify the pieces of lace that are broken and causing the problem

  2. Softball Glove Heel Replacement: step 2, image 1 of 2 Softball Glove Heel Replacement: step 2, image 2 of 2
    • Take out any remaining lace that is broken or lace that is surrounding that area

  3. Softball Glove Heel Replacement: step 3, image 1 of 1
    • Thread the new lace through the Rawlings lacing tool like a needle and thread

  4. Softball Glove Heel Replacement: step 4, image 1 of 2 Softball Glove Heel Replacement: step 4, image 2 of 2
    • Using the Rawlings Glove Lacing Tool, start to weave the thread through the spot in the glove that needs repaired

  5. Softball Glove Heel Replacement: step 5, image 1 of 2 Softball Glove Heel Replacement: step 5, image 2 of 2
    • Continue to weave

  6. Softball Glove Heel Replacement: step 6, image 1 of 2 Softball Glove Heel Replacement: step 6, image 2 of 2
    • Tie the knot with the end of the thread. The knot needs to be tight in order to keep the weaving in place

  7. Softball Glove Heel Replacement: step 7, image 1 of 2 Softball Glove Heel Replacement: step 7, image 2 of 2
    • Cut off excess thread using the scissors

Conclusion

To reassemble your device, follow these instructions in reverse order.

One other person completed this guide.

Olivia Goodale

Member since: 10/12/18

145 Reputation

1 Guide authored

0 Comments

Add Comment

View Statistics:

Past 24 Hours: 0

Past 7 Days: 3

Past 30 Days: 3

All Time: 127