Introduction
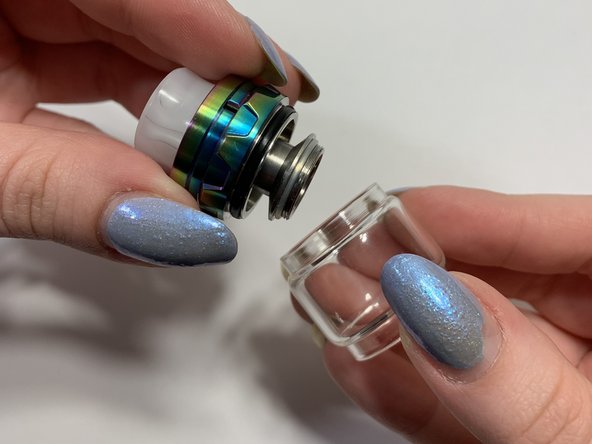
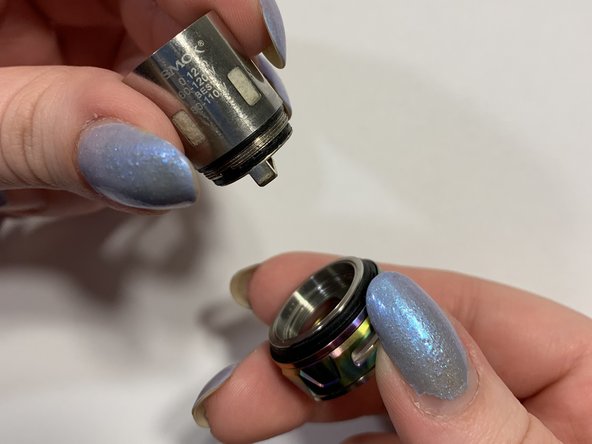
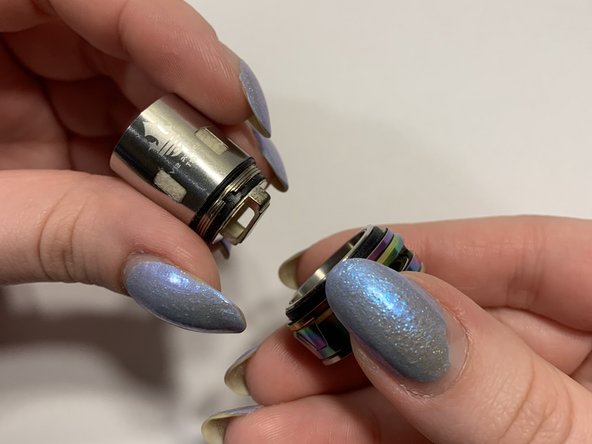
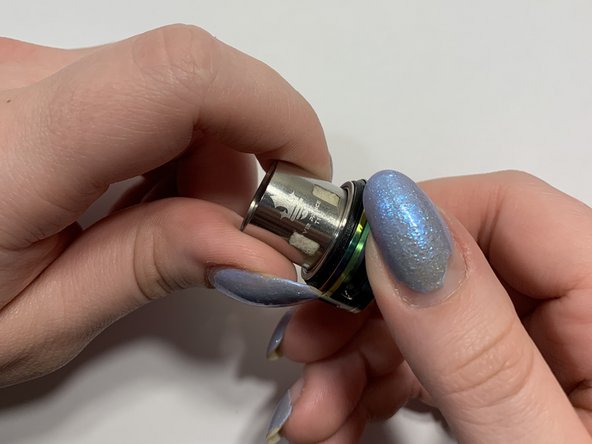
The Smok Mag 225 Vape is a good choice for beginners of the hobby along with people who have been enjoying it for years. The coil only last so long, and one might not know how to replace it. The coil is easy to replace but there are no guides on it. Beginners may go to vape shops or ask friends to help them replace the coil since they would not know how to do it. It is essential that the coil is replaced or the juice will start to become tainted and unhealthy to breathe in. With this guide, the reader can replace their own coil in no time.
What you need


To reassemble your device, follow these instructions in reverse order.
To reassemble your device, follow these instructions in reverse order.
Cancel: I did not complete this guide.
10 other people completed this guide.

Team

University of Advancing Technology, Team S1-G10, Beam Summer 2019 Member of University of Advancing Technology, Team S1-G10, Beam Summer 2019
UAT-BEAM-SU19S1G10
1 Member
1 Guide authored