Free Shipping on Domestic Orders $75+

Sigrow Soil Pro Assembly

What you need

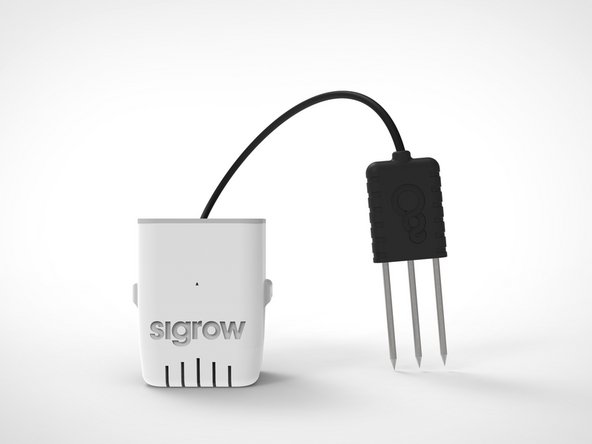
  1. Sigrow Soil Pro Assembly, Ensure you have the components: step 1, image 1 of 1
    • Watermelon Soil Sensor

    • b07 PCB [coated]

    • body b07

    • hat b07

    • inside bottom plate b07

    • You will need a flat-head screw driver (1.5 to 2.0 mm)

    Ask FixBot

    Add Comment

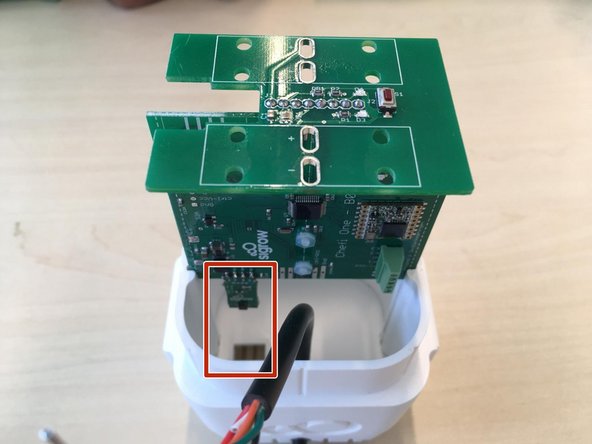
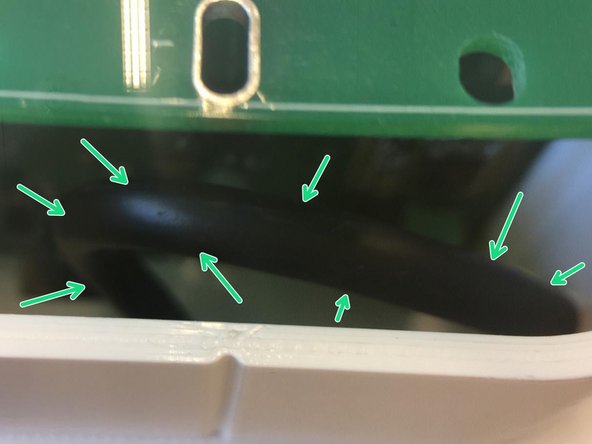
  2. Sigrow Soil Pro Assembly, Insertion cable: step 2, image 1 of 2 Sigrow Soil Pro Assembly, Insertion cable: step 2, image 2 of 2
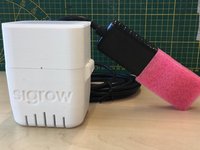
    • Insert watermelon cable through case and inside bottom plate

    • Pay attention that the temperature humidity sensor slot is on the left side

    Ask FixBot

    Add Comment

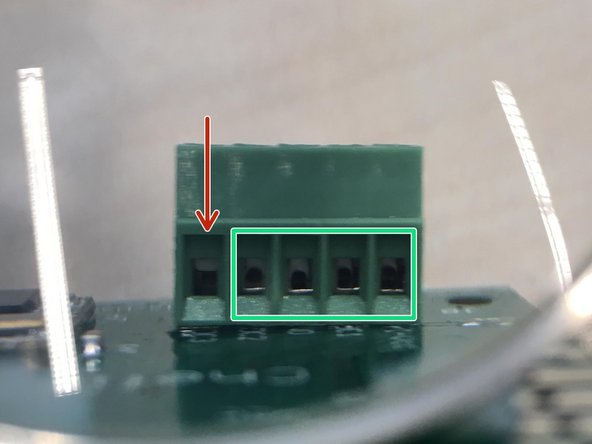
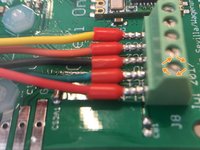
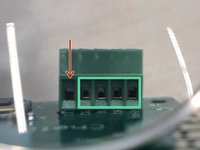
  3. Sigrow Soil Pro Assembly, Connect soil sensor to pcb: step 3, image 1 of 2 Sigrow Soil Pro Assembly, Connect soil sensor to pcb: step 3, image 2 of 2
    • Ensure all the ports of the connector are open

    • These 4 ports are open!

    • This port is closed!

    • To open the port unscrew counterclockwise

    • Follow the colour guideline and ensure all the cables are fully inserted.

    • Close the ports tightly by rotating clockwise. One at a time is easier.

    Ask FixBot

    Add Comment

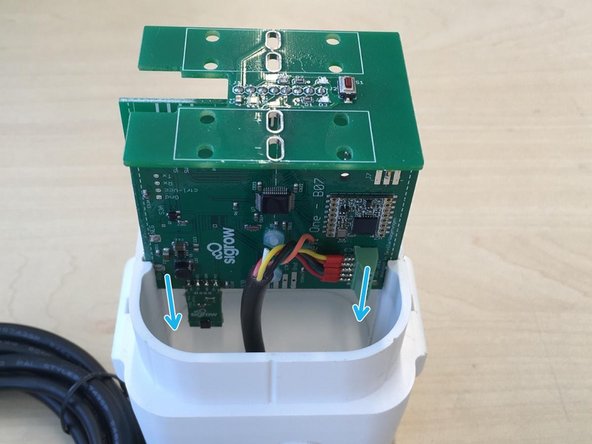
  4. Sigrow Soil Pro Assembly, Slide pcb in: step 4, image 1 of 3 Sigrow Soil Pro Assembly, Slide pcb in: step 4, image 2 of 3 Sigrow Soil Pro Assembly, Slide pcb in: step 4, image 3 of 3
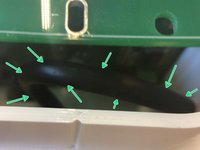
    • Ensure 8 to 12 cm of cable are left inside the case facing upwards

    • Slide pcb in.

    • Quality Control: If the PCB doesn't slide in the case or the fit is too loose (PCB slides downwards by itself when inverted) OR the pcb makes a shaki sound when you shake the case -> request new case or contact a senior sigrow technician

    Ask FixBot

    Add Comment

  5. Sigrow Soil Pro Assembly, Close the case with hat: step 5, image 1 of 2 Sigrow Soil Pro Assembly, Close the case with hat: step 5, image 2 of 2
    • Quality Control: Looks easy but the hat shouldn't be too tight (no need to force to insert it) and not too loose (doesn't fall when sensor upside down)

    Ask FixBot

    Add Comment

  6. Sigrow Soil Pro Assembly, Place in inventory box: step 6, image 1 of 1
    • Boxes of 10, sensors on borders, cables towards the center so we can pull them easily later

    Ask FixBot

    Add Comment

Conclusion

In case of doubt reach a senior sigrow technician

Cancel: I did not complete this guide.

One other person completed this guide.

Sigrow

Member since: 05/14/20

1,075 Reputation

5 Guides authored

Team

Sigrow Member of Sigrow

Community

3 Members

5 Guides authored

0 Guide Comments

Add Comment

View Statistics:

Past 24 Hours: 0

Past 7 Days: 6

Past 30 Days: 18

All Time: 273