
Shoelace Aglet Replacement

Last updated on Dec 26, 2019
Views: 9.5K
View statistics:
- Past 24 Hours:
- 9
- Past 7 Days:
- 46
- Past 30 Days:
- 240
- All Time:
- 9,517
Comments: 0
No one has left comments on this guide. Will you be first?
Go to guide commentsCompleted: 1 2
1 person has marked this guide "completed." Will you be next?
2 people have marked this guide "completed." Including you — great job!
Favorites: 0 1
No one has favorited (and subscribed to) this guide. Will you be the first?
1 person has favorited (and subscribed to) this guide — and that's you!
Introduction
Go to step 1 ↓Use this guide to replace a damaged or missing aglet on a shoelace.
Aglets are the hard tips on the end of shoelaces which are often made of plastic. They serve the purpose of preventing the lace material from unraveling and fraying as well as helping with threading the lace through the eyelets.
What you need
Parts

Tools


-
-
-
Remove the damaged aglet from the shoelace. You can either trim and peel it away from the shoelace or cut beneath the aglet itself and take it off completely.
 Ask FixBot
-
-
-
After you have trimmed away the damaged aglet there will be loose threads. These threads should be removed with the use of scissors with the goal of making it look as neat as possible.
-
-
-
-
Measure your heat-shrink tubing vs the existing aglet and trim to the length of the existing aglet.
-
-
-
With the freshly trimmed heat shrink tubing in hand, slide the tubing with a slightly larger diameter onto the shoelace where the damaged aglet used to be. Line up the end of the shoelace with the end of the tubing so they are perfectly lined up. (in photo we used 1/4"-1/8" tubing)
-
-
-
Taking caution to not burn yourself, heat the heat shrink tubing till it is shrunk tight around the shoelace. Use pliers to minimize the possibility of burning yourself while holding the tubing and shoelace in place (caution: will be hot)
-
-


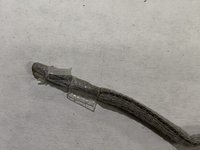
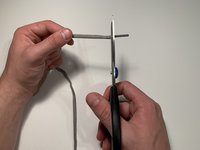


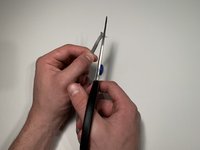
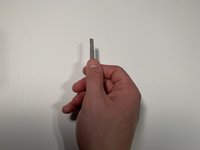


The goal is to replace the aglet with the heat shrink tubing. Be cautious not to burn yourself!
Cancel: I did not complete this guide.
One other person completed this guide.

Team

University of Memphis, Team S1-G12, Willis Fall 2019 Member of University of Memphis, Team S1-G12, Willis Fall 2019
UM-WILLIS-F19S1G12
2 Members
12 Guides authored
